Record Online Videos
In addition to download, the UniConverter also allows recording the Mac screen as well as videos from online sites.
On your Mac open the video that you want to record.
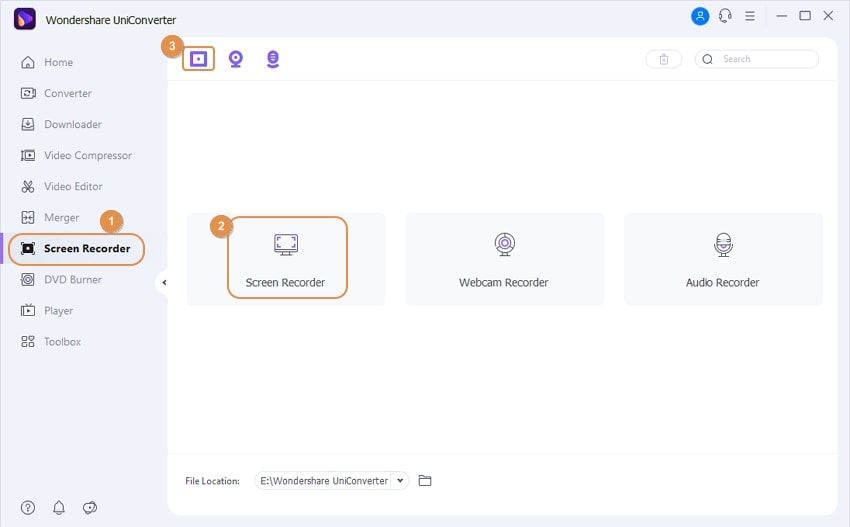
Run the UniConverter and from the primary interface, click Screen Recorder from the left pane of the interface. Then choose "Screen Recorder" option, or you can click the screen recorder icon presenting at the top-left area of the center panel.

You need to adjust the frame for selecting the recording area. Following settings can be made:
- Pinching the 4 sides and the middle will allow you adjusting the width and the height for increasing or decreasing the size of the frame.
- The Cross icon at the center will allows you to move the entire frame.
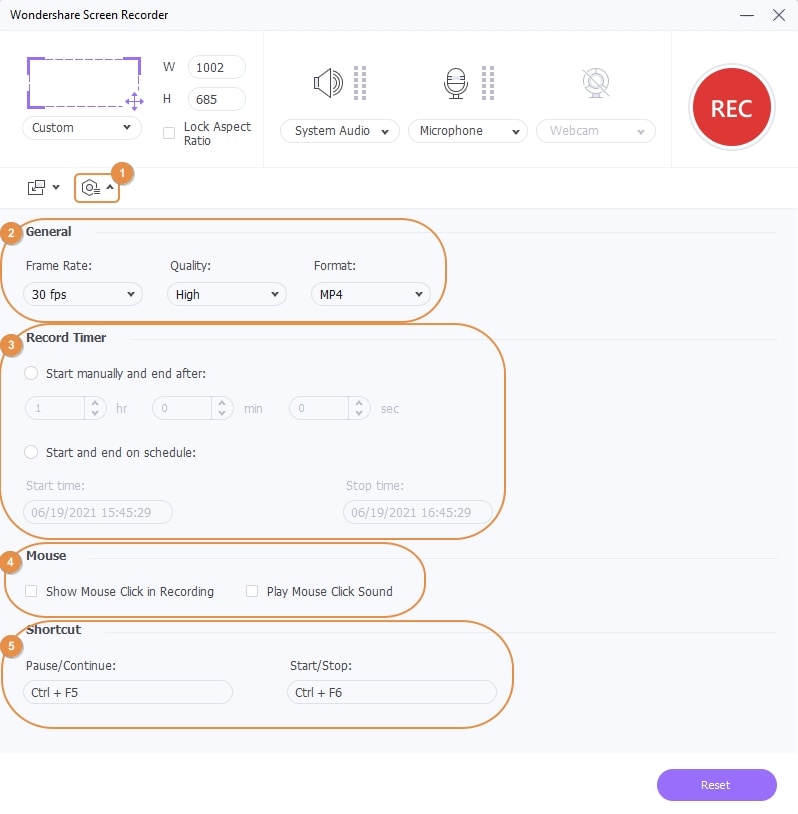
- You can also enter the exact width and the height of the frame to be recorded.

- If you want to record the entire screen of the desktop on your Mac, you can select the Full-Screen recording, choose it from the drop-down icon at Custom.

- Clicking on the setting icon will expand the window from where you can make various settings like destination folder to save the recorded video, frame rate, quality, record timer, mouse, and others.

Click on the green REC button that will start 4 seconds timer after which the recording will start. During those 4 seconds, you can prepare to play the video to be recorded.

Click on the Red Stop button to stop the video recording. Alternatively, you can also press the ESC key to stop the recording process.

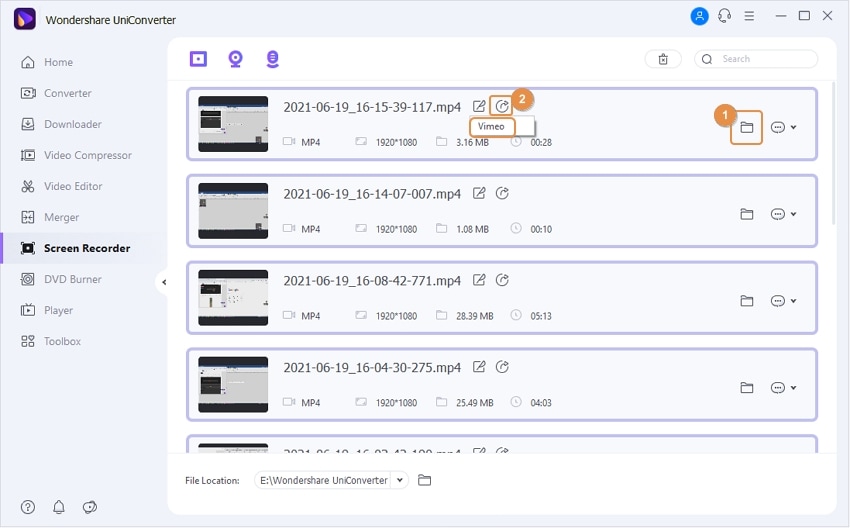
The Mac location with recorded video appears on your screen after the recording process completes.

User Guide
-
Get started
-
Video Converter
-
Video Editor
-
Video Compressor
-
Screen Recorder
-
Video & Audio Downloader
-
DVD Burner
-
Merger
-
Audio Converter
-
Toolbox of Uniconverter