CD Burner
Wondershare UniConverter (formerly Wondershare Video Converter Ultimate) can also be used as a CD burner, allowing you to burn music on CD without sacrificing quality. It can play MP3/WAV/M4A/M4B/FLAC and other popular audio formats. To learn how to burn a CD on Windows or Mac quickly and effectively, follow the easy instructions below.
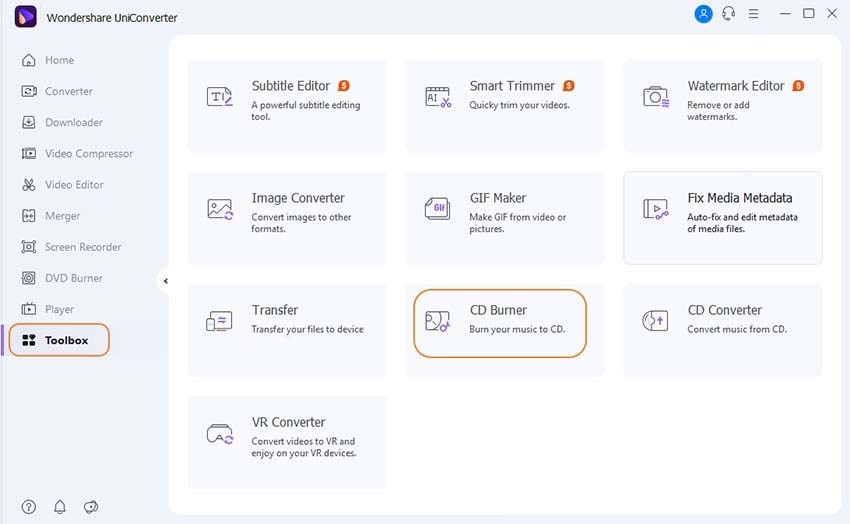
Select Toolbox > CD Burner from the list of main supported functions on the primary interface of the Wondershare software that has been installed on your system.
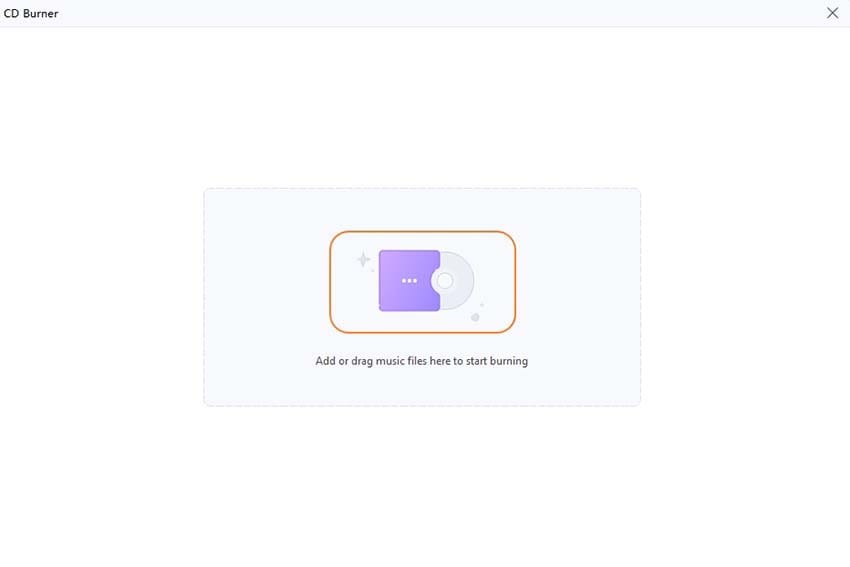
A new window will open; click the Plus symbol on the interface to launch the file browser, which will allow you to pick audio files on your computer. Here you can upload multiple files.
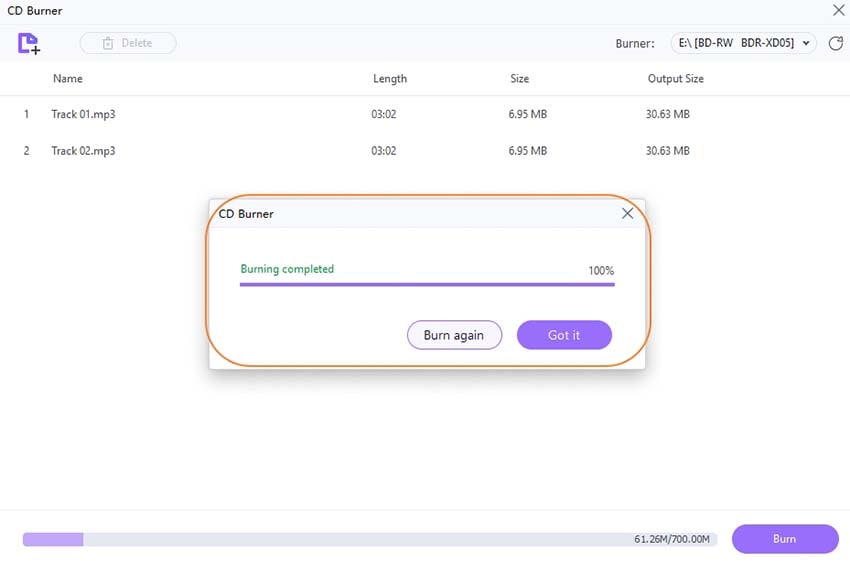
All of your added audio files will be listed with their name, length, size, and output size, and you can play them by double-clicking on them. By clicking the icons in the left-top corner, you can delete or add new files. Insert a blank CD into your computer when all files have been selected, and pick Burner from the right-top corner.
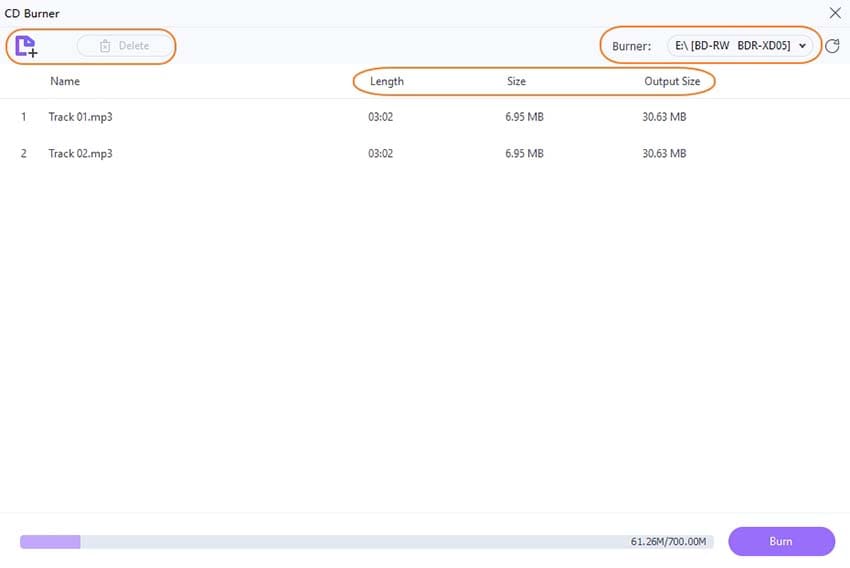
After you've completed all of the options, click the Burn button to begin fast burning songs to CD. The entire file size you can add will be displayed on the bottom bar, along with the storage capacity of your disc.
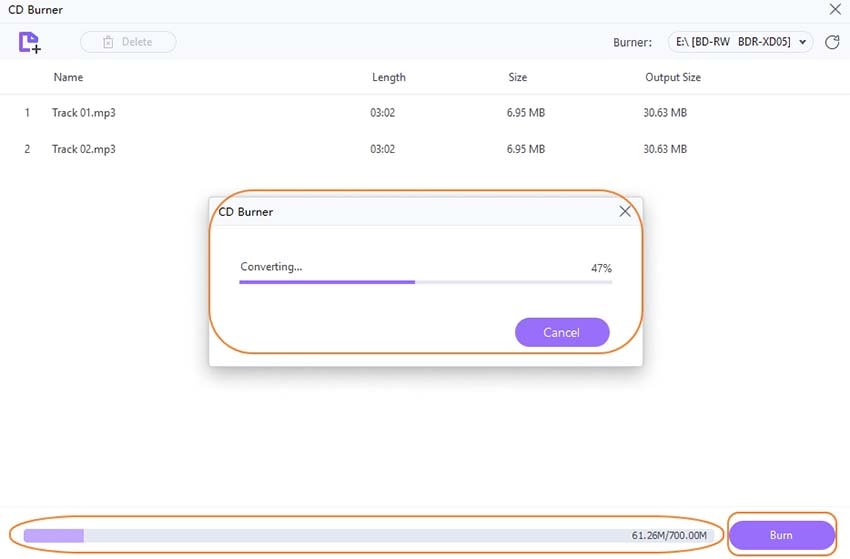
Once the process is complete, a notice will appear on the interface.
User Guide
-
Get started
-
Video Converter
-
Video Editor
-
Video Compressor
-
Screen Recorder
-
Video & Audio Downloader
-
DVD Burner
-
Merger
-
Audio Converter
-
Toolbox of Uniconverter