Brief Introduction
The primary interface will appear after you launch Wondershare UniConverter 13 on your computer. There are ten different function modules to choose from.
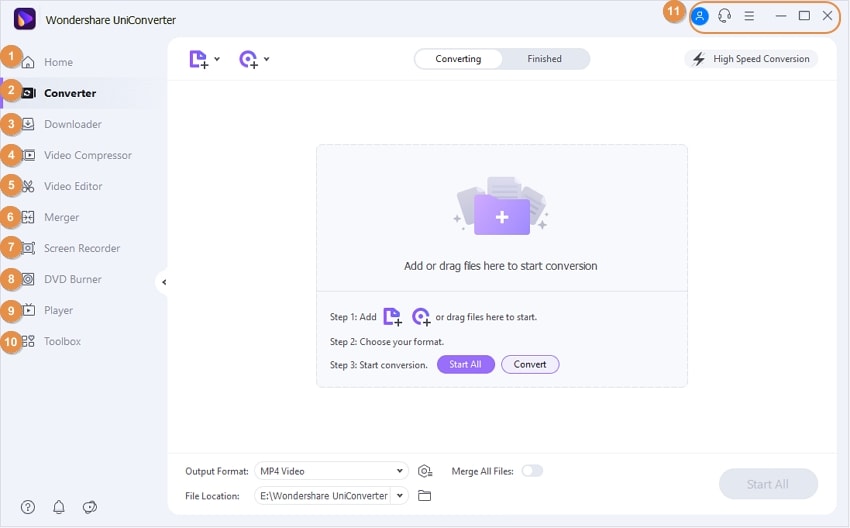
UniConverter 13's Value-added Features and Highly-Recommended Features can be found in the Home area. By clicking the Open button under the specified feature, you can open any features list.
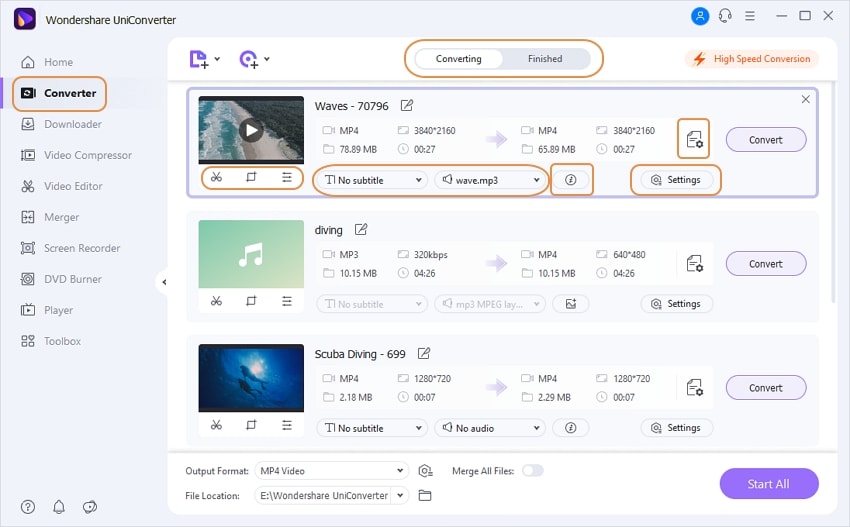
You can convert videos and audio between formats under the Converter area, such as convert video to MP4. The local system can be used to add files and folders for batch processing. Meanwhile, you can trim, crop, and otherwise edit your video before converting it, as well as change the audio file settings like channel, sample rate, and bit rate. Furthermore, for easier control, the converting and final video and audio files have been separated into separate tabs.
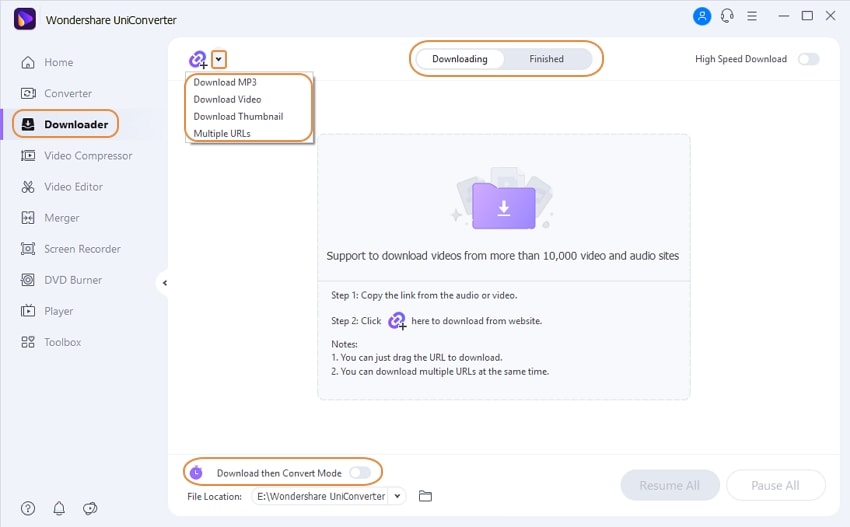
By copying and pasting URLs into the Downloader section, you can download videos from YouTube and other websites. You may also use the download icon to download MP3/thumbnails/multiple URLs. Additionally, the downloading videos can be found in the Downloading tab, and the downloaded videos can be found in the Finished tab.
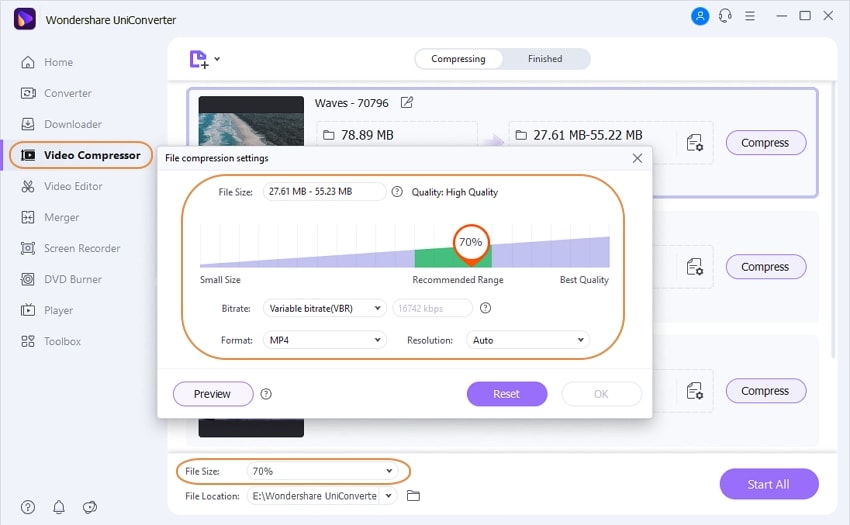
When you're running out of storage space, compression is the name of the game. Local files can be added to the interface for resizing using Wondershare's Video Compressor function. You can either choose to have the software compress the files automatically using the best compression settings or manually shrink the files using file attributes such as quality, resolution, and bit rate. You can see a preview and even alter the output format if necessary.
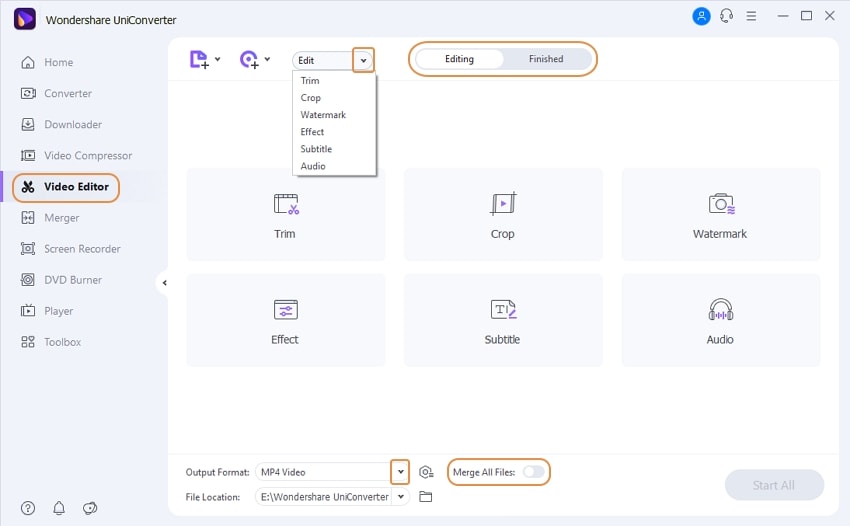
Trim, Watermark, Crop, Effect, Subtitle, and Audio are just a few of the functions included in the software's built-in video editor for professionally personalizing your films. You can import videos from the camera and other devices in addition to local files. For editing purposes, you can also add a DVD folder, ISO, and IFO files.
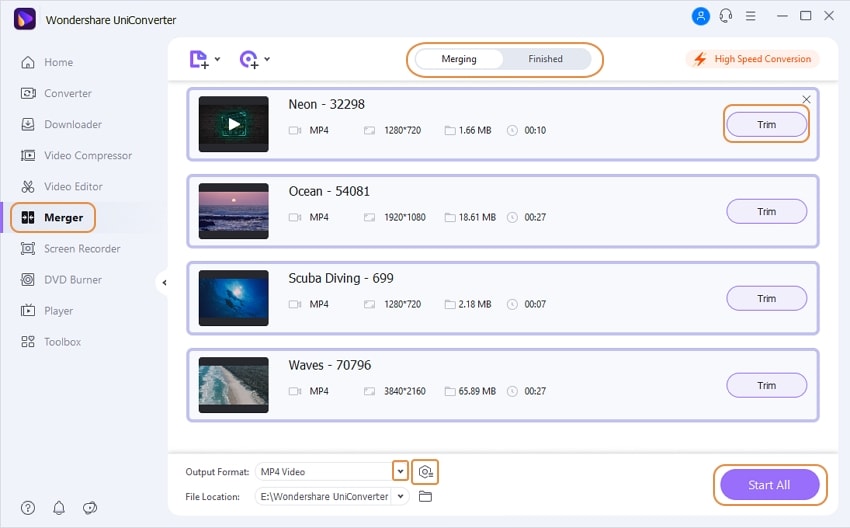
When merging many files quickly is required, Wondershare's Merger function is an ideal solution. Add files from your computer, device, or camcorder to the application interface, as well as DVD folders, ISO, and IFO files, and then merge them into a single file without losing quality. The output format and quality of the merged file can be chosen.
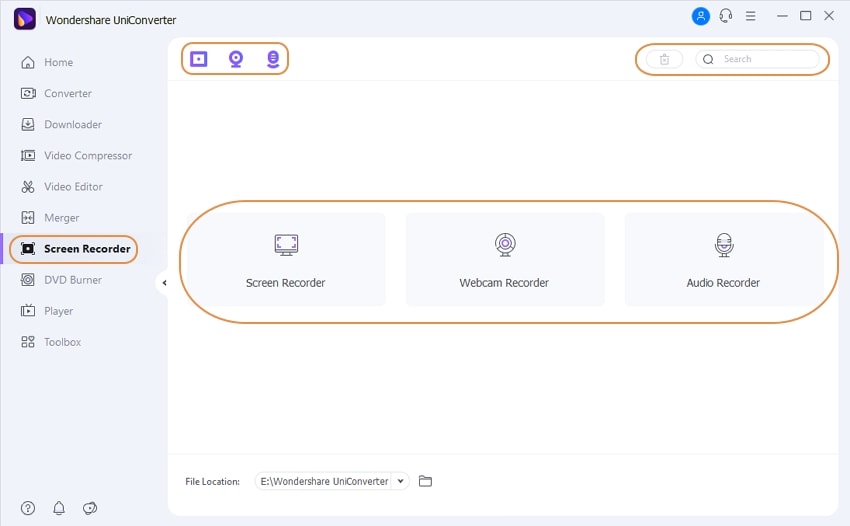
When you need to record a Skype video conversation, a lecture, or any other live screen activity, the software's Screen Recorder feature is ideal. A screen recorder, Webcam, and Audio recorder are the three possibilities. Before the procedure begins, there is a countdown to allow you to prepare the screen or audio for recording.
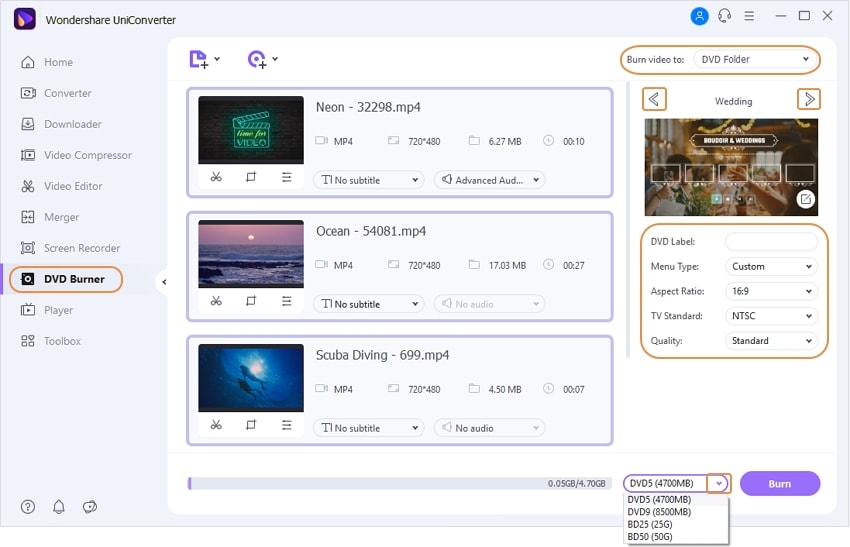
You can burn videos on DVD directly or to a DVD folder/ISO folder under the DVD Burner section.
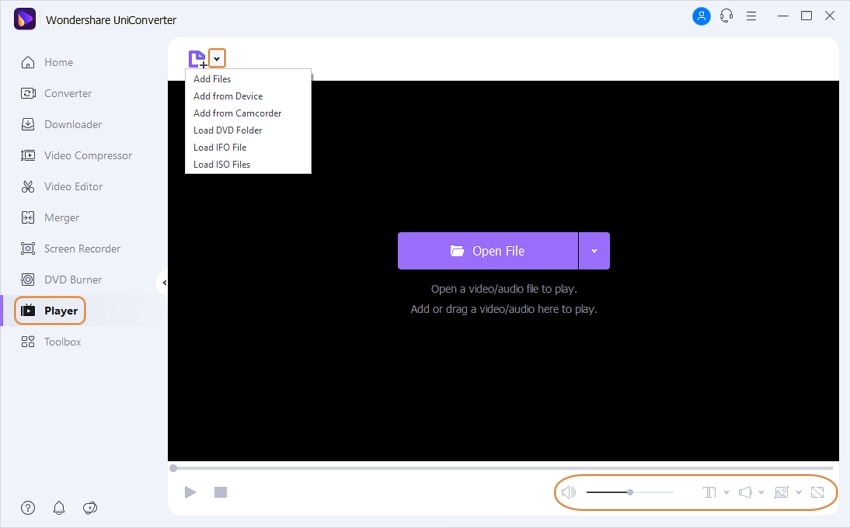
You can play numerous video and audio files, including HD videos, in the Player area. If your media file has numerous subtitle and audio tracks, you can switch between them while it is playing, as well as change the audio volume and capture screenshots.
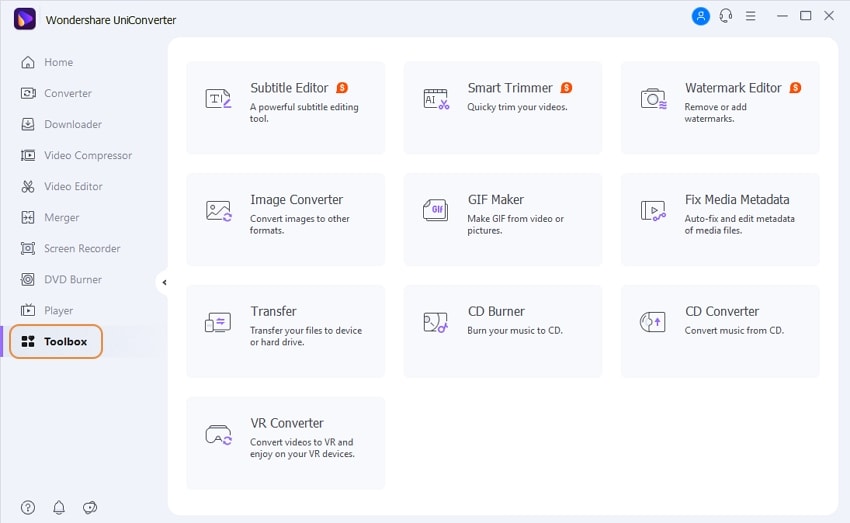
We've added a few popular utilities to the Toolbox. Subtitle Editor, Smart Trimmer, Watermark Editor, Image Converter, GIF Maker, Fix Media Metadata, Transfer, CD Burner, CD Ripper, and VR Converter are all included in the Windows edition.
After recording or downloading a segment of a file, right-click on it and select Add to from the menu. There are five primary function tabs from which you can select one based on your need.
User Guide
-
Get started
-
Video Converter
-
Video Editor
-
Video Compressor
-
Screen Recorder
-
Video & Audio Downloader
-
DVD Burner
-
Merger
-
Audio Converter
-
Toolbox of Uniconverter