by Brian Fisher • • Proven solutions
If you have ever tried to extract the audio from an internet video, you might be aware that there are several ways to accomplish it. Usually, as most internet video sites use FLV as their file type for videos, all you will need is an FLV to audio converter, and while most of the available solutions will allow you to download just the audio from a video as MP3, you may be also interested in different formats, as WMA or WAV. These are some of the best solutions you can find online to extract audio from FLV videos into WAV or other popular audio formats.
Part 1: How to Convert FLV to WAV on Mac
UniConverter has a great design, it has a nice color combination and everything button is strategically placed so that users who do not know much about conversion can understand and use the tool without missing anything from it. And for those users who do enjoy the looks they can be sure this will not be a disappointment. If converting 90x faster than any other converter and having no quality loss at all is your thing then this is where you need to be. UniConverter is deeply committed to both, the application performance and your computer's, that way you will not be using lots of your CPU resources while converting and you will definitely be getting the best results ever.
Get the Best FLV to WAV Converter:
- Reliable & Fast Conversions: 90X speedy conversion of any media format with no data loss issues.
- Apt for Music Lovers: Support all popular audio formats such as MP3, AIFF, CAF, SD2, APE, WAV, AAC, OGG, AU, APE, FLAC etc.
- Fit to Android/Smartphones: Supports Samsung, HTC and many other Android or smartphone devices for watching movies on the go.
- Media Downloader: Download & convert any movies from YouTube or other websites with specific URL.
- Metadata Input: Edit metadata info such as Type of Video, Name, language, Episode name, Actors, Release date, Comment rating, tagline etc.
- Compatible with Windows 10/8/7/XP/Vista, macOS 10.15 Catalina, 10.14 Mojave, 10.13 High Sierra, 10.12 Sierra, 10.11 El Capitan, 10.10 Yosemite, 10.9 Mavericks, 10.8 Mountain Lion and 10.7 Lion.
Step-by-step Guide to Convert FLV to WAV with iSkysoft
Step 1. Launch the program and add your FLV files
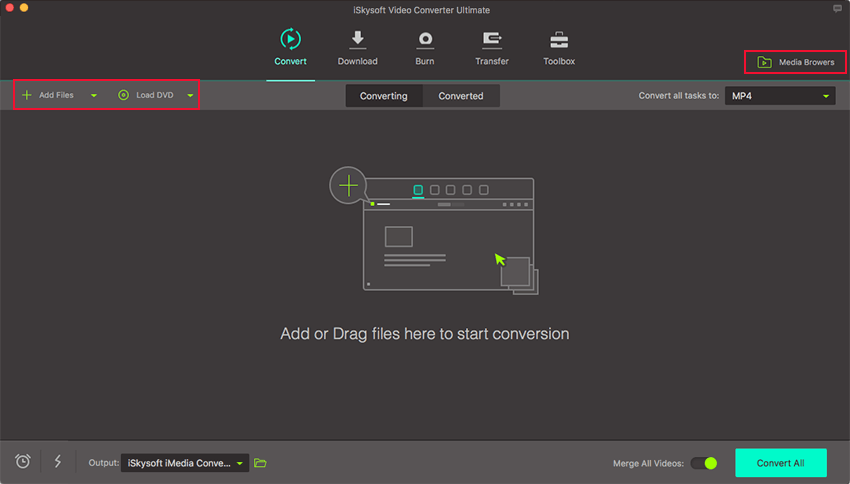
First, you need to launch UniConverter on your Mac or PC and then add your files. You can do this by going to "Add Files"; or you can open a Media Finder window and drag all the files you want to convert. Yes, you can absolutely convert more than one video at a time.
Step 2. Choose the right output format for you
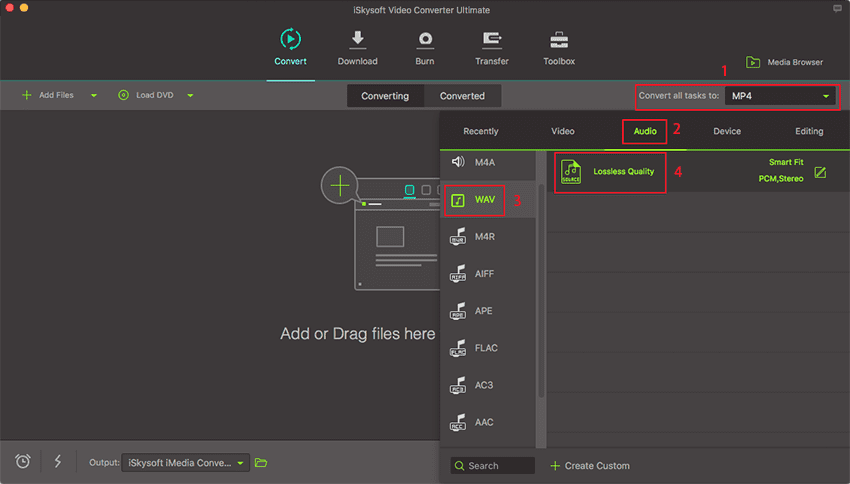
After adding the files you will notice a list in the middle of the screen. This list holds all the videos you just chose. You can organize this list by dragging the files up or down, this way you will be able to give priority to those files you are desperately needing to convert. Now, you need to choose your output format. All you have to do is click on "Convert all tasks to" and in the "Audio" section find the WAV option. Choose it and go have fun editing.
Editing videos is very easy. Click on the "Edit" button and take a look at all those great options. Do not worry, it will not overwhelm you. You can crop, trim, add effects, add subtitles, add watermarks and a lot more with iSkysoft Video Converter.
Step 3. Start the conversion
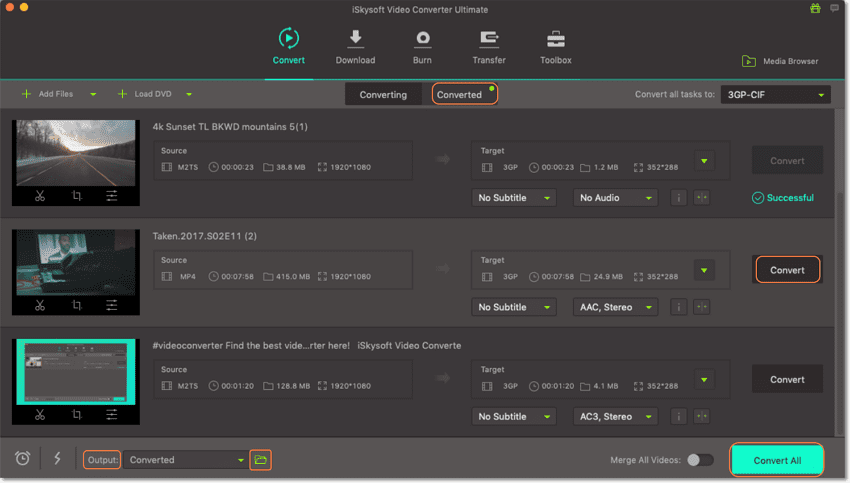
Finally you need to click on "Convert". The conversion will start immediately and is at this point when all the changes you chose will be applied to your videos. If you are busy at the moment you can go ahead and keep on working on your stuff, iSkysoft Video Converter will show a pop-up notification once the conversion has finished and then you will be able to open the containing folder and go straight to enjoy your awesome WAV videos.
Part 2: Top 9 Online FLV to WAV Converter
#1. Zamzar
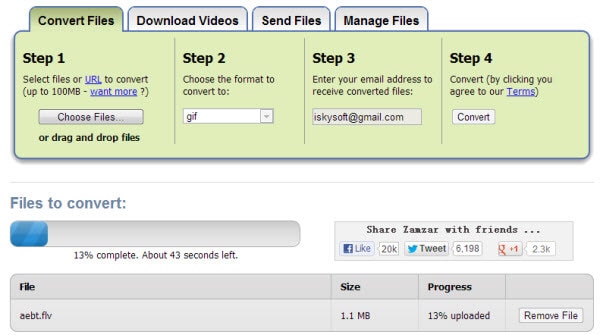
Zamzar is a very well known online converter. Not only it has support for video, audio, image, e-book and many other formats, but it also lets you convert between such formats in four easy steps. It will work great to extract audio from FLV files on your computer as WAV audio or even from web addresses. The only thing Zamzar may need is the ability to adjust the length and quality of the final audio file.
#2. CloudConvert
CloudConvert is as good as Zamzar, and also has a terrific look, but also includes support for DropBox and Google Drive. Unfortunately, again, you are not able to set any preferences on the conversion. No chance of cutting down the audio or adjust its quality.

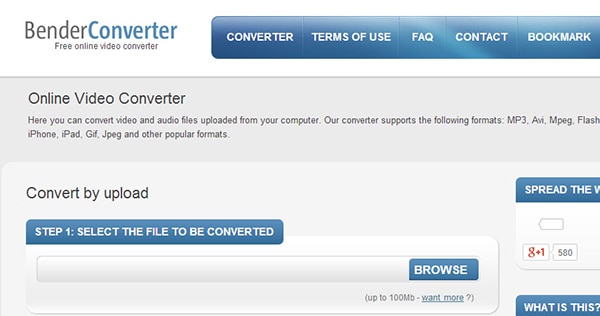
#3. Bender Converter
Bender Converter has a simple interface and a simple step-by-step work flow. Just upload your FLV file, select WAV as the destination format, click on Convert and you are good to go. the only feature missing in this converter is the ability to paste an URL for it to automatically convert from the internet; this means you will need to have the FLV on your computer to upload.
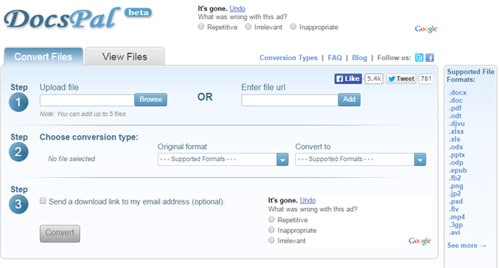
#4. DocsPal
Another three-step converter, DocsPal is a beta service that will easily let you have the WAV audio from any FLV video. You can either upload the video from your computer or paste a link to any internet source. The you will be able to enter your email to receive a link to the converted audio. Too bad you cannot edit the quality of the audio file.
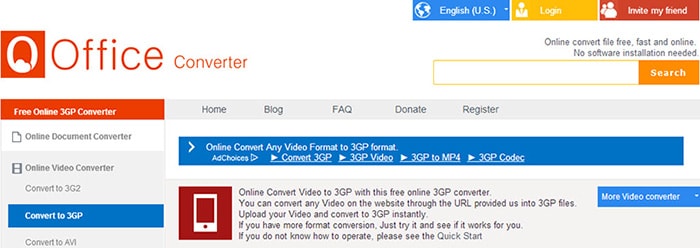
#5. Office Converter
Office Converter is a very complete service to convert between several media types with many formats available. FLV and WAV are one of these, and a special feature on this service is its capability of batch conversion. So if you are trying to get audio from several videos at a time, it will work great for you. The major downside of it is the fact that it supports only up 50 MB videos for you to upload from your computer, but it still works great for videos available online.
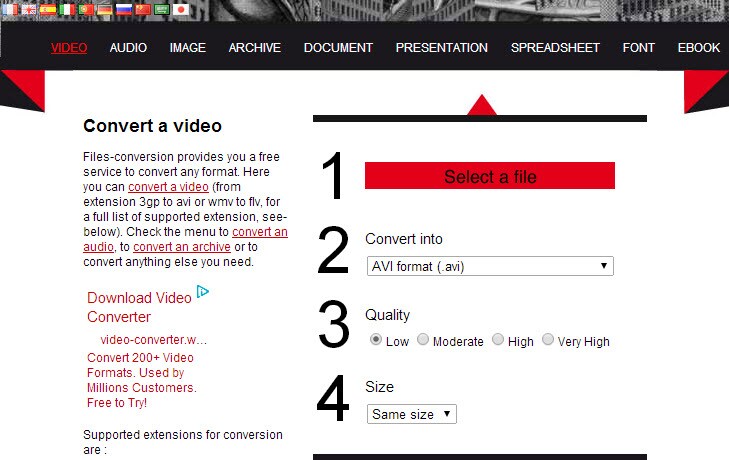
#6. Files-Conversion
Like it or not, Files-Conversion is a simple web converter with a very particular look. Aside from that, you can upload FLV files from your computer, select WAV as the output format, and select the conversion quality. Again, this means you need to first download or get your video in your computer in order to convert it.
#7. Online-Convert
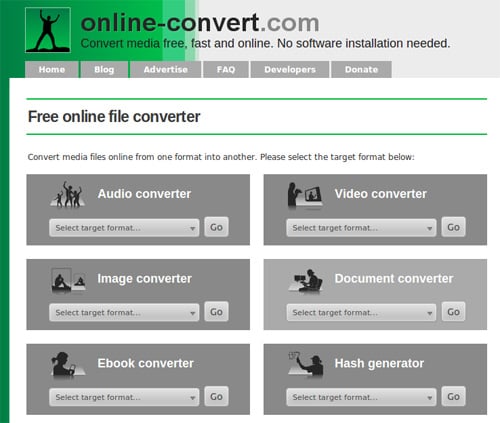
Despite it says "Convert audio to WAV", Online-Convert does support video conversion from FLV into WAV, either by uploading your file or through a web address. It also will let you trim the final audio file but not much more than that.
#8. Convert.Files
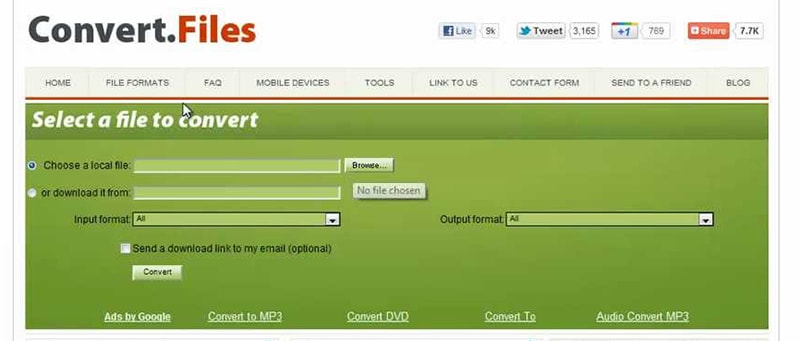
And if you think that is too simple, Convert Files goes even further. Upload your file or paste the web address, select the output format and that is all. No more options available on this online converter.
#9. SaveFrom.net
A different option you can try and that does not require you to download any software and that is very useful when extracting audio from YouTube videos is adding "ss" to the video address i.e. "http://www.ssyoutube.com/XXXXXX". This will take you to SaveFrom.net, which will allow you to download the video to your computer. After that you can use any of the options listed above to get your WAV audio, even the ones that do not allow extracting directly from YouTube videos.

Tips: How to embed WAV audio into FLV videos for background music
So, as you can see, using the right tool makes extracting the audio from videos an easy task. However, what happens if what you wanted to work the other way around? embedding an audio file into a video file. If you are producing a video of your own, this can be very useful, for example to make background sound effects or music. Again, there are online solutions that will help you out with this, as Media Cope, but as seen above, many times, online solutions fall quite short when compared to their desktop counterparts. Luckily, iSkysoft also has the perfect tool to merge audio into video files.
iSkysoft Video Editor for Mac will easily let you set up an audio background for your video project in three easy steps.
1. After installing and running the application for the first time, you need to select the video size format which can be 16:9 or 4:3. After this, you will need to import the video that you want to add the audio into. You can do this by clicking on the File menu, then Import... and browsing your computer for the file. You can also import the files just by dragging them into the Media section of the application.
2. Once the videos are imported (remember you can merge also several videos together), you need to drag them to the lower part of the application, to the Video stream.
3. Now you need to import the audio that you want to use for the background. To do this, repeat step one, but this time browse or drag your audio file, the importing process will start automatically.
4. Just like you did with the video(s), you need to drag the audio files from Media to the bottom of the application, at the Music stream. Here you will be able to cut, move and add effects to the audio as well in a very visual manner, just like video itself.
5. After mixing your audio and video just the way you wanted, all you need to to is to click on the Export button to start the merging and saving process. You will be asked to which format your video should be saved (FLV, AVI, MPEG and many more are available), what will you name it and where you want to save it. You can also find advanced settings below in case you want to adjust them manually, and once you are done tweaking your video, all you need to do is confirm the Export process.
So as you can see, extracting or adding audio to your video files can be as easy as you want. It is all about choosing the right tools to work with, and for that, iSkysoft have the best solutions for you.

Brian Fisher
staff Editor