Enhance Your Recording Experience-UniConverter
- Help you show a gaming session, make tutorial video with customized settings.
- Record screen, audio and webcam simultaneously.
- Help you record a screen while working on another screen.
- Useful record timer to help you set the start and stop time.
- Convert, compress, and edit the recorded videos.
Many people will wonder how to record their computer screen with software. We usually see YouTubers, bloggers, and online tutors show their screens for us to pass across information or show how to do some things. Some gamers can even use it to show walkthroughs, tips, tricks, and their overall gameplays. In short, screen recording can be used for many reasons, and we have lots of applications and software that can perform the screen recording function. Still, good screen recorders will also feature amazing effects that you can use to make your video more professional. We, however, have something cooler than screen recording software, and they are online screen recorders. They do not need to be downloaded or extra plug-in as they have all their resources online.
Part 1. Detailed Guide about Some Popular Online Screen Recorders
Apowersoft
Apowersoft free online screen recorder is a very popular video editing tool that can perform many editing functions. Screen recording is just one of the many functions of Apowersoft, and the Apowersoft online screen recorder feature is extremely useful. The only thing you download is the launcher, and it is not compulsory but to make things easier the next time you use the app. It records in very simple steps, and you can, of course, choose the part of the screen you want to record. It is a powerful online screen recorder with audio as well.
Steps to Screen Record with Apowersoft
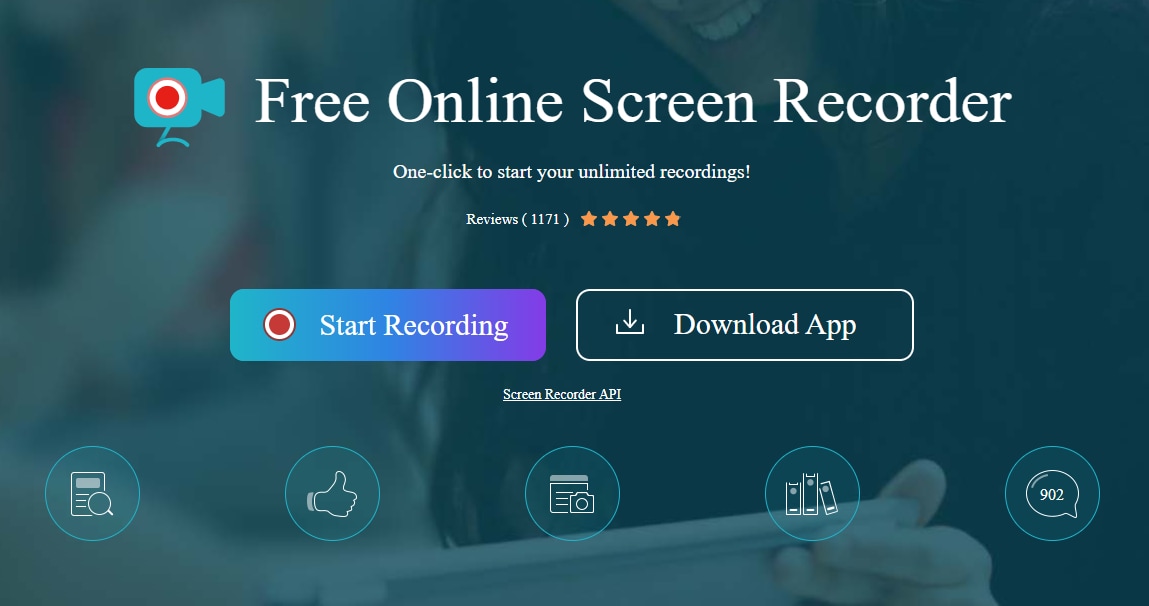
Step 1 Visit the web page and start recording
Visit the website and click on the Start Recording button on the homepage.
Step 2 Select Region
You will then be given an option to select which part of the screen you want to record. You can choose the full screen mode, or adjust the screen size by yourself. The audio sources can also be selected by open the audio drop-down menul.

Step 3 Start Screen Recording
After selecting a region and audio source, you will be taken back to the web page. From there, click on the red record button to start screen recording.
Step 4 Stop Recording
A bar pops up on the screen, but it usually fades away. Click on the show ‘hidden icon’ arrow on the right side of the taskbar (the bar at the bottom of the screen that contains opened software) there, and you will see a recording icon. Click on it to bring up the bar again. If you can call it up, you can stop the screen recording from there. To do this, if not, then go back to the Apowersoft screen recorder page and prevent it from there

Step 5 Preview and Save
A preview will be ready immediately after you stop the video. Click on ‘Save Vide’ to save the file to your computer.

Pros
Real-time annotations make your video look even more detailing
The sharing option allows you to directly upload your video to YouTube, Vimeo, Cloud software like Google Drive, OneDrive, Dropbox, etc.
Powersoft free online screen recordercan also create GIF images
Cons
Lack of editing features
Can only export videos in a limited number of formats
ScreenApp.io
ScreenApp.io should also be pretty popular among regular users of online screen recorders. Although it only supports a limited number of browsers, it still doesn’t lose to its competitors in terms of functionality and ease of use. Yet, it is still a free online screen recorder with no download. This website is pretty straightforward as the main they do is screen record. The interface is neatly arranged. You can easily locate the right features you want to use.
How to Record Screen Using ScreenApp.io
Step 1 Visit the website
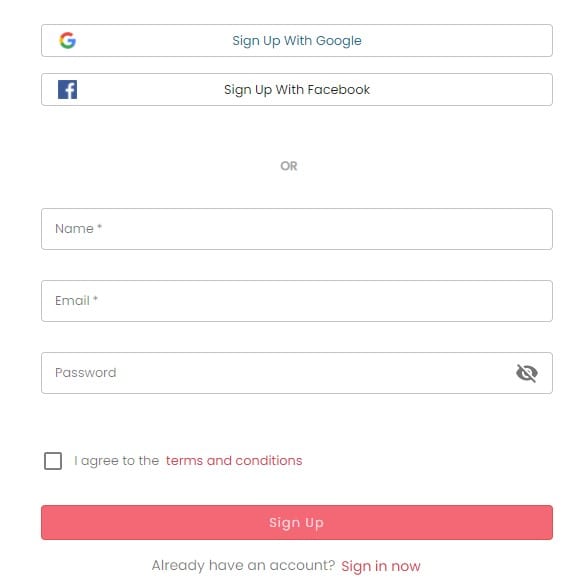
On the homepage, click sign up and offer your necesarry information, then click on the ‘get started’ tab to continue,
Step 2 Select Screen and Mic
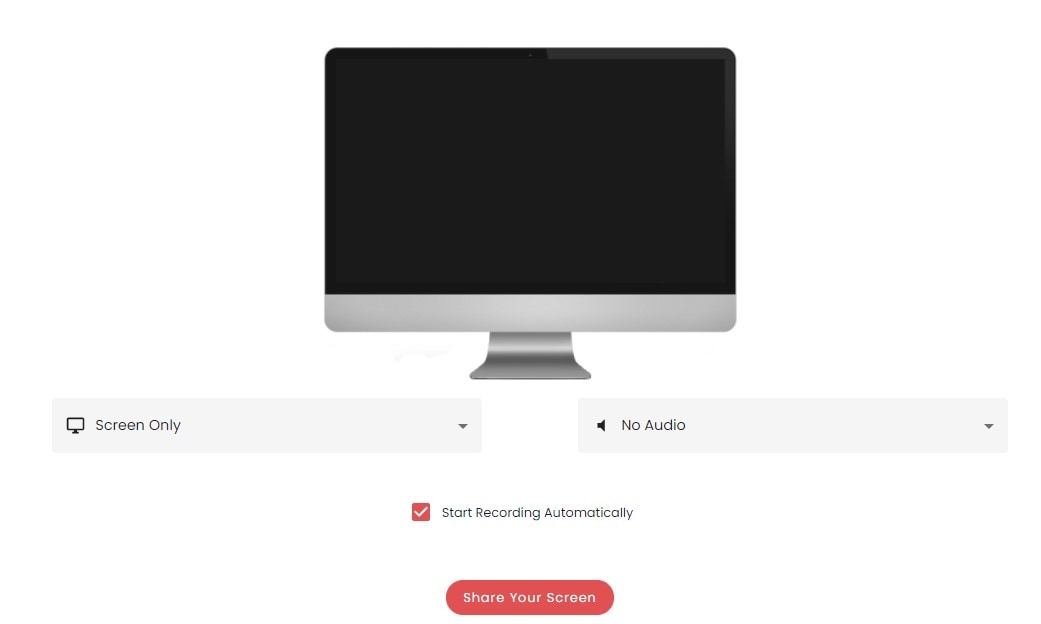
In the next screen, you will be prompted to choose if you will be recording only your computer screen or you want to use a webcam for picture-in-picture. Then you can also select which microphone to use. Click on the ‘share your screen’ tab to continue.
Step 3 Select Region and Share
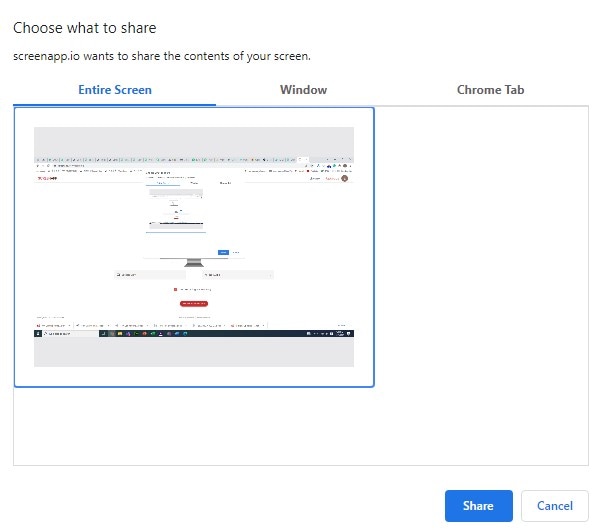
As with most online screen recorders, you will be given three options; Entire screen, Windows, or a Chrome tab. Select whichever one you want and click on Share.
Step 4 Stop Recording and Save
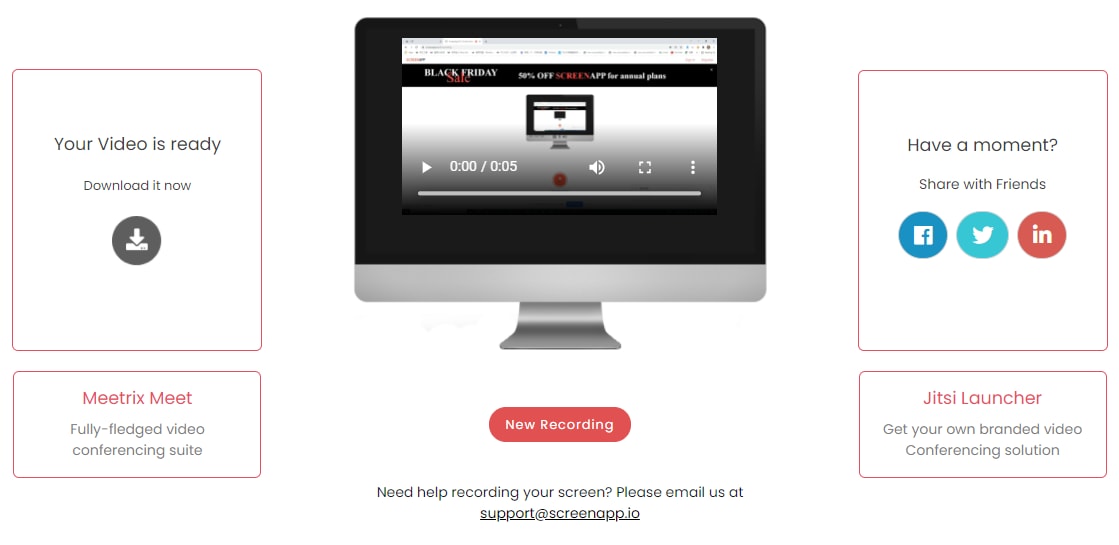
The recording will begin immediately after the countdown. Go back to the Chrome page to stop the recording. A preview will be generated for you to view your recorded video. The download feature is on the left side of the screen, and the right is the share feature.
Pros
It features sharing features to upload your videos to Facebook, Twitter, and Linkedin.
It downloads the video to your computer automatically
You can choose which chrome tab to record
Cons
The output format is restricted as Webm
It only supports Chrome. Firefox and Opera Mini
VEED.io
Veed.io is an online video editor with many features in its toolkit. It mainly functions as a video editor, subtitle, and watermark adder. Still, some of its other functions include intro and outro video maker, online screen recorder with audio, background noise remover, automatic subtitle generator, and audio to text transcription. It also features major video editing functions like cropping, trimming, video and audio joiner, video resizer, etc.
Steps to Record Screen with Veed, io
Step 1 Visit the website
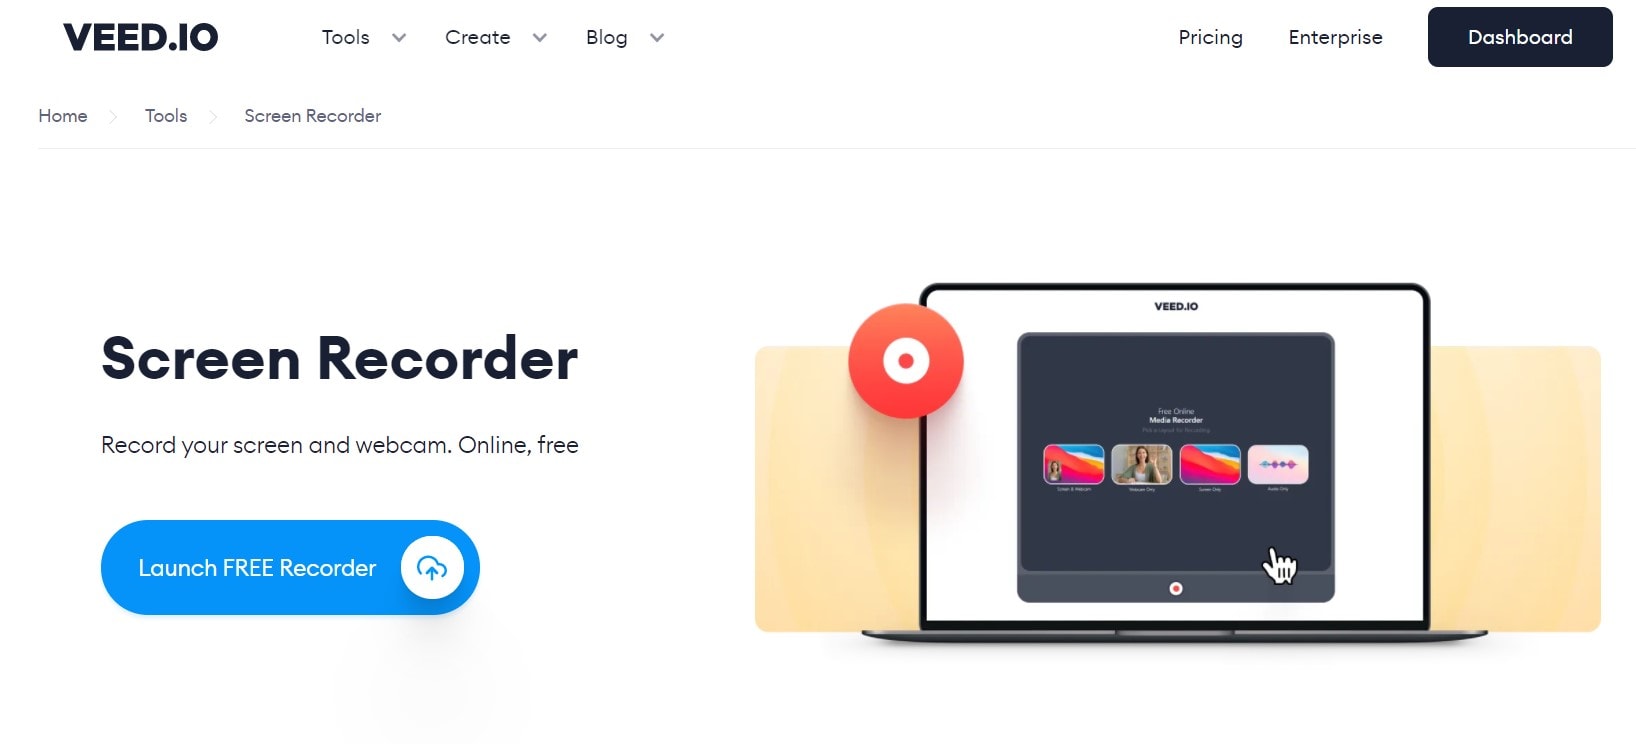
On the home page, place your cursor on ‘tools’ at the top of the interface, and you will see a list of available tools on the website. Locate ‘Recorders’ and click on Screen Recorder
Step 2 Click on Launch and select Region
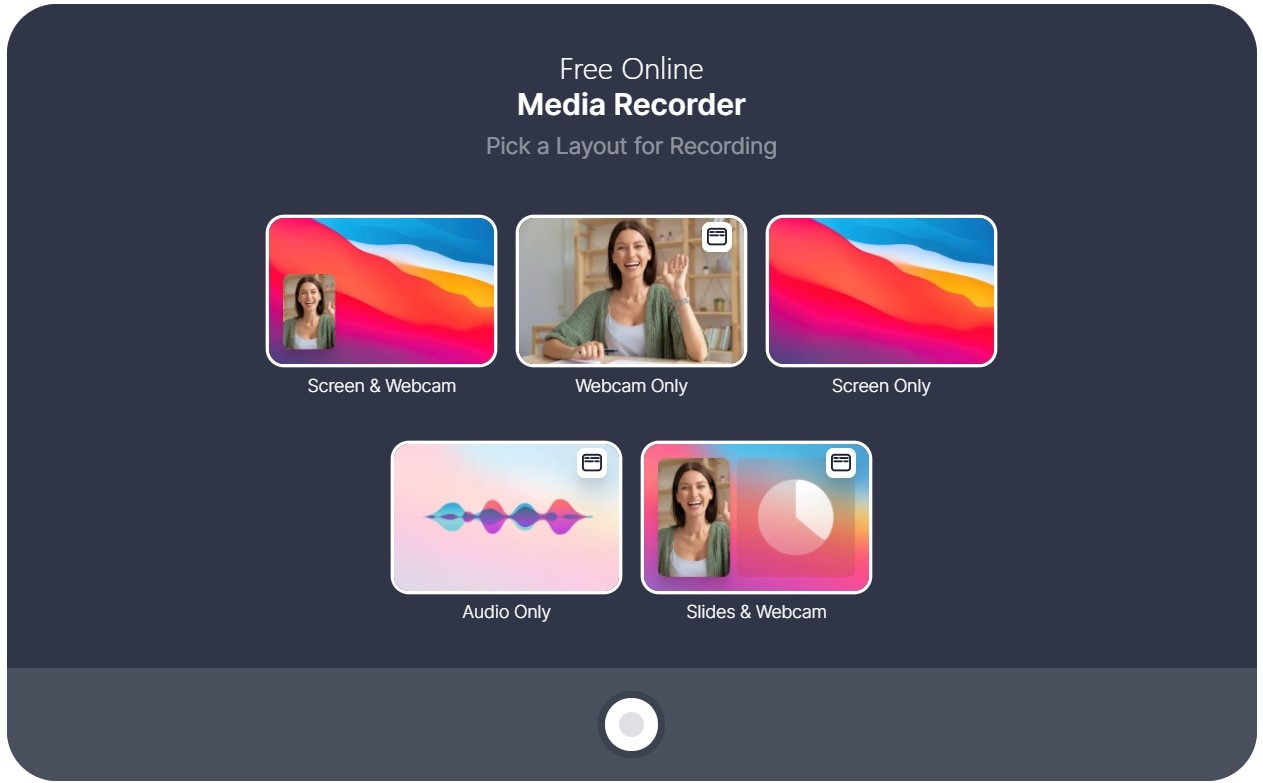
On the next screen, click on the ‘Launch Free Recorder’ tab, and you will be transited to the select region page. Choose either of the four options available; Screen and Webcam, Screen only, Webcam only, Audio only.
Step 3 Select which part to Record
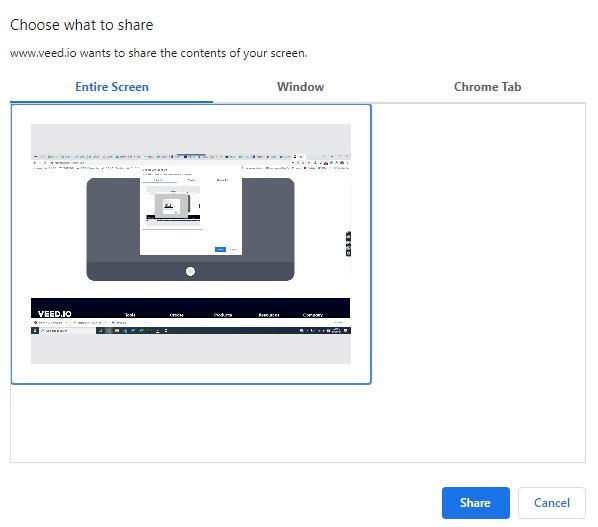
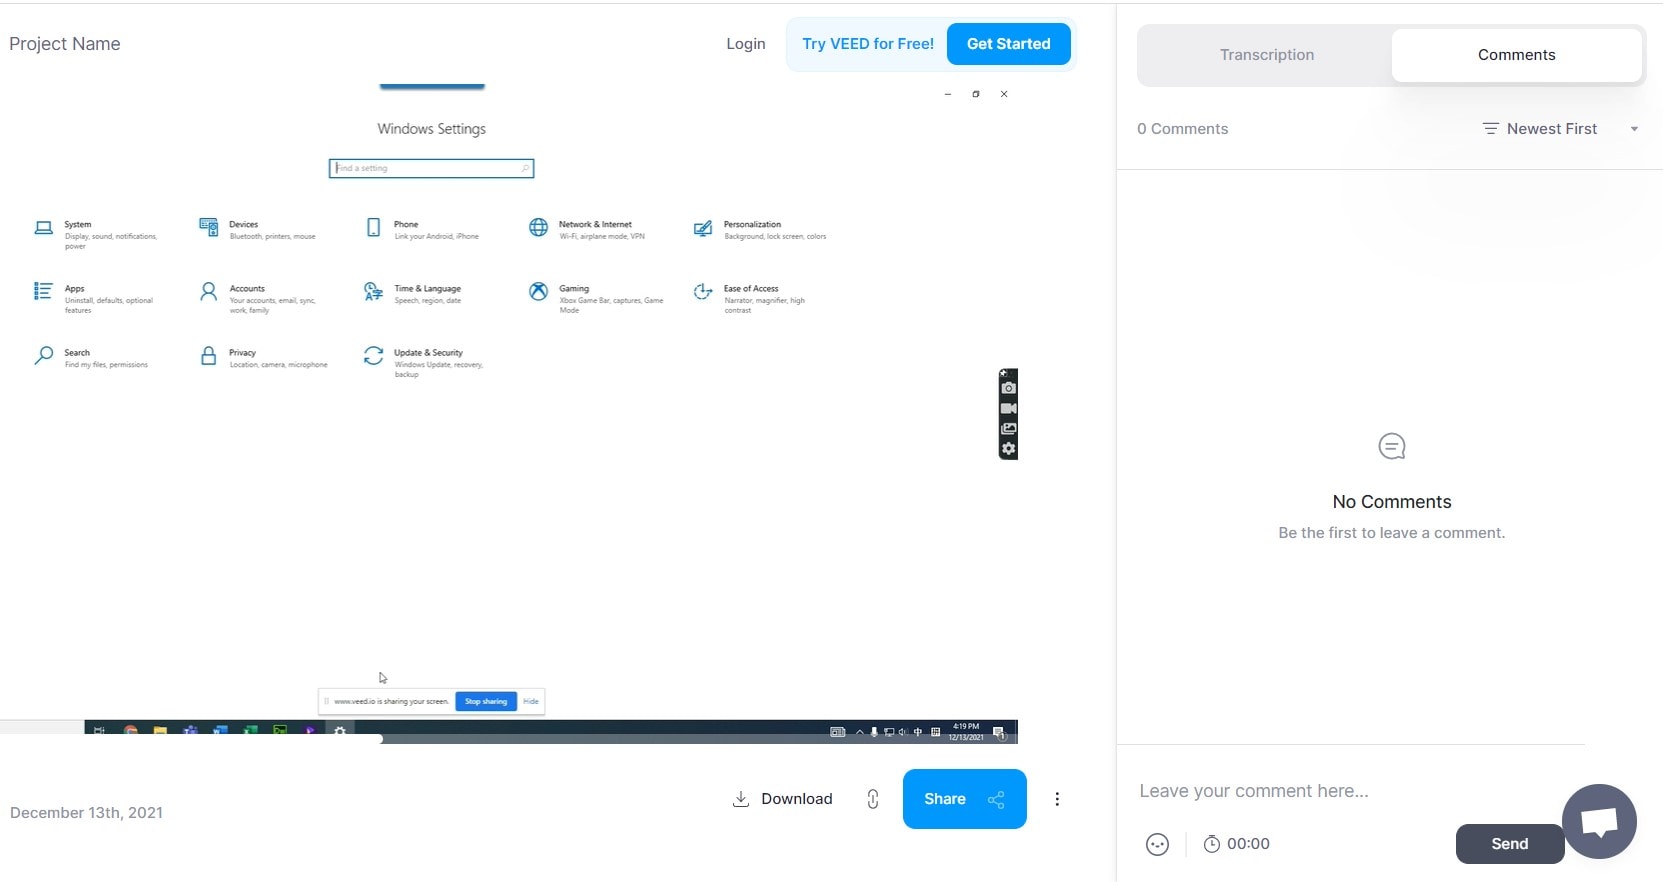
The next screen will be a pop-up window, and you can select either of the three usual options, i.e., Chrome tab, Entire screen, and Windows. Click on Share to start recording. Go back to the website and click on the red record button on the on-screen monitor to begin recording.
Step 4 Stop Recording, Preview, and Save
Go back to the website and click on the red ‘stop’ icon on the on-screen monitor to stop the recording. Depending on how long your recording is, the site can take some time to finish processing the video. Preview your video, then download.
Pros
You can use its editing features to trim your video and do some simple editing.
You can share your recorded content directly to your email or social media platform.
If you have a website to operate and you need to create a content page every day, this feature can help you embed your recorded content into your pages.
Cons
Supports a limited amount of video formats
You need to subscribe to the website to get most of the functions
It can take some time to load up your recorded video
Capty.io
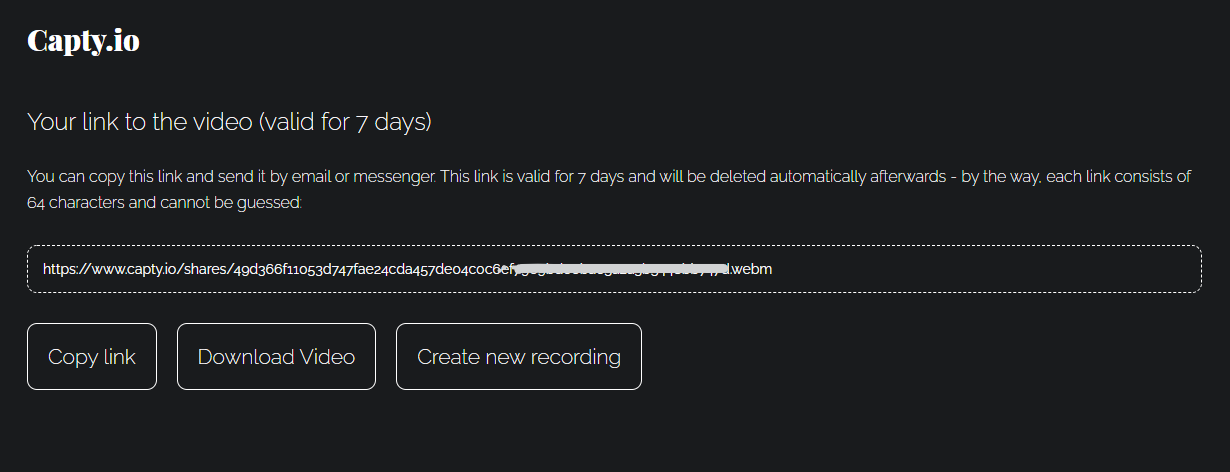
Capty is a simple-looking screen capture online website that packs a lot of punch when it comes down to screen recording. It doesn’t have any editing features like the rest of its counterparts, but its screen recording process is easy and dishes out high-quality videos. Unlike most online screen recorders, Capty.io helps you keep your video for some time before permanently deleting which means you may not necessarily download your video right away. Also, you can share your video link as a mail, which allows you to save your video without actually downloading it.
Steps to Record Screen with Capty.io
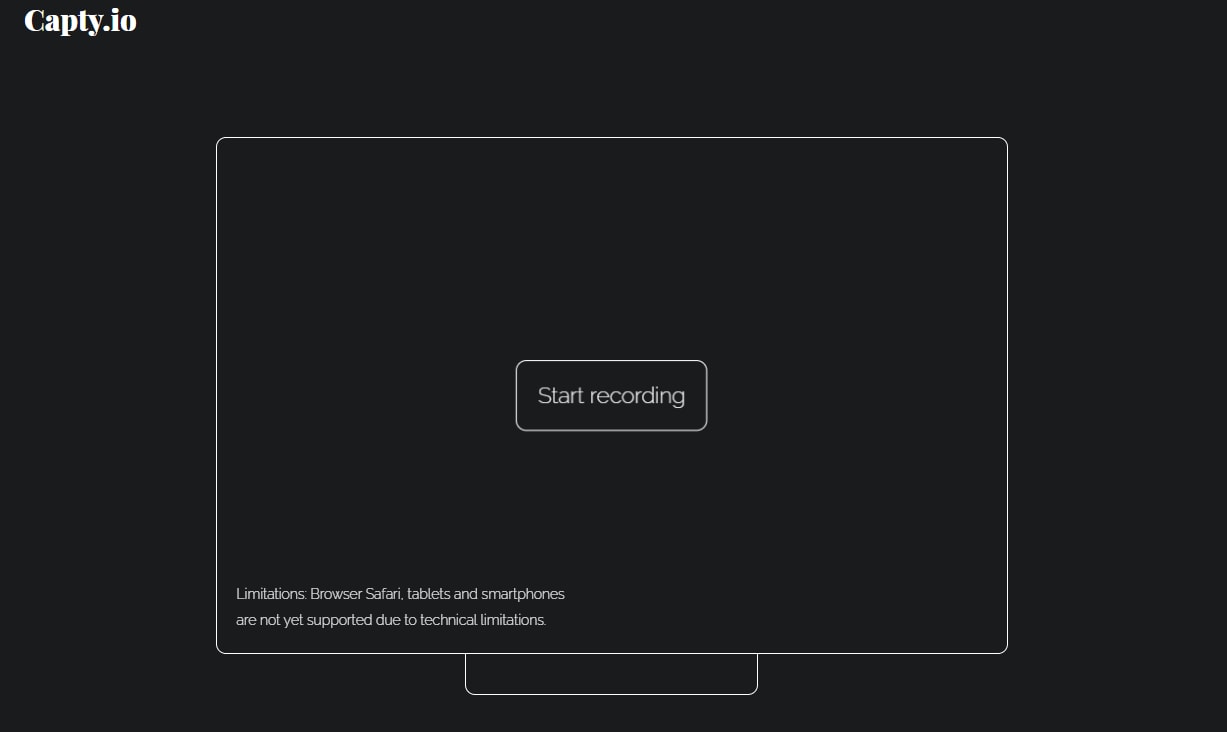
Step 1 Visit the Website and Click on Start Recording
On the main interface of the Capty.io website, there is a monitor on the left side with a pulsing ‘Start Recording’.
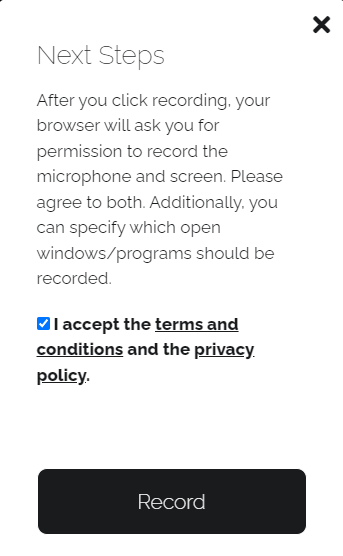
Step 2 Accept Terms and Condition
Accept the terms and conditions from the pop-up box and click on the record tab below.
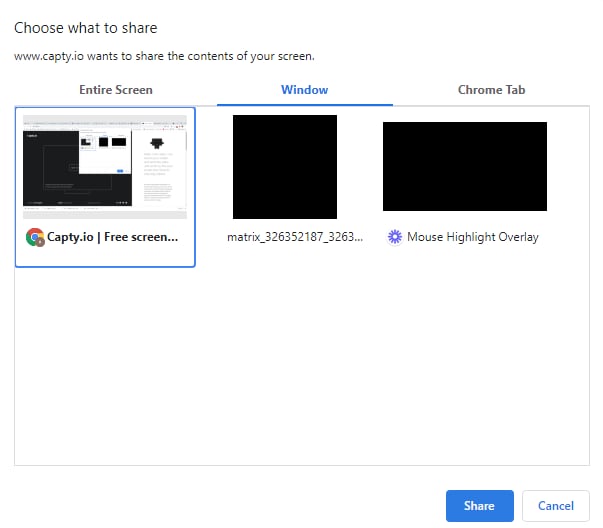
Step 3 Choose what to share
As usual, you get to choose which screen to share, the entire screen, a Window, which is one software, or a chrome tab. Click on Share when you have selected one. The recording starts right away.
Step 4 Stop Recording and Save
To stop recording, click on the screen recording bar, which pops up immediately after the screen recording starts. The preview begins playing automatically. Click on Save, and the download begins processing. After it has finished, your video link will be generated, and you will be given two options, to download to your computer or share.
Pros
The user interface is straightforward to use.
Exports recorded video in high-quality
Stores video for 7 days in their database
Cons
It has no editing functions
It has a limit of 30 minutes for each recording
FlexClip
Another very popular online video editor. Flexclip is a very powerful video editing tool as it features a lot of functions and features that allow it to stand toe-to-toe with the big boys of video editing. It features tools like converter, compressor, merger, trimmer, meme generator, gif maker, subtitle, and watermark adder, and you can even use it for your free screen record online, etc. The interface gets a plus for beauty, brilliance, and neatness.
Steps to Record Screen with FlexClip
Step 1 Visit the Website and select the Screen Recording function
On the main interface, place your cursor on the Tools tab at the top of the screen to see the list of tools that FlexClip has. Locate Screen Recorder and click on it.

Step 2 Click on Start Recording and Select Mic
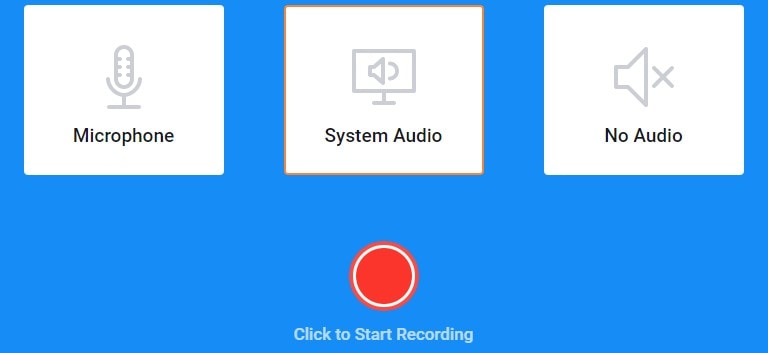
The next screen will be the screen recorder’s main screen. Click on the ‘start recording’ tab below the monitor. On the next screen, you will select which audio device you want to use. You have three options; Microphone; can be external, System Audio; the computer’s built-in soundcard. And you can select ‘No Audio.’
Step 3 Start recording
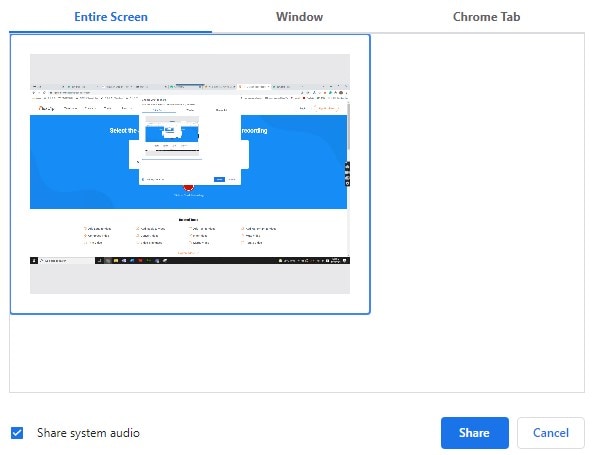
Then select which screen you want to record, Entire screen, one of windows, or chrome tab. Now you can begin the recording by clicking start recording icon.
Step 4 Stop recording and edit video
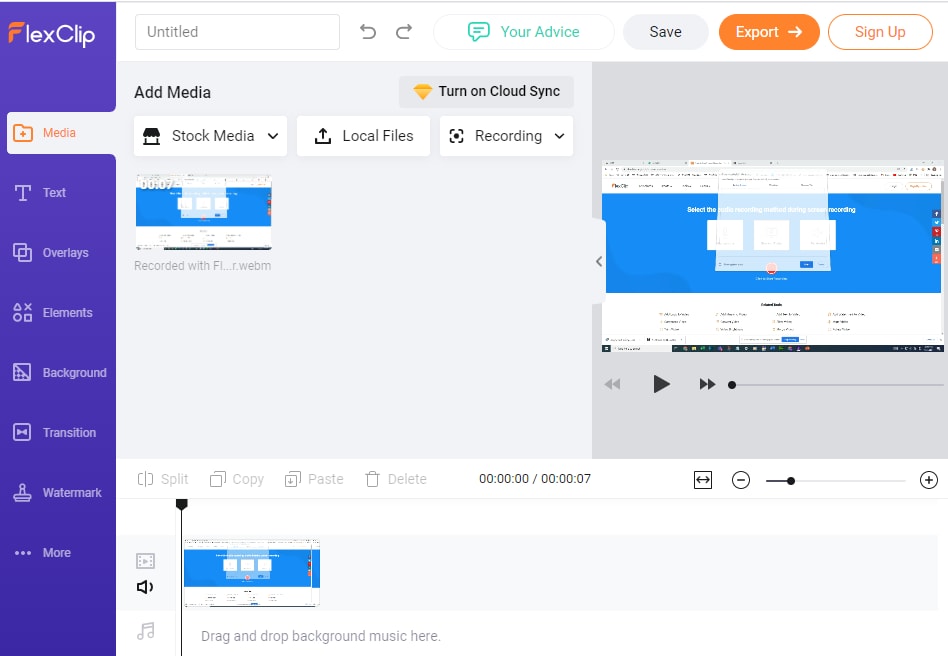
Once you recording is finished, you can edit your video with FlexClip.
Pros
It has many editing tools, converter, compressor, transition, and video effects.
It can be accessed from any device with a stable internet connection as an online tool.
There are ready-made templates for you to choose from. You don’t have to start from scratch if you don’t want to
Cons
Once you make a mistake, you might need to delete that particular element because Flexclip doesn’t have an undo button.
The processing is kind of slow.
It is not free, and the free version has some limitations
Part 2. Limitations of Online Screen Recorders
1. Need a stable internet
These gems would inevitably require a stable internet connection for a smooth, free screen record online as an online tool. Your recording may break or crash midway if your connection goes off, which is one of the disadvantages of online screen recorders
2. May not be safe
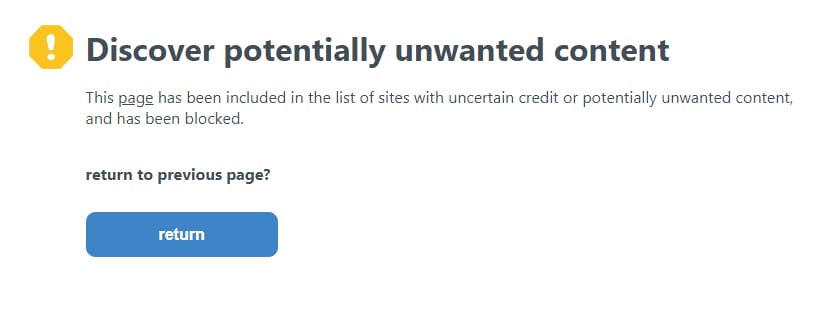
The website as we know it is full of the good, the bad, and the ugly. If a virus manages to get into your system, that would surely be not nice. You should only use sites you trust or recommended by trusted websites.
3. Some of them contain ads
Not all but some and mostly free online screen recorder. Ads can be annoying, and some websites are so full that it covers the whole screen and hinder your work. You should know that ads also comes with virus, so a website that hosts a lot of ads is at risk of hosting a virus as well

4. Limited editing feature
It is only normal for online apps to have limited editing features because most of the resources packed into them are being fetched from the cloud, and there is a limit to the number of resources a website can hold. Unlike desktop apps that can hold unlimited resources, the only thing it has to pay would be size and specs.
Part 3. A Helpful Alternative to Online Screen Recorders
There are very few free online screen recorders that can compete with desktop apps. Still, even fewer desktop apps can compete with the flexibility of online apps, and Uniconverter is one of them. Others may include OBS and Bandicam, to mention a few. Let’s talk about Uniconverter now.
Uniconverter is undoubtedly one of the best video editing tools outdoor. It humbly claims to be one of the best because there is always someone or something better than you, no matter how good you are. Uniconverter does not have a particular main focus, it has a wide range of tools, and each one is powerful on its own. The converter can convert to and from over 100+ formats, including website and device formats, the compressor can compress video to over 70% of their original size, and can keep the quality of the original up until 60% compression, the merger can merge an unlimited number of videos even if they are of different formats and so on. A lot can be said about the functions and features of Uniconverter, but it is better to use it yourself to test it out
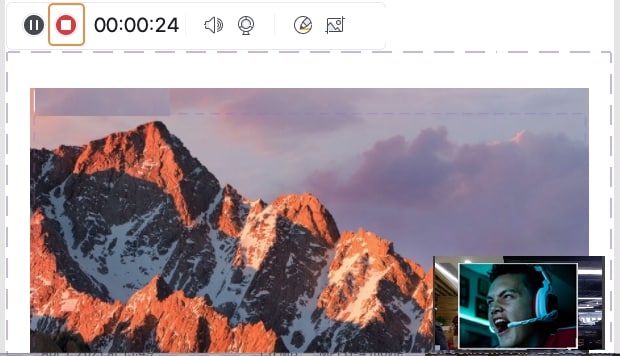
On the Screen recording, Uniconverter can record screen, webcam, and audio simultaneously, and it has the picture-in-picture function.
Steps to Record Screen on Uniconverter
Step 1 Launch Uniconverter 13 and Click on Screen Recorder
The latest version of Uniconverter has many features, so if you do not want to miss out on the cool new features, then download the new Uniconverter 13. After downloading, installing, and launching, on the main interface of the Uniconverter software, there is a list of tools on the left side, locate and click on Screen Recorder.
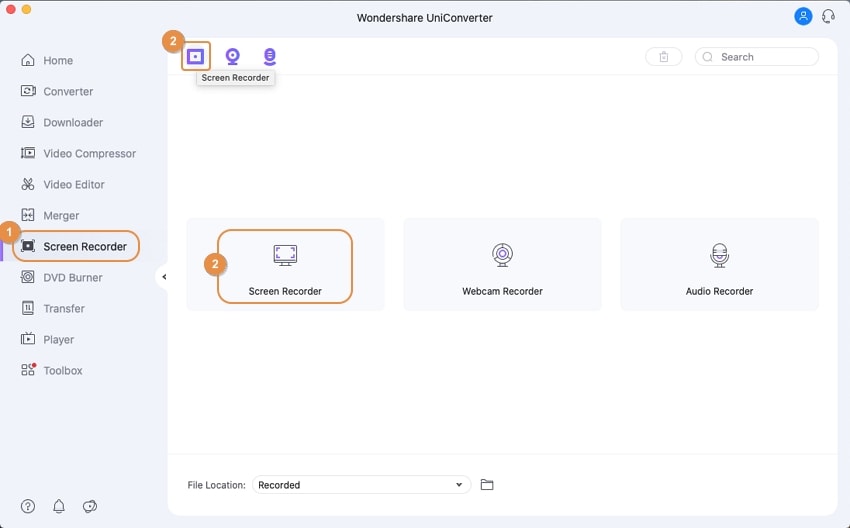
Step 2 Select Screen recording, adjust settings and start recording
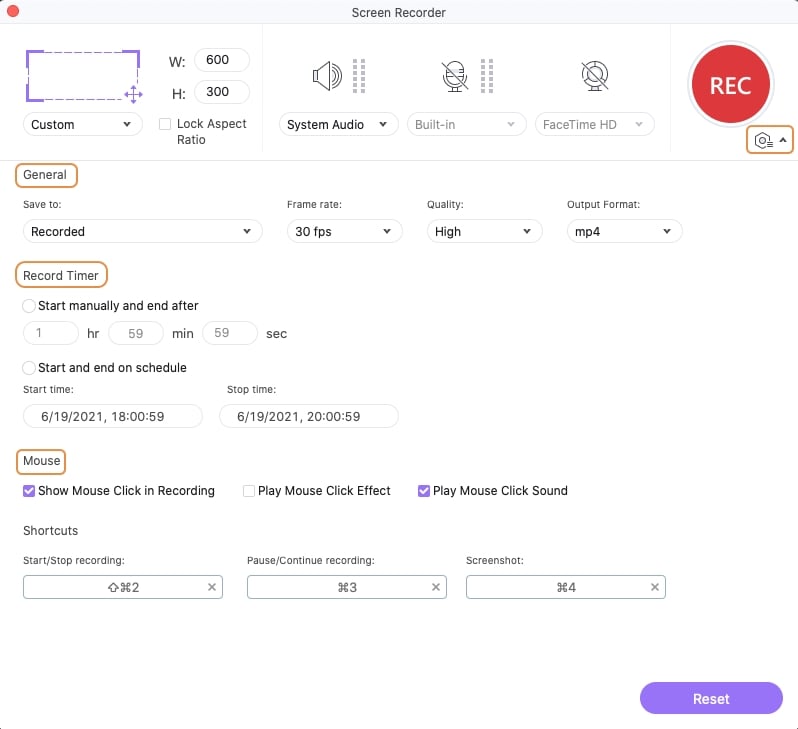
The next screen would be the recorder screen. Uniconverter has three recording options, Webcam recording, Audio recording, and Screen recording. Click on screen recording, and some additional settings for screen recording will appear. Here, you can set which part of the screen you want to record and select whether to use an external or system microphone. Click on the red record button to begin recording.
Step 3 Stop Recording and Save
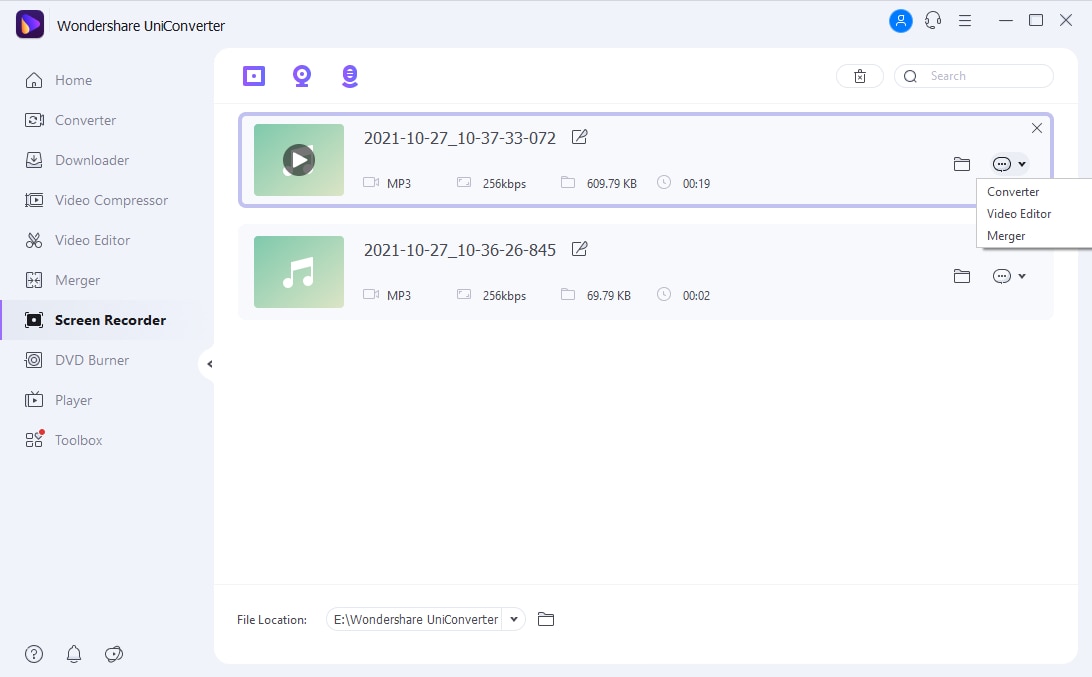
Click the same red button to stop recording. You will do some editing like cropping, trimming, and adding effect before finally saving. The recorded video will be saved to the Uniconverter folder in your local disk. However, you can change this by clicking on the File location tab at the bottom of the interface.

Wondershare UniConverter 13 - A Complete Meida Toolbox
5,481,435 people have downloaded it.
UniConverter supports many formats and handles conversion equally, ensuring that high quality is delisered at all times.
During the conversion process, you may add multiple files since the program does batch conversion of files.
You can use the editing suite that covers subtitle editing, watermark editing, etc to make your results creative masterpieces.
This software facilitates file transfer to devices like Android and iPhone among others once the conversion is complete.
UniConverter is also capable of handling video compression hence ensures you acquire the video sizes you desire.
For Win 7 or later (64-bit)
For macOS 10.12 or later

