How to Record Audio on Mac
Uniconverter for Mac can also record audio, which you may use to add to your videos while giving voice-overs. This method is particularly great if you're learning to be a voiceover artist and need to put in a lot of practice time before you can start working on real assignments. Whatever the reason, here's how to record audio on your Mac with Wondershare UniConverter:
How To Record Audio On Mac-Uniconverter (Mac) User Guide
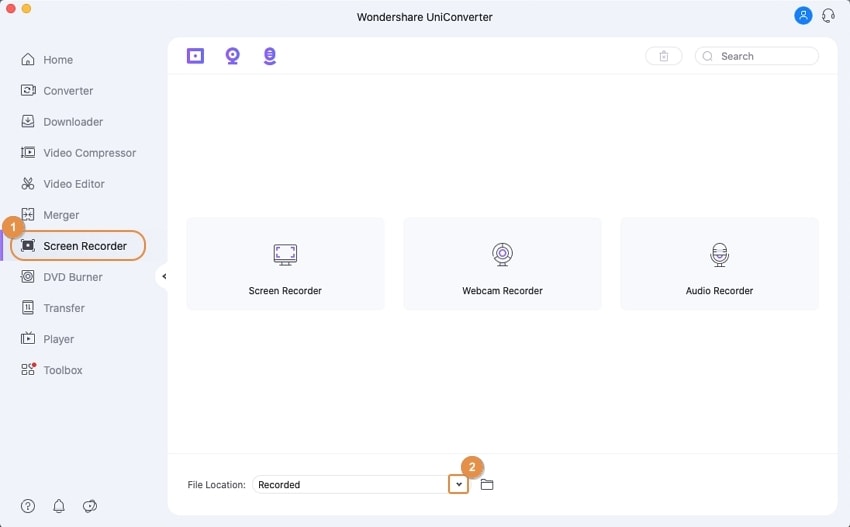
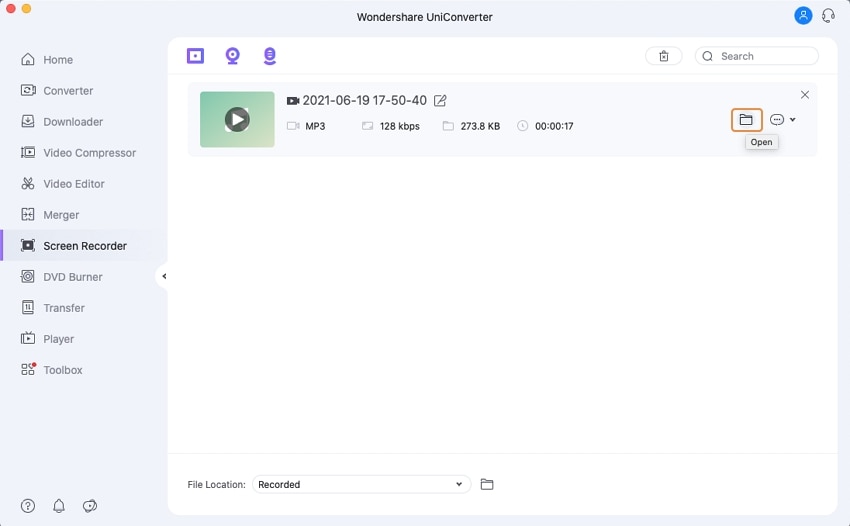
To specify a default output folder for the recorded files, open Uniconverter on your Mac, browse to the Screen Recorder category in the left pane, and use the File Location option at the bottom.
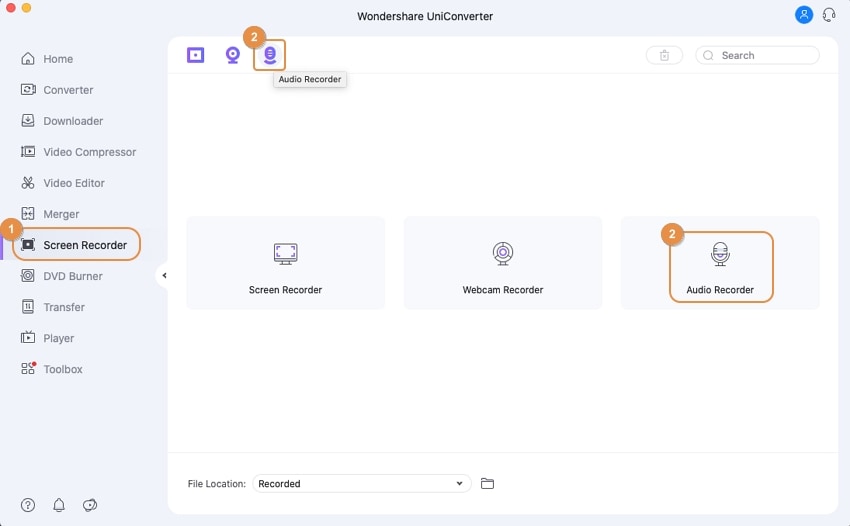
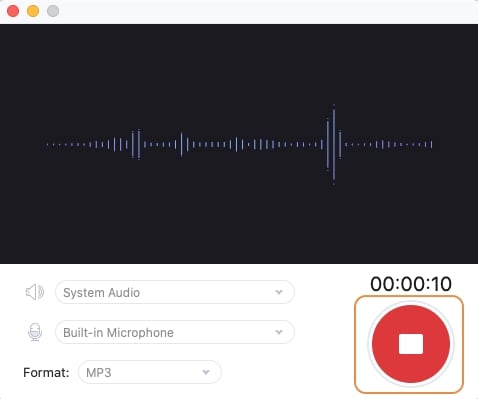
To access the Audio Recorder window, click the icon.
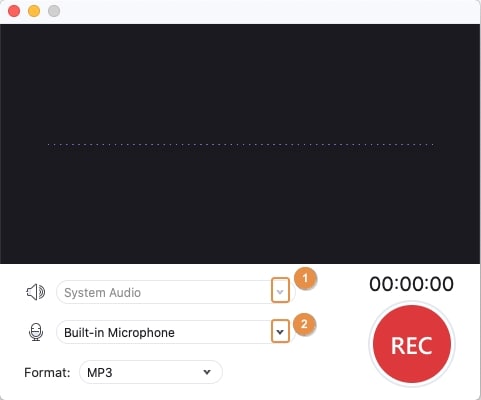
From the Microphone and Audio (Speaker) drop-down lists, select your chosen voice and system recording equipment.
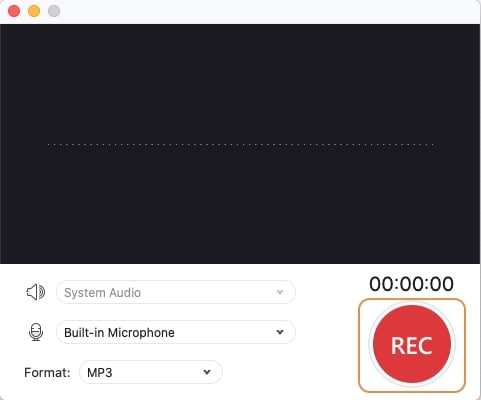
To start recording audio, click the REC button, and when you're finished, click Stop. You can find the recorded file in the Screen Recorder window's list or by heading to the default save folder you chose in Step 1.
User Guide
-
Get Started Easily
-
Convert Video
-
Edit Video
-
Compress Video
-
Recorder
-
Downloader
-
Burn DVD
-
Merge
-
Convert Audio
-
Toolbox