- Comes with an in-built burner. Now rip, burn, or copy your AVCHD files to Blu-ray for backup.
- Many handy tools installed, for example, metadata, GIF, convert VR videos, and even record screens.
- Lets you do batch conversion and merge videos also.
- Download online videos as well, from some of the top platforms, such as YouTube, Netflix, Break, Flickr, Vimeo, Hulu, and more.
All-Around AVCHD Blu-ray Converter
by Brian Fisher •
AVCD Blu-Ray converters let users convert any video format to Blu-Ray disc. After the conversion is done, you get to use the Blu-Ray disc to play in any of the Blu-Ray device. Here in this article, we will talk about how to convert AVCHD to Blu-ray easily, so that you get to use your Blu-ray disc and play it on your Blu-ray player.
- Part 1. Knowledge Base Overview Blu-ray Disc Player
- Part 2. How to burn AVCHD project to Blu-ray Disc
- Part 3. Convert AVCHD to Blu-ray in Easiest Way
Part 1. Knowledge Base Overview Blu-ray Disc Player
Blu-Ray is undoubtedly one of the popular HD disc formats and it was introduced in the year 2006. It allows users to have a better depth, detail and better colour viewing experience. Blu-Ray was built to replace standard DVDs and for better and higher-quality TV viewing, as well as, listening experience. In the year 2015, Ultra Blu-Ray disc format came into the picture. Ultra Blue-Ray and standard Blu-Ray has the same format.
However, the newer version was developed keeping in mind the 4K resolution playback. You will not be able to play an Ultra Blue-Ray in any of the standard Blue-Ray systems. Since, Blu-Ray provides better listening and viewing experience, people often search for AVHCD to blue ray converter. This allows you to use AVCHD in Blu-ray players.
Part 2. How to burn AVCHD project to Blu-ray Disc
A Blu-Ray disc can hold more files than a normal CD or DVD. To be precise it can store up to five times more than the regular DVDs or CDs. Blu-Ray uses blue-violet rays instead of normal red laser. The result, shorter wave lengths to read more bits.
- Blue-Ray is by far the best way to enjoy a movie in high definition. If you have a home theatre that supports Blu-Ray, then you will undoubtedly have a better movie watching experience.
- Users don’t need to connect their player to the internet to operate on their Blu-Ray player.
- If you want to enjoy a Blu-Ray video streaming online, then you may use the internet. Otherwise, if you are using a Blu-Ray disk, then no internet connection is required.
- Blu-Ray supported TV also allows you to use your Blu-Ray disks as well.
- It provides faster playback, as well as burning speed.
- Users get 7.1 channels of uncompressed audio, for optimum sound quality.
Part 3. Convert AVCHD to Blu-ray in Easiest Way
If you are looking for the best and the easiest way to convert AVCHD Blu-Ray, then do it by using UniConverter. It lets you convert any of your AVCHD files to Blu-Ray easily and conveniently. Also, it is easy to use the software as well. Not just Blu-Rey, you can use it to convert and AVCHD files to more than 150 formats.
Main Features of UniConverter:
- Easy and super-fast convert AVCHD to Blu-ray formats.
- Extract audio from standard, as well as HD video and maintains standard video format.
- Converts video so that you get to play them in different devices, for instance, LG, iPod, Xbox, and more.
- Transfer your files to your mobile through USB once the conversion is done.
Use UniConverter to burn any of your AVCHD files to Blu-Ray easily
Step 1: Upload your AVCHD files
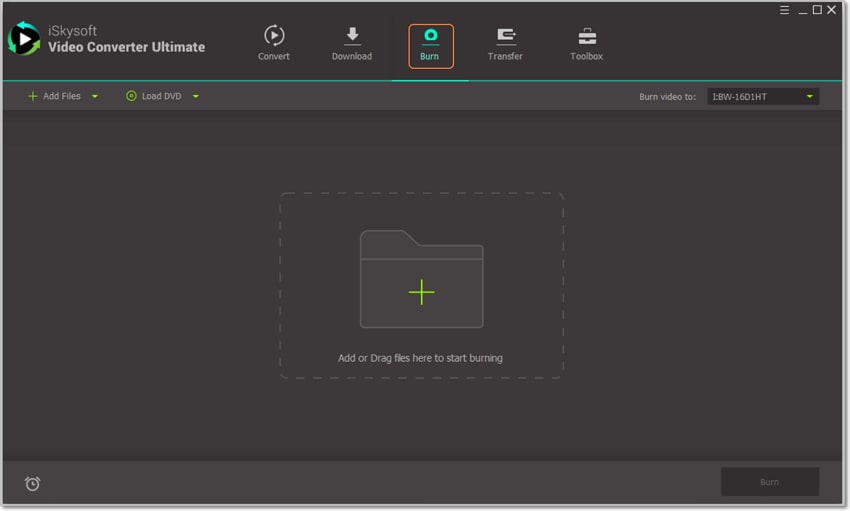
Upload the AVCHD file to the computer to start burning the Blu-Ray disc in the Burn Menu. Here’s what you need to do. Choose the BDMV folder to select the files you want to convert. After the BDMV file opens, select Stream folder now click on MTS files. Once you are done selecting the files, you need to go to the burn section to start burning the files to a Blu-Ray disc.

Step 2: Edit whenever required
If you wish to edit the file before burning, then select the Edit option. You can rotate your video, add subtitles, and even add watermarks as well. Click the OK once done.
![]()
Step 3: Personalise your Blu-Ray disc
After you are done with editing, you can personalise the content also. You can select from 25 pre-sets available in the software. You can choose from science, style, wedding, nature, romantic, etc. You can also add a name to your Blu-Ray as well. Along with that, you can also change the aspect ratio if you want.
![]()
Step 4: Burn your AVCHD video to Blu-ray
Select the DVD 5 or the DVD 9 option near the Burn button and you are finally ready to burn your AVCHD video to the Blu-Ray disc. Go on and press the Burn and your disc will be ready in sometime.
![]()

Brian Fisher
staff Editor