UniConverter - Compress Large Video Files Just 3 easy steps
UniConverter Version 13 provides powerful compressing features with easily customizable settings. Free try compress large video files just 30 secs and 3 easy steps
When video files are large in size and number, sending them over the mails becomes difficult due to the limitation of the size that can be shared over an email. Compressing these files reduces the size and thus makes them possible to send through mails as well as upload to the web and social media sites. So, if you too want to compress your videos, we have selected the top ways on how to compress and a video to send in email on Windows and Mac systems.
There are several ways and tools that can help you to compress the videos to be shared over an email. Check out the popular ones as below.
In this article
Part 1. Using a professional video compressing software- Wondershare UniConverter
Using professional compression software is the best way to compressing your videos without losing quality. Wondershare UniConverter is one of the best software that allows compressing the videos in batches by changing the format, resolution, and other parameters. Option for preview is also available and the program supports all popular formats. Additionally, Wondershare can also be used for several other tasks like video conversion, download, recording, DVD burning, and much more.
Steps on how to compress a video for email using Wondershare UniConverter
Step 1Launch Professional Email Video Compressor and add videos
Open the software and from the main interface choose the Video Compressor option. Click on the Add Files icon or the + sign to browse and add the videos to be compressed. Multiple files can be added here.
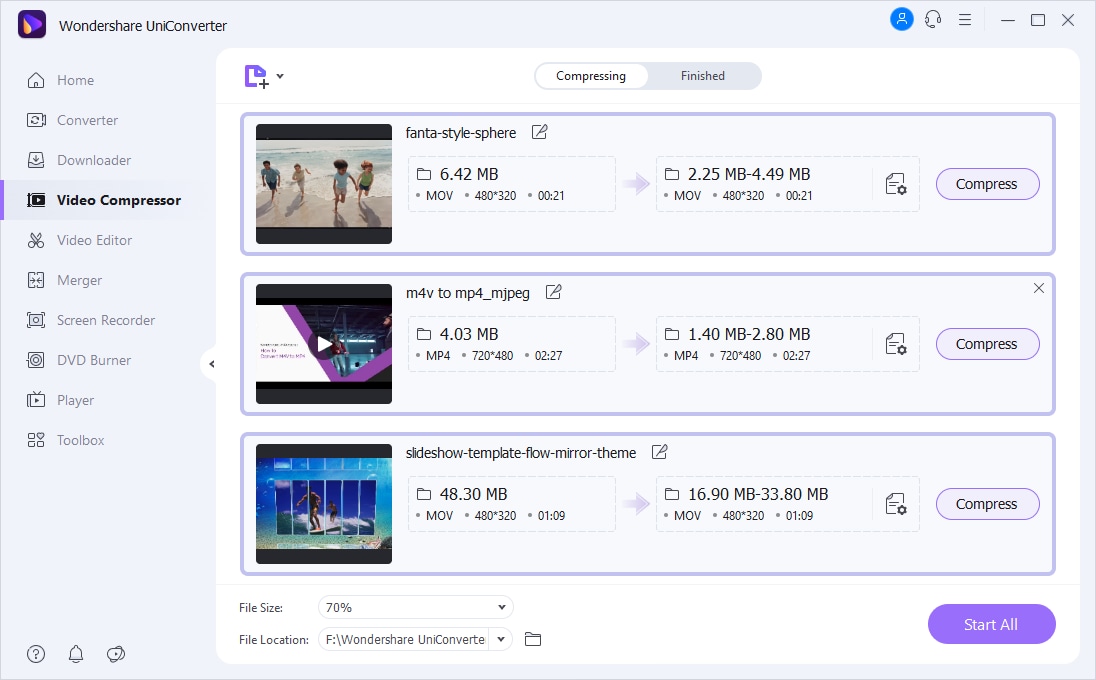
Step 2Customize Video Parameter Settings Before You Start Compress
After the files are added to the interface, click on the settings icon next to the added file and a pop-up window will open. From this window move the slider to select the desired file size. Bit rate, format, and resolution can be selected from their respective drop-down menu so as to reduce the size..
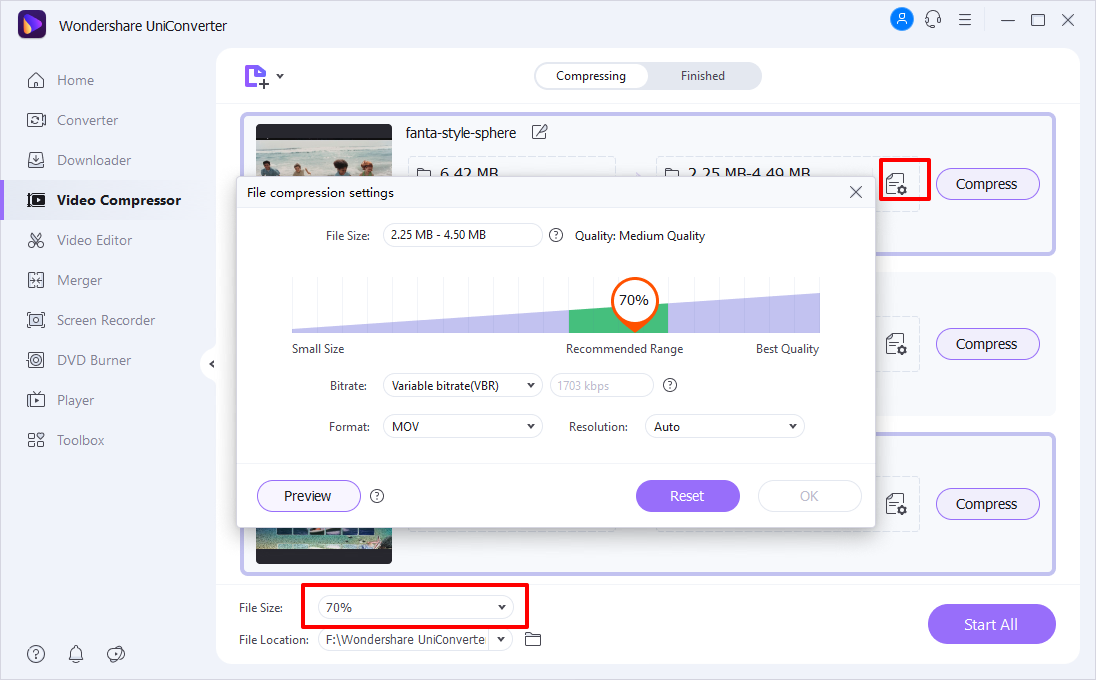
Preview will let you check the file while clicking on the OK button will confirm the settings.
Step 3Compress Video for Email
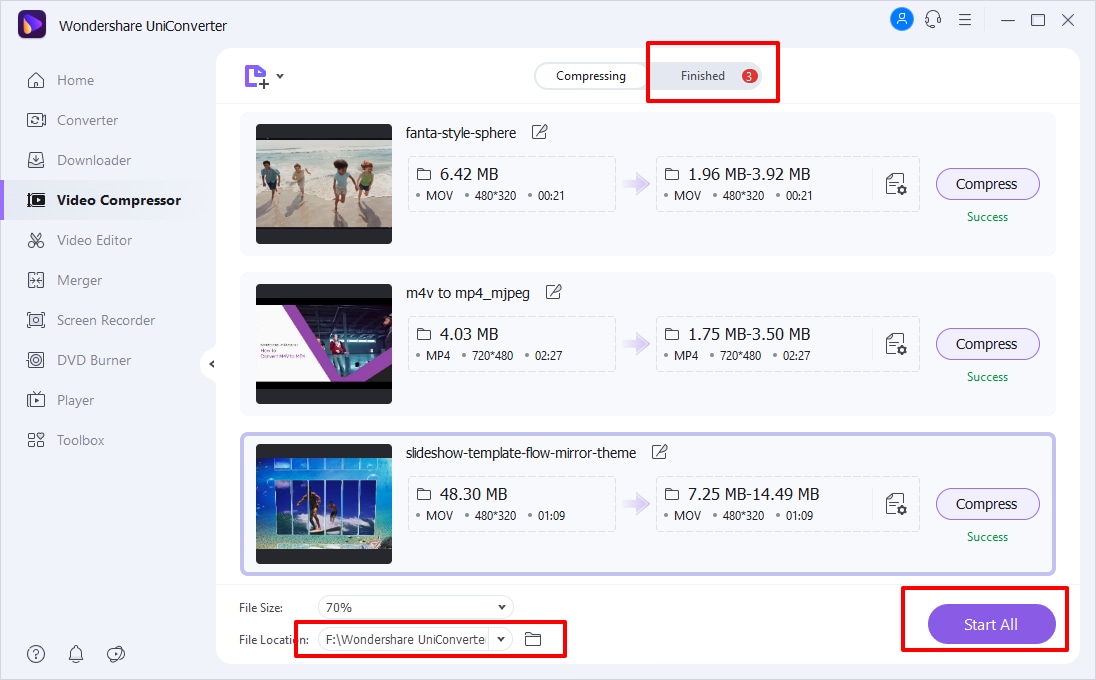
At the File Location tab, choose the folder to save the processed videos. Click on the Start All button to finally start the video compression process.
Method 2. Cutting useless video clips using Wondershare UniConverter
Cutting the video parts that are not needed or useless helps to reduce the file size and thus make them easier to share and send. Wondershare UniConverter being a complete video toolbox works as the best software to get this task done in a quick hassle-free manner. You can cut and remove the start, end, as well as mid parts of the video. The software also allows you to divide the video into multiple parts, remove the ones not needed and then merge the remaining ones.
Steps on how to cut useless video clips using Wondershare UniConverter
Step 1
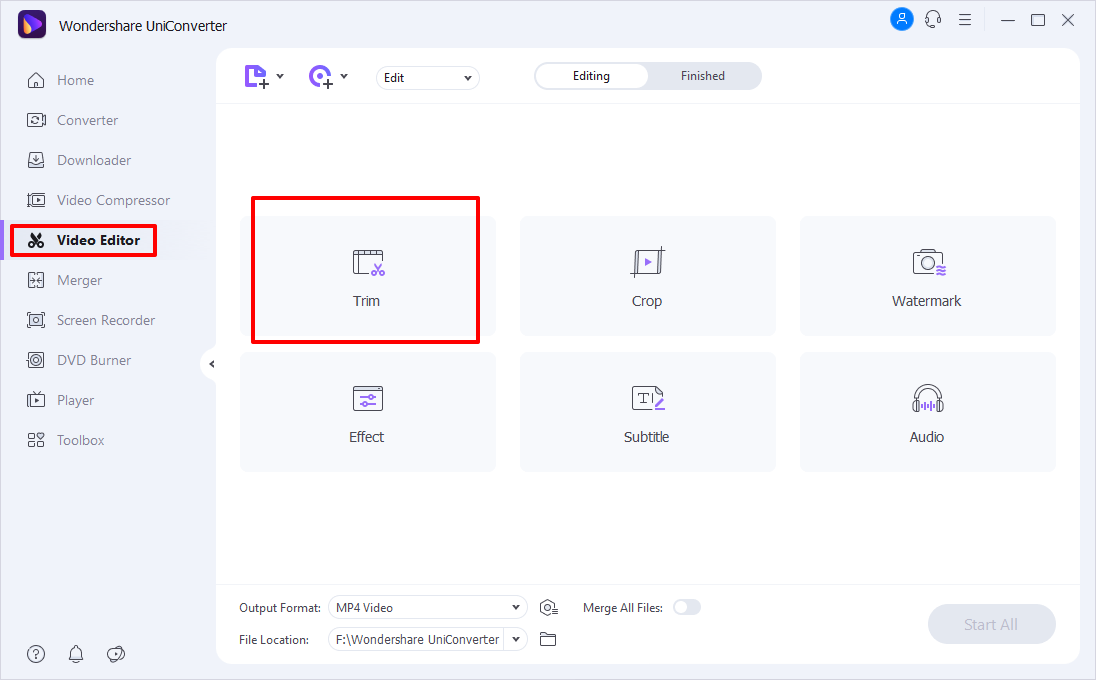
Launch the software and from the main interface choose Video Editor. Multiple editing options will appear from where choose Trim and then browse and select the video that has to be edited.
Step 2
After the desired video is edited to the interface, you can trim the start and the end parts by simply placing the mouse at the start or the end and dragging the file to the desired position.
Step 3
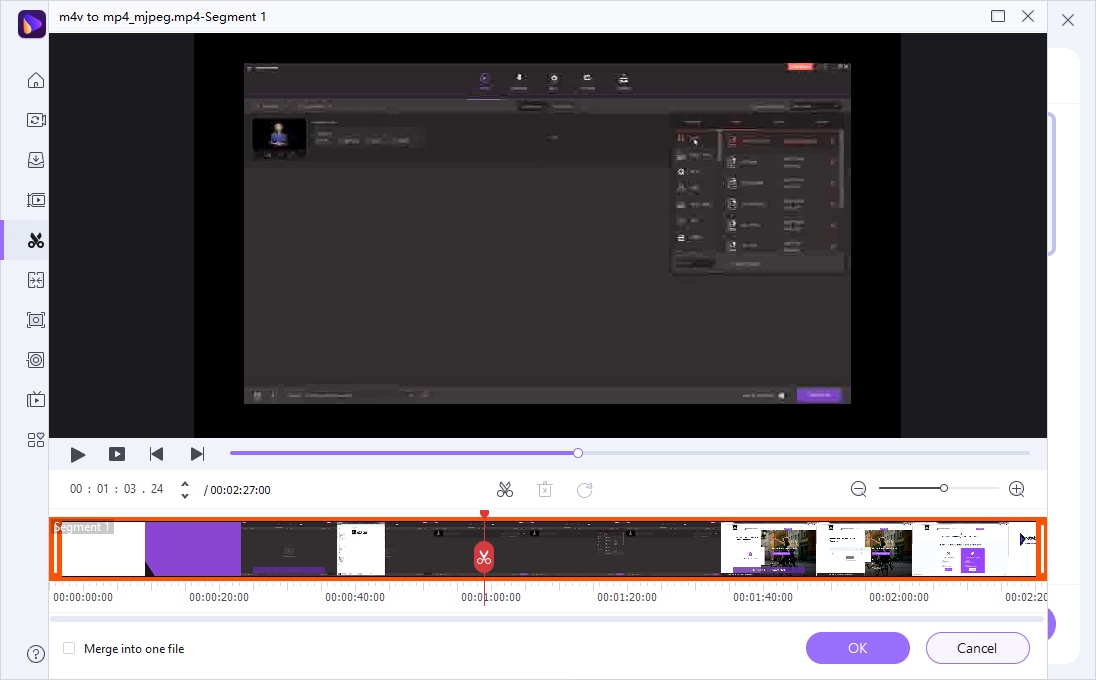
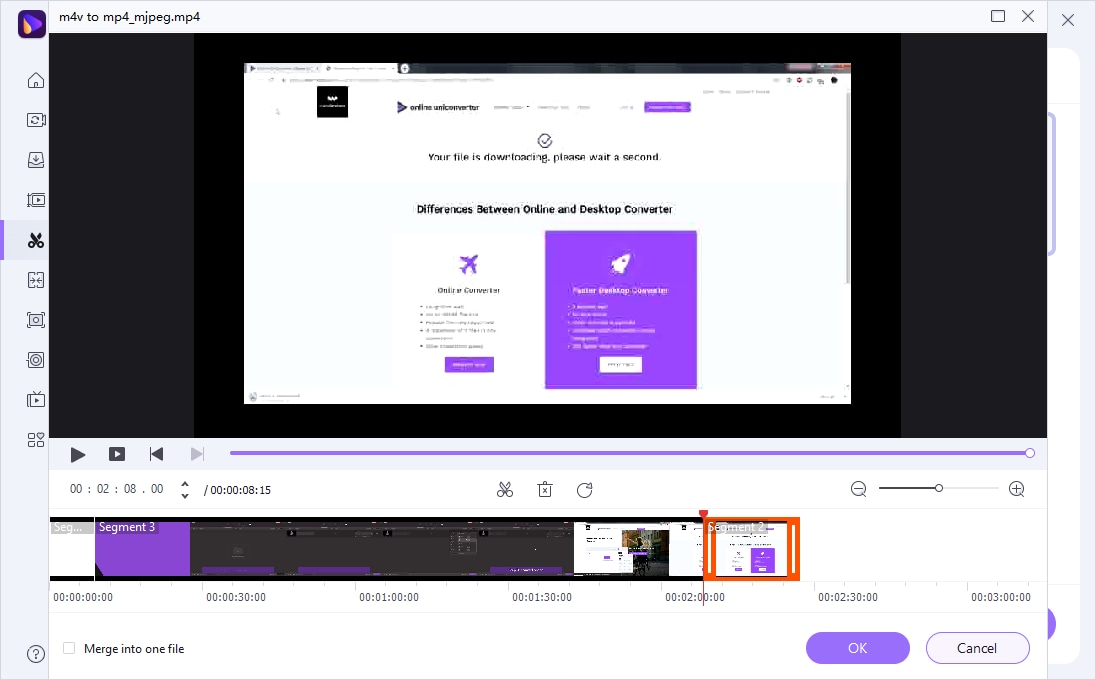
To trim multiple parts or the videos from between, move the slider over the video and then click on the scissor’s icon. This will mark the selected video as Segment 1. Similarly, your entire video can be divided into multiple segments.
Step 4
Next, choose the segment that you do not want and then tap on the Delete icon. This way, remove all the useless video parts. To merge all the remaining parts of the file, click on the checkbox next to Merge into one file.
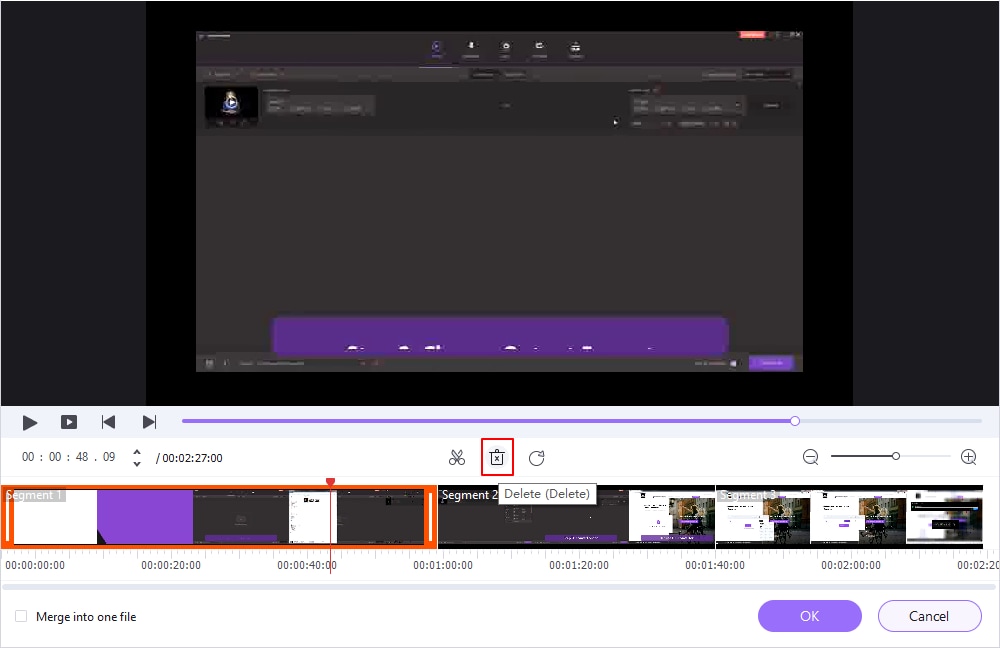
Tap on OK to confirm the settings.
Step 5
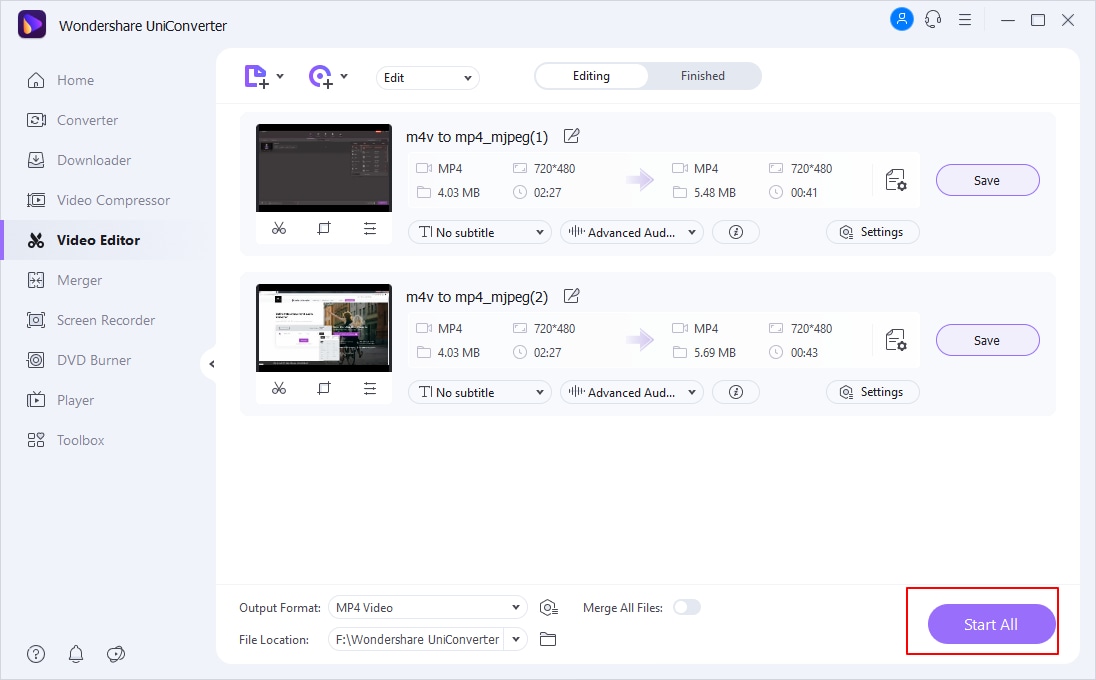
The file with the removed parts will now appear on the interface and here you can further customize it by selecting the target format from the Output Format drop-down list. Tap on Start All to proceed with the final processing of the file.
Method 3. Using ZIP files
Using the zip files is another simple and quick way to compress and reduce the file size and send them over an email. The recipient upon receiving the file can unzip the same and use it as needed. Multiple files can be stored in a folder which can be then zipped and send over an email. The process to zip and unzip is simple and quick.
Method 4. Using Cloud Service
Mails have a limitation to the file size that can be shared and send over. Cloud Services here works as a great solution to share large-size videos and other data. Using services like Google Drive, you can upload all your videos and other data on the cloud services and then share the link of the same to the desired person. Using the link, the recipient can have access to the files uploaded over the cloud storage. Moreover, using Cloud services makes your file safe and allows access anytime anywhere.

Method 5. Uploading the video to YouTube and sharing the link
Another simple and cost-effective method to share your videos is by uploading them to YouTube and sharing its link. We all know YouTube to be a huge platform for all types of videos and movies. In addition to viewing videos, you can even upload yours on the platform. You can create your own channel and then upload the videos to the site for free. The link to the uploaded video can be shared with anyone who wants to view the same.

Compress Large Video Files Summary:
Above we have listed various ways to compress video files for email. Though zip files, cloud service, and uploading to YouTube are effective, they are not actually the process of compression but are a workaround. For actually compressing your files tools as Wondershare UniConverter works best. Additionally, the software supports many other functions for customizing your videos and make them look professional.

