by Brian Fisher • • Proven solutions
According to Apple's website, iTune only supports video files encoded with and MPEG-4 and have the file extensions of MP4, MOV and M4V, or anything can played with QuickTime. So if you want to transfer AVI files to iPhone/iPad/iPod, you have to convert them to the above video formats and import them to iTunes to sync with your iPhone X/8 (Plus)/7 (Plus)/SE/6s (Plus)/6 (Plus)/5s/5c/5/4s/4/3GS, iPad Pro/Air/mini or iPod touch. In such cases, a powerful video converter is in need.
Simple Way to Transfer AVI Files to iPhone/iPad/iPod via iTunes
UniConverter for Mac is fully compatible with all Apple devices, including iPad Pro and iPhone 8 (Plus). Sometimes, you may wonder what formats are supported by your iDevices but can't figure it out. Actually you don't have to. This AVI to iDevices Converter includes the preset profiles so that you can just choose the suitable device you want your files to be stored in and the program will do the rest. That means you don't have to set the resolution, frame rate, bit rate, or video format etc. With this application, you can even transfer HD AVI files to your iPhone/iPad/iPod and enjoy them on the go. Now download the AVI video converter first and then do the follow to transfer AVI videos to iPhone/iPad/iPod effortlessly.
UniConverter - Video Converter
Get the Best AVI to iDevice Video Converter:
- Wide range of video and audio conversion – UniConverter converts over 150 video and audio formats.
- Very fast conversion – this is a tool that converts videos at an industry-leading 90X speed. No other converter can boast of the same.
- Lossless speedy conversion – although the speed of conversion in high, the video does not lose its quality, since there is no compression done.
- Video editing – you do not need to take your video to an external editor first. You can simply edit it in the inbuilt video editor.
- Media player – you can watch your production on the inbuilt media player; there is no need of going to an external media player.
- Store your work in various forms – you can send the output directly to a DVD disc, as well as to the hard disk, iPhone or iPad. Internet uploading is also possible.
User Guide to Transfer AVI Files to iPhone/iPad/iPod via iTunes
Step 1. Add AVI Files
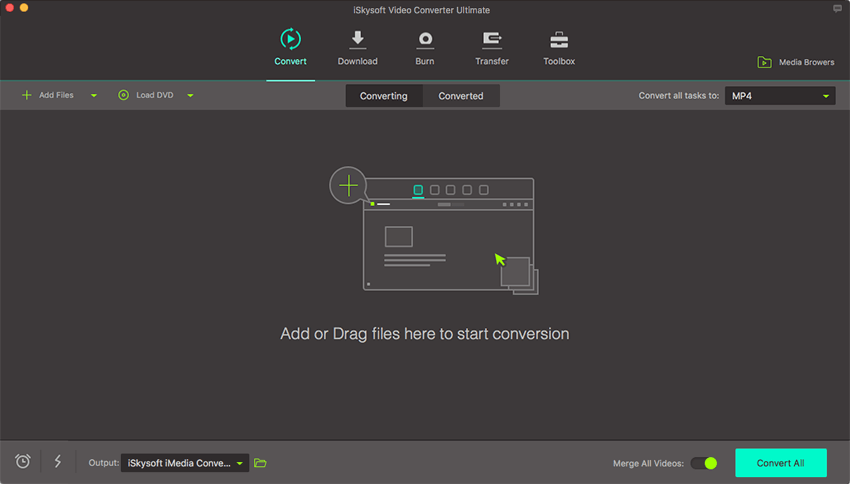
After you have installed the iMedia Converter, launch it and you'll see the primary window. You can add the AVI files you want to convert by simply dragging and dropping them to the application, or you can also go to "File" and choose "Load Media Files".

Step 2. Choose iPhone/iPad/iPod Output
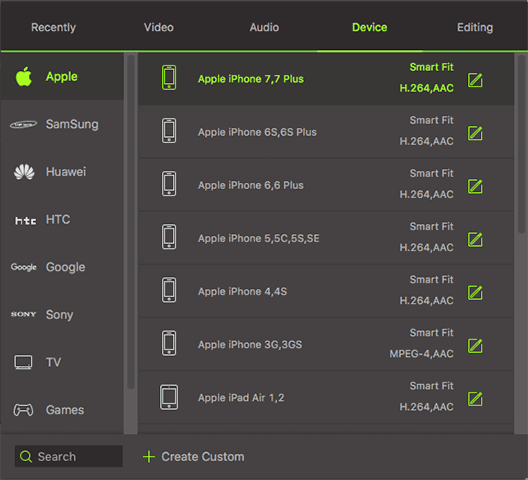
Click "Devices" icon to set your output format. The format, resolution, frame rate and other video settings have been optimized for your selected device. All idevices are supported, and you can choose "iPad", for example, as the output device.

Step 3. Convert and Transfer
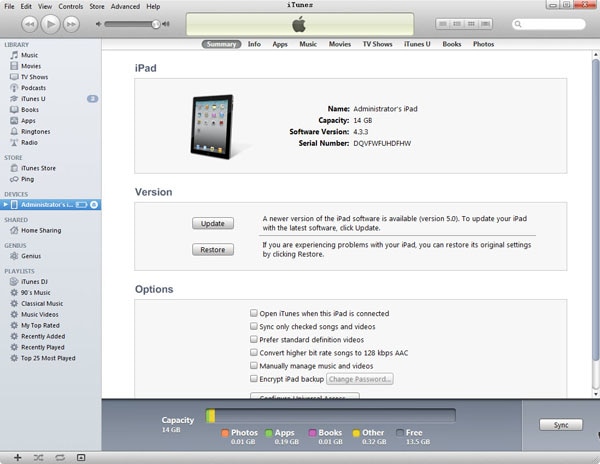
Lastly, click the "Convert" button at the bottom to kick off the AVI video conversion. The conversion won't take long. It mainly depends on the file size. The final iDevices-compatible video will be added to iTunes library automatically. To transfer them to your idevices, connect your device to iTunes, choose your device from "DEVICES" list on the left of iTunes, and go to "Movies" tab on top to click "Sync" button to go.


Brian Fisher
staff Editor