by Brian Fisher • • Proven solutions
YouTube is one of the most popular video-sharing sites where you can find all sorts of videos including music video, movie trailer, funny video, educational video and more. Of course, it’s also one of the hottest place you can share your videos with others. For example, if you have some funny video shots which are taken from your party, you can easily share them on YouTube by logging in YouTube with an account. Well, there is one thing you should know before the video upload: YouTube only allows you to upload video in some particular formats for sharing.
Easy Way to Convert Videos to YouTube Supported Video Formats
Your video aren’t in the compatible video formats? Don’t worry. You can convert to YouTube video formats with the help of a professional video converter – UniConverter. With an intuitive user interface, you can easily convert any video to YouTube formats. By using the latest encoding and decoding technologies, the Mac app even keeps your video quality after the conversion. Moreover, there is an optimized preset for YouTube which you can choose to simplify your conversion.
UniConverter - Video Converter
Get the Best YouTube Video Converter:
- Intact Quality of Video Codecs: Conversion of Video formats with original quality without any loss in data.
- In-Built Functions: Access to an In-Built Player for easy preview and editing of video or audio files
- Unique Personalization Options: Change Resolution, Frame Rate, Bit Rate, Encoder, Brightness, contrast or saturation point.
- Handy Tool for Direct Conversion: Convert any video files from Internet into other video format as per your device.
- Create DVD Movies: Convert, Edit & Burn Videos into DVD files within seconds.
- Supports Diverse Applications: Convert and export any video for streaming iMovie, Final Cut Pro and many other applications.
How to Convert to YouTube Video Formats with iSkysoft
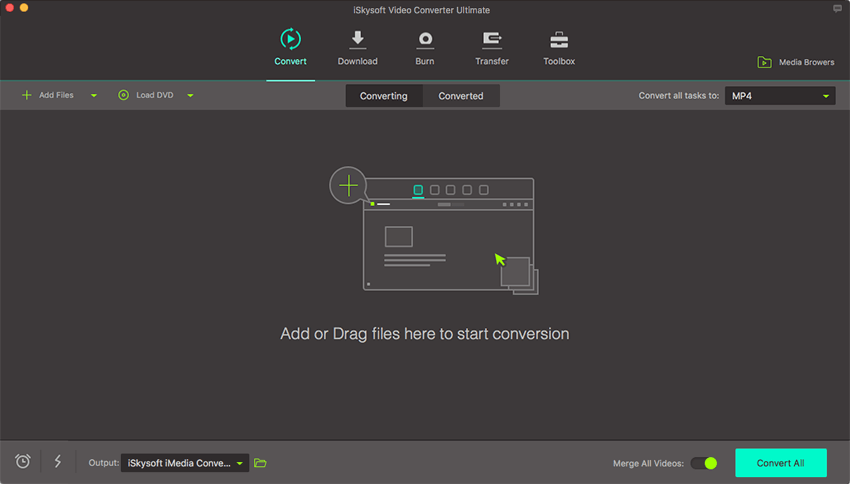
Step 1. Import videos to the YouTube Converter Mac
Download and install the Video Converter, run it. To add videos to the Mac app for converting, you can directly drag and drop your source video files to the program, or go to the "File" menu > "Load Media Files". It's available for Batch conversions.

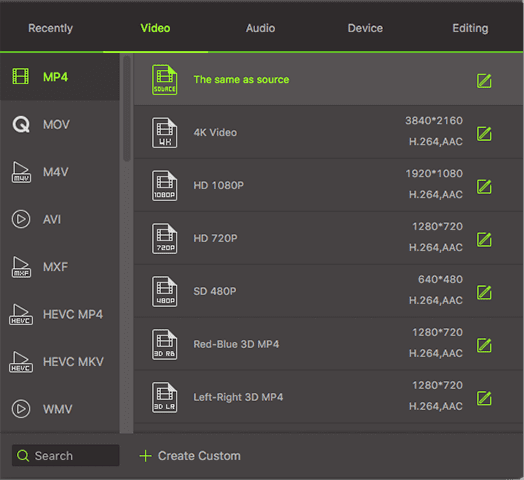
Step 2. Set the output format
Open the output formats list and set a proper format as your output one. FLV here is strongly recommended for its popularity in streaming online videos. The size of FLV file is much smaller than others. The Mac Converter additionally provides some editing functions for you to enhance your video. For example, it's available for you to add subtitles to your video. Learn more: Video Converter for Mac User Guide.

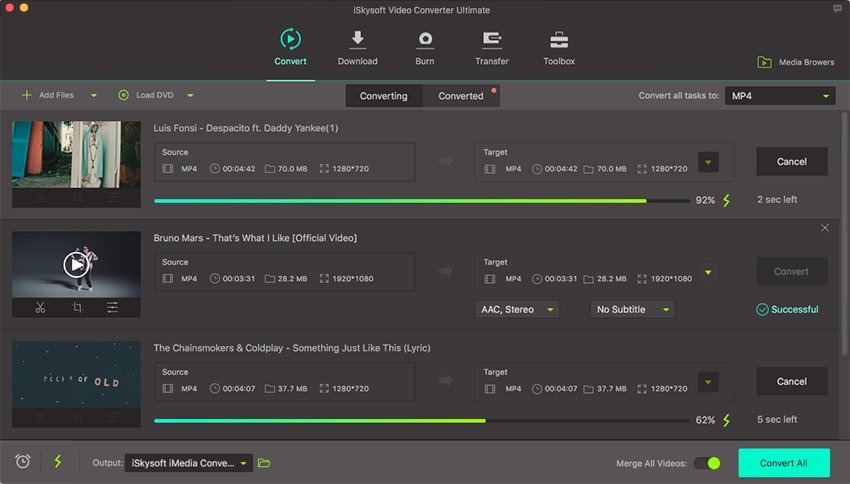
Step 3. Start the video to YouTube video format Mac conversion
Now all you need do is to click the Convert button at the bottom of the main interface. And the intuitive Mac Video Converter will finish the rest automatically for you.
You can specify the output destination: Head to the top menu bar > Video Converter > "Preferences" > "Convert" > "Output Folder".

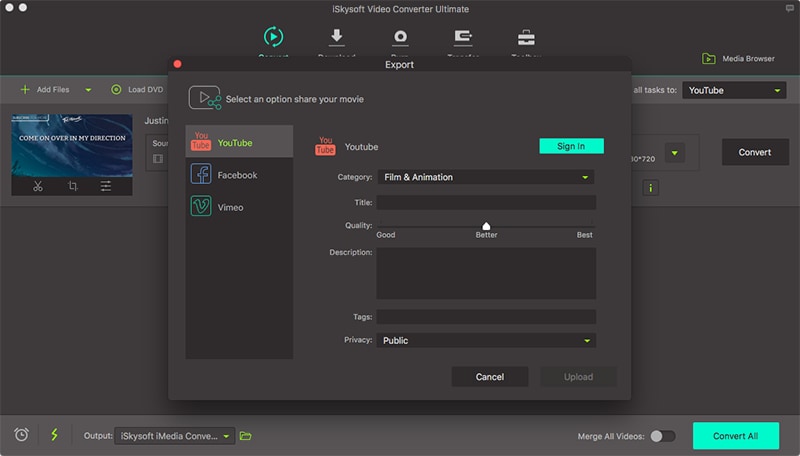
In fact, UniConverter allows you to upload videos to YouTube without selecting the output format. After importing your videos, please go to the "Export" menu and then choose "Uploading to YouTube". It will be pop-up windows immediately. Now please log into your YouTube account for uploading videos directly.

Tips: List of YouTube Video Formats
3GP (a multimedia container format defined by the Third Generation Partnership Project (3GPP) for 3G UMTS multimedia services.)
AVI (Audio Video Interleaved,a kind of video format)
MOV (the QuickTime multimedia file format)
MP4 (a multimedia container format standard specified as a part of MPEG-4)
MPEG (the Moving Picture Experts Group, a kind of video format)
FLV (Flash Video, a kind of video format)
MKV (an free container format that holds an unlimited number of video, audio, picture, or subtitle tracks in one file)

Brian Fisher
staff Editor