by Brian Fisher • • Proven solutions
Leawo Video Converter is the popular HD video converter. This software works great for HD quality and standard videos. It is great for converting to all video and audio formats. Along with delivering high quality videos, you can also create your own 3D videos. Your regular home videos can now be viewed in 3D, and you have six different 3D options to choose from. When you convert your videos, they can be viewed on some of the most popular electronic devices, like iPad Air, iPhone 6, and Lumia 920. The converted video will not lose its HD quality on these devices.
- Part 1. How to Convert Your Videos with WinAVI Video Converter
- Part 2. Best WinAVI Video Converter Alternative - UniConverter
Part 1. How to Convert Your Videos with WinAVI Video Converter
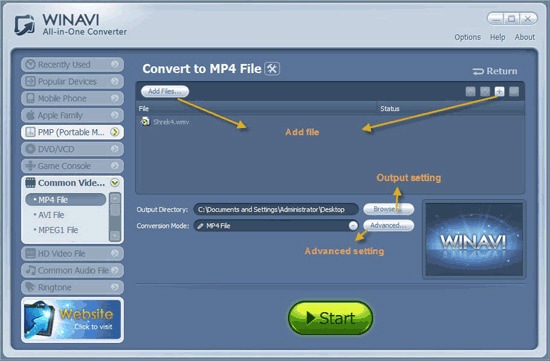
Step 1: Add Files. Install the software and open the program to convert your video. On the home page, you will see that you have three different video formats that you can choose from: "AVI", "RM", and "WMV". The RM format are files that are played on RealPlayer, while the AVI and WMV files are played on the Windows Media Player with the ability to be played through other media players.
The next step is to select which files you want to have converted to that format. A "Converting" window will appear, after you select your videos. You also have the ability to add additional files by selecting the "plus" icon that is located underneath the "File(s) that will be Converted" section.
Step 2: Choose Output. The next step is to select which folder that you want your converted files to be saved to by selecting the "Browse" button that is located underneath the "Output Directory" section. There is also the "Output Format" section that allows you to edit the settings of the format, such as "Audio Adjust", "Subtitle Adjust", "Encoder", "Video Adjust", and "Decoder". You simply select the "Advanced" button to make these changes.
Step 3: Convert. After you have your settings and the destination folder, you simply click the "OK" button to begin the conversion process. Once the quick conversion is complete, you can access the converted file from the folder that you chose.
Step 4: Burn Files to DVD. The other option on the home page is the "DVD" icon, which allows you to place your files on DVD. When you select the icon, you will have to select which video files you want to record onto a DVD. Check to make sure that the "Output Format" section is labeled as "DVD". Afterwards, you can select the "OK" button at the bottom of the screen to begin the process.

Part 2. Best WinAVI Video Converter Alternative - UniConverter
With the ability to convert to over 150 different formats, UniConverter is the best alternative for your videos. You can Burn to DVDs as well. Besides converting your personal videos and DVDs, there are over 1,000 different websites that you can convert videos, including the popular Facebook, YouTube, and Vimeo. The program also helps with uploading your videos to these popular sites. New formats are constantly discovered and added to the program, and you never have to pay for your software to be updated with the latest formats. Even with all of the formats supported, you will never lose the HD quality in the conversion process. UniConverter is also known for its fast processing. It utilizes the Intel and NVIDIA GPU hardware acceleration to deliver lightning results.
User Guide on How to Convert Videos with WinAVI Video Converter Alternative
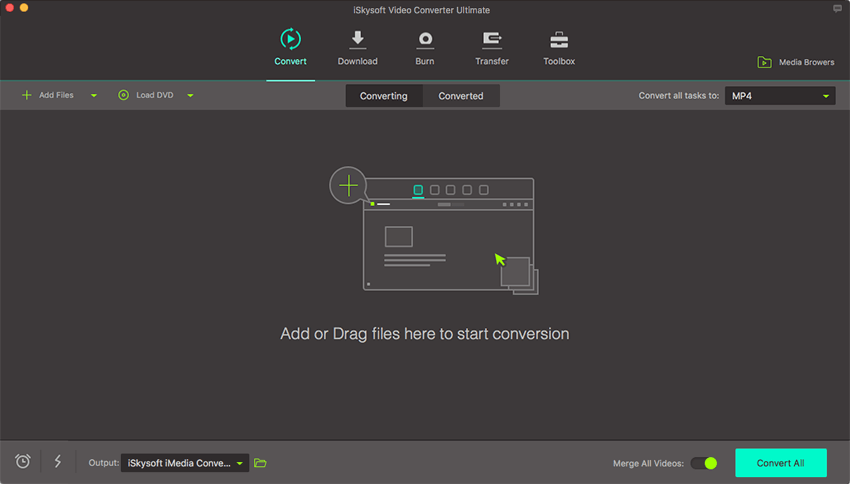
Step 1: Add Your Files
Successfully install and open the program, so you can add the files to be converted. You can simply go to your folder and click on a file that you want to convert and drag it onto the program. This eliminates the need to take additional steps to search for the file that you want to convert. You can also grab an entire folder and drag it onto the screen. This is great for those that have multiple files that they want to convert. The program automatically places the files that were in the folder onto the queue.

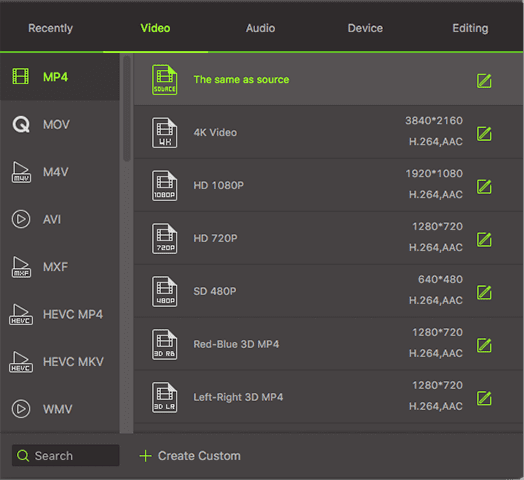
Step 2: Choose the Format
After you have your files, you can choose which format to convert them to. You will see a "Format" icon, which will display a list of format options when you select it. Amongst those options is the ability to extract audio from the video files. The program includes the most popular audio formats, like MP3, WAV, and AAC to name a few. Once the proper format is chosen, there is a Gear button that will allow you to change the settings on the format.

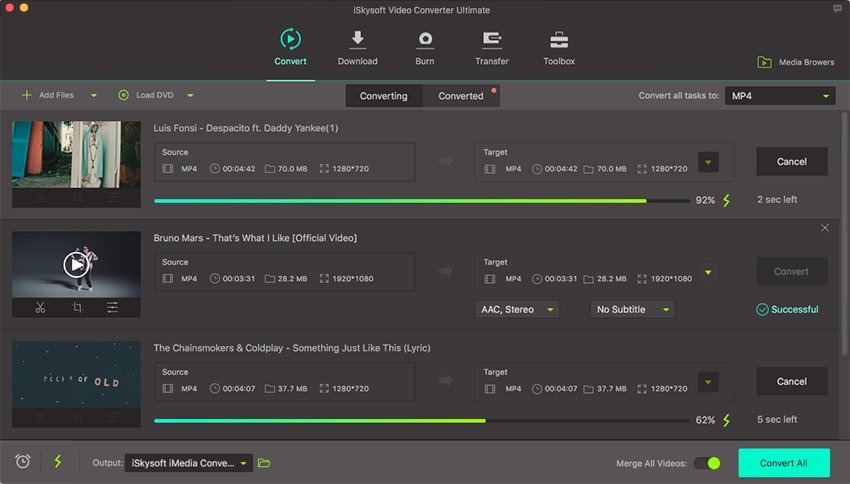
Step 3: Convert
The final step is beginning the conversion. There is the option to select the output folder for the converted file. After you have the folder, you can select to "Convert" and start the conversion process. This will cause a meter to appear next to the file that is currently being converted. You can view this meter to get an estimate of how much of the file has been converted and the amount of conversion that remains. After the conversion process has completed, an alert message will pop-up to inform you. You will also have the option to open the folder, after the conversion is complete.


Brian Fisher
staff Editor