by Brian Fisher • • Proven solutions
Video has become a hot commodity for all platforms. Whether it is a celebrity working behind the scenes or your best friend sharing a post on social media, just about everyone is posting videos. With the large number of videos being shared on a daily basis, it is important to have everything you need to convert and share your memories in the best quality. A great choice for converting videos is the Brorsoft Video converter. This program converts every format of video and audio. You also have the option of editing your video, which includes cropping and adding watermarks.
- Part 1. Step-by-step Guide to Convert Videos using Brorsoft Video Converter
- Part 2. Recommend the Best Brorsoft Video Converter Alternative
Part 1. Step-by-step Guide to Convert Videos using Brorsoft Video Converter
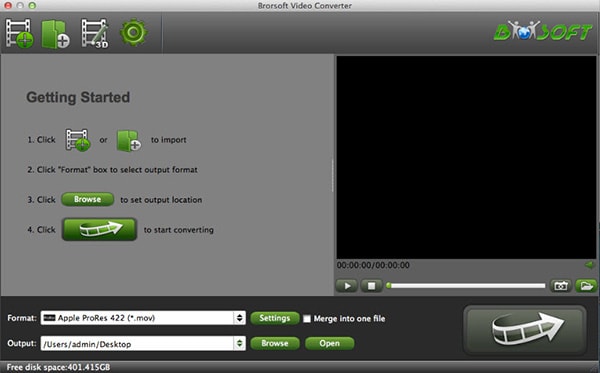
Step 1. Add Your Files. Once you have opened your Brorsoft program, the first thing you want to do is add the files. On the Brorsoft Video Converter, access the menu bar. You will see two options that you can choose from: One option is to “Add Video” and the other option is to “Add from Folder”. From here, you can select multiple files that you want to be converted. The batch conversion allows you to import various files at one time. And, an even easier option is to simply drag the file to the program. You can open your own computer’s folder, grab the file with your mouse and drop it onto the screen of the video converter.
Step 2. Edit the Video. This section is optional. Some people only need to get there video uploaded, while others may need to do some editing and personalize their video. Brorsoft Video Converter for Mac delivers some of the most impressive features, when it comes to editing video. This allows you to “clean up” the videos, before sharing it with the world. On the menu, you will see the edit button that opens a selection of options for editing your video. You can edit the audio, add special effects, place a watermark, and even trim or crop the footage.
Step 3. Choose the Format. The next step is to determine how you want to deliver your new media. By selecting the “Format” box, you open up a list of different options in the profile list for formatting your video and audio. The profile list has a selection of categories that includes smartphones, tablets, and HD players. From there, you can edit the settings (audio and video parameters) of the output format that you select.
Step 4. Convert. The final step is to start the conversion. After selecting the “Convert” button, you will have a window pop up that displays the details of the file being converted. This includes the amount of time it will take to finish the conversion and how much time has elapsed. You will see an Estimated Size of the video and a Generated Size. Once the video is finished, you will have the option to select “Completed”, which will take you back to the main screen. From there, you can open your folder and access your videos that have been generated. If you have an “extra-large” file that will take some time, you have the option of selecting to “Shut Down Computer after Conversion”. This way, you can start the conversion and walk away.

Part 2. Recommend the Best Brorsoft Video Converter Alternative
Another great option for converting your media is the UniConverter. This program goes beyond just converting your personal videos and audio.
UniConverter - Video Converter
Get the Best Alternative to Brorsoft Video Converter:
- More than 150 different formats can be supported and they maintain HD quality videos. They are always adding new formats that can be supported and you never have to pay for an update of the program.
- You don’t have to worry about losing quality, during conversion. With Intel and NVIDIA GPU hardware acceleration, you will have your videos converted in record time.
- You can also convert your DVD files into formats such as MOV, MP4, FLV, and AVI.
- It can act as a DVD toolkit to help burn videos to DVD or copy DVD files.
- You can edit videos with built-in video editor before converting to other formats.
- It supports download online videos from 1000 sites, like YouTube, Facebook, Vimeo, Dailymotion, Hulu, VEVO, and so on.
Simple Steps to Converter Videos with Brorsoft Video Converter Alternative
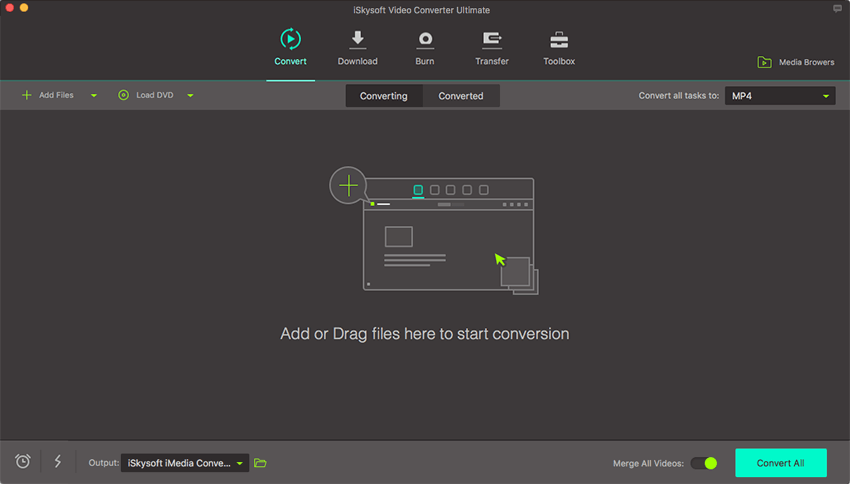
Once you have the program open, you will see that there are three options at the top of the screen: “Convert”, “Burn”, or “Download”.
Step 1. Add Your Files
Like the Brorsoft Video Converter, you can simply drag your files onto the program’s screen for editing and converting. Even better, you can grab an entire folder of files and drag them onto the screen. This will place every file in the folder onto the program. With batch conversion, you can do multiple files at one time. You can also search for the files and select them.

Step 2. Choose Your Format
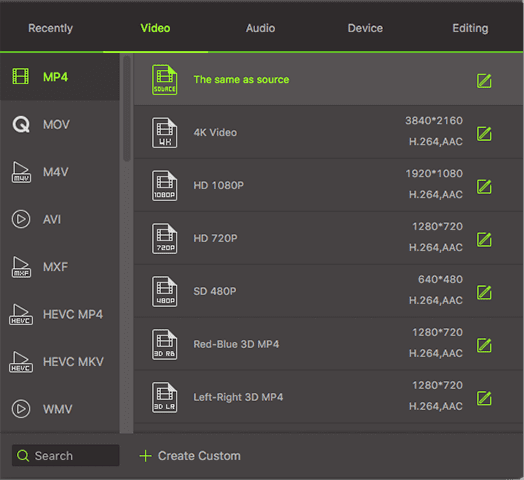
After selecting the “Format” icon, you will see a list of icons to choose from for different formats. There will also be icons for simply extracting the audio from your video (eg. AAC, MP3, and WAV). After selecting the format, a Gear button will appear that allows you to change the settings of the format.

Step 3. Convert
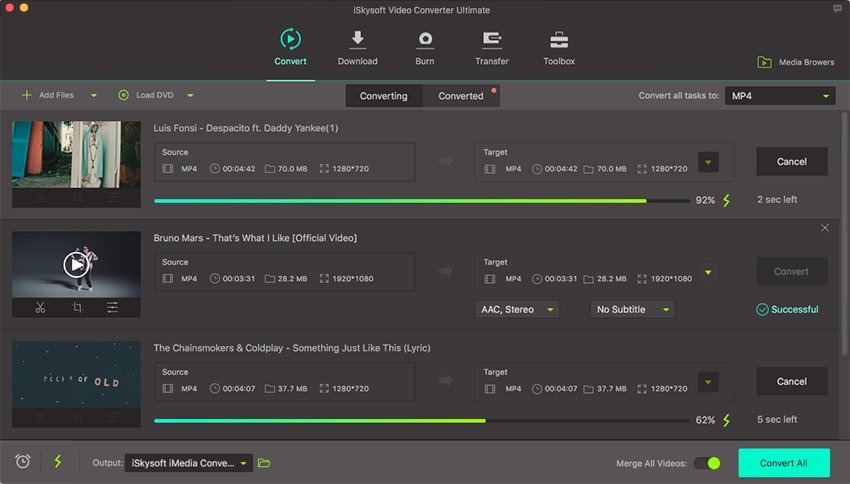
Once you have your format, you will see that there is an option to change the output at the bottom of the screen. This allows you to select a specific folder for your new file. Next, you select the “Convert” button to start the process. The item being converted will have the status of the conversion process, next to it. A message will alert you, when the file has been converted and give you an option to open the folder.


Brian Fisher
staff Editor