by Brian Fisher • • Proven solutions
Why Do We Need to Add Subtitles to Videos?
There are many reasons as to why you would want to add subtitles to a certain video. They include: subtitles make a video accessible to all people include those who are hard of hearing or deaf; it becomes easier for one to understand and track lyrics in case of music video; it is the alternative to lyrics postings alongside a music video or video; it helps you in translating a video to any language that you please. It is very easy to add a subtitle to a given video and there are various ways that you can actually achieve this.
Simplest Way to Add Subtitles to Videos on macOS El Capitan
There are different tools to achieve this and the best is UniConverter for Mac. With this tool, it is possible to time every lyric exactly where you want it to appear. This is a great advantage as people will see exactly what you want them to see. It becomes easier for people to understand translations and lyrics. This option is a great idea for various scenarios including the time when you want to create a DVD by utilizing own videos.
iSkysoft iMedia Converter is a great tool which has a user interface that is friendly. You can burn a DVD, edit videos, convert videos and download online videos with it. For better entertainment, the add subtitles option has been added and this means even better entertainment for you. Videos can be edited and then merged to a continuous file and then a DVD menu, a subtitle and aspect ratios can be set.
Step-by-step Guide to Add Subtitles to Videos on Mac with iSkysoft
Step 1. Load Source Files
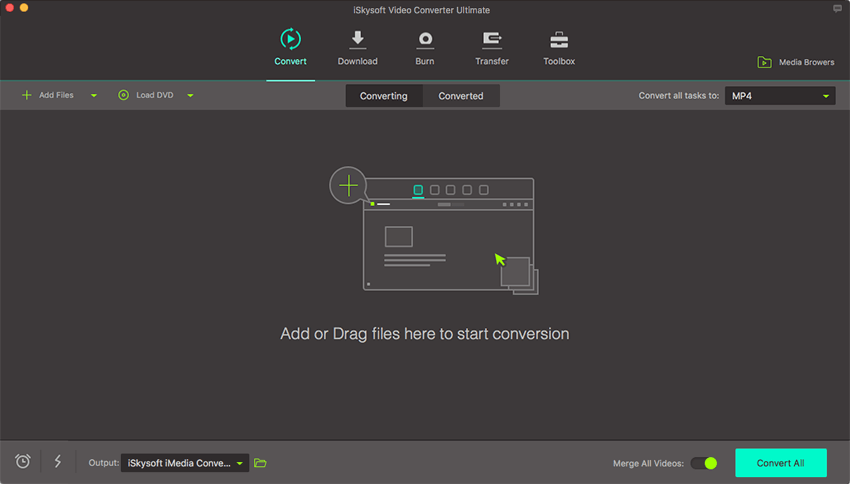
You need to launch the converter and then drag videos directly to this app from Mac folders, or go to "Files"> "Load Media Files". You may import several files for converting and burning. For merging, drag one first and then the other to the info bar.

Step 2. Add Subtitles
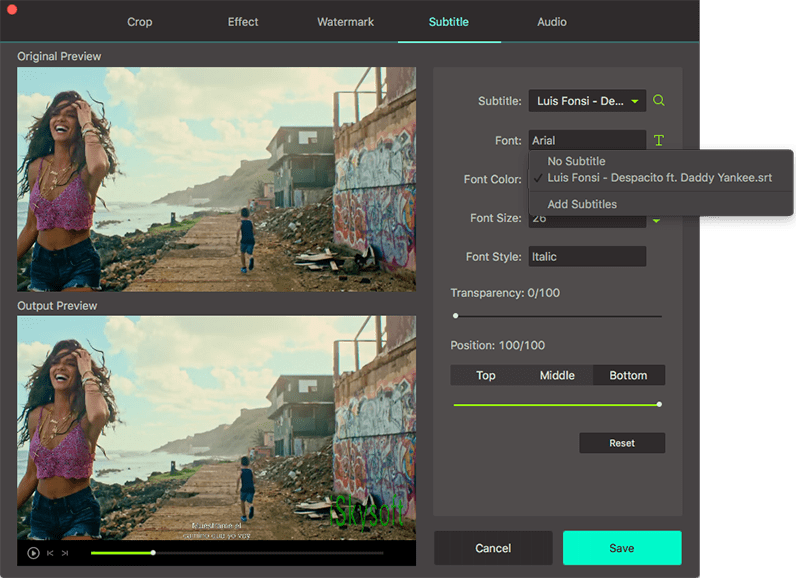
On the info bar of the video, there is a "Subtitle" box. Click it and select "Load Subtitle" so as to load your subtitle files. Click the "Edit" (Pen) button to preview or make changes to the subtitles. The file formats that are compatible are SSA, ASS and SRT.

Step 3. Convert
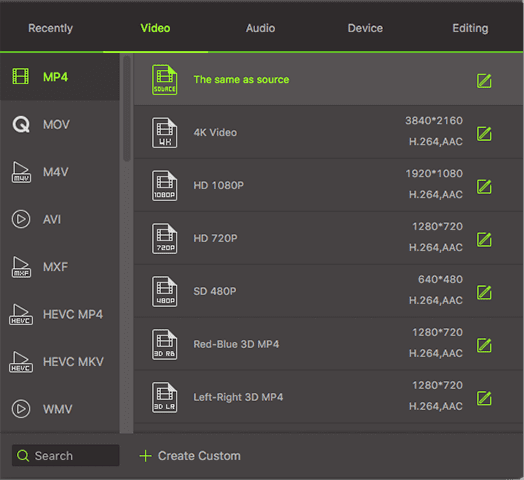
After adding subtitles into your video files, set the default output format as you like, and click "Convert" at the right bottom of the main interface. After a few minutes, you can get your video with subtitles.

Why Choose UniConverter for Mac/Windows
| Products |
UniConverter |
|---|---|
| Formats Supported | This iMedia Converter converts almost all popular videos and audio formats including: AVI, MP4, MPG, MPEG, WMV, ASF, RM, RMVB, M4V, DPG, VOB, 3GP for videos and MP3, M4A, AC3, AAC, WMA, WAV, OGG, APE, MKA, AU for audios. You can keep the original quality after conversion. |
| Burn DVD | Users can burn and copy DVD with iMedia Converter. You can download your favorite online video files and then directly burn them to DVD so that you can enjoy them on any DVD player or big-screen TV. You can also select a DVD menu so as to create your special DVD. |
| Edit Videos | You can always add watermark or subtitles to your video, and you can also make use of the Effect tab to adjust brightness, contrast and saturation, apply video effects to create your unique artwork. |
| Simple Process | You can easily finish the whole converting process even if you are totally strange to file converting. It's so simple. Beginners have nothing to worry about for the user-friendly interface will help you through the whole process. |

Brian Fisher
staff Editor