by Brian Fisher • • Proven solutions
Want to upload videos to YouTube on Mac (including macOS Sierra) or Windows PC? Take it easy. This article will provide two solutions to help you achieve that. Just select the right one according to your own needs.
Part 1. How to Upload Videos to YouTub
UniConverter for Mac or Windows is a powerful video converter which can also be used to directly upload videos to the Internet. This is a fast video converter that works with several video and audio formats. The high speed of conversion is industry-leading and there is no loss in the quality of the video. YouTube is one of the sites where you can send the videos.
UniConverter - Video Converter
Upload Any Video to YouTube with Ease:
- 150+ video/audio formats – Convert over 150 video and audio formats with ease.
- Works at 90X speeds – A fast conversion tool which does the conversion at speeds of 90X, which is the fastest ever seen.
- Maintains quality – Maintain the quality of the video being converted, which is ideal for getting video from cameras to write to DVD.
- Write to several destinations – Convert and transfer videos to DVD discs or any mobile devices like iPhone, iPad, Android tablets, etc.
- Download & edit videos - Download online videos from over 1,000 sites, and edit your videos before converting or uploading them to YouTube.
- Compatible with macOS up to the latest 10.12 Sierra and Windows 10/8/7/XP/Vista.
Step-by-step Guide to Upload Videos to YouTube with iSkysoft
Step 1. Load the videos that you would like to upload to YouTube
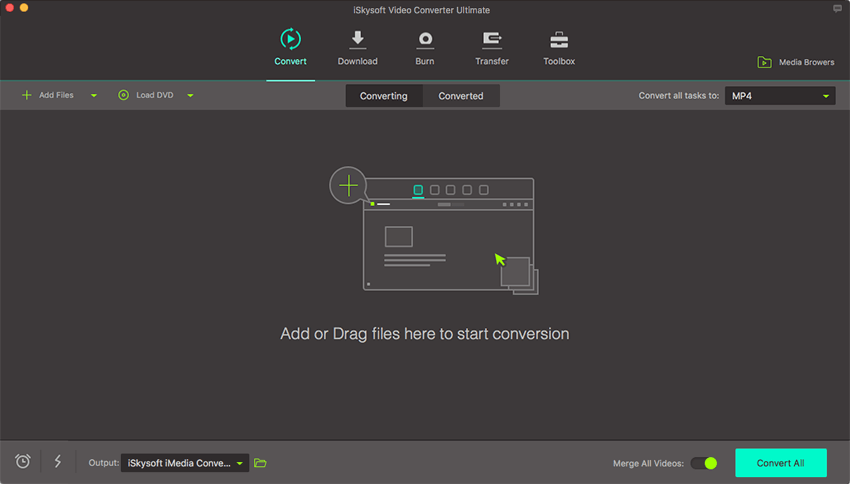
Run the video converter on your Mac or Windows PC, and then drag & drop the video file(s) to the grey area. Or choose "Add Files" button and navigate to the files you want to add. You could directly import your video or audio file from your mobile devices or camcorders by clicking the drop-down icon beside.
Step 2. Get video clips you want to upload to YouTube (optional)
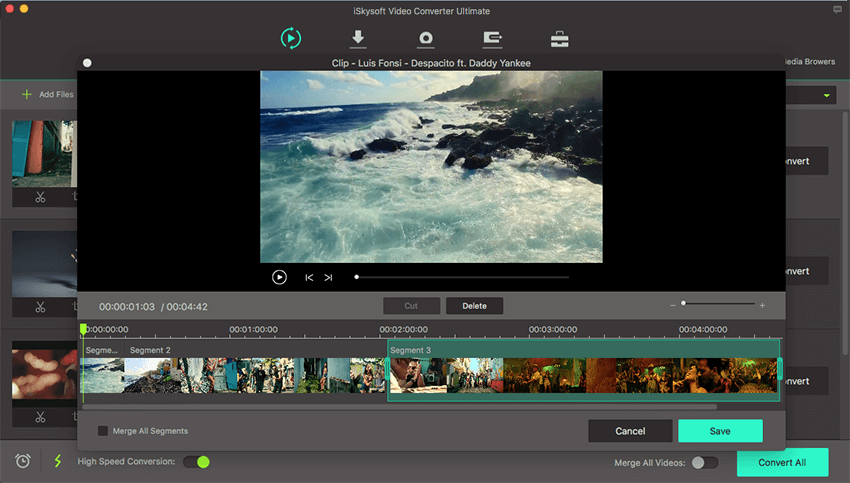
YouTube videos are limited to less than 15 minutes, so you have to cut the main part you want from your original video. You can enter the editing interface, click the "Trim" tab to have the clipping done. By set the start time and the end time, you've made it.
Step 3. Upload the video to YouTube
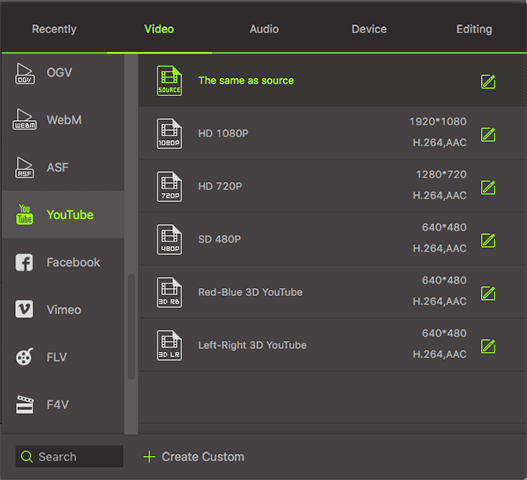
The video converter program enables you to convert video to YouTube supported format directly. Scroll down the output format list of "Video" tab until you see "YouTube", from where you could also adjust the resolution, video quality, bitrate, frame rate, sample rate, etc. of the output performance. Then hit the "Convert" button on the right of the video clip or "Convert All" button on the bottom right.
Step 4. Upload video file to YouTube
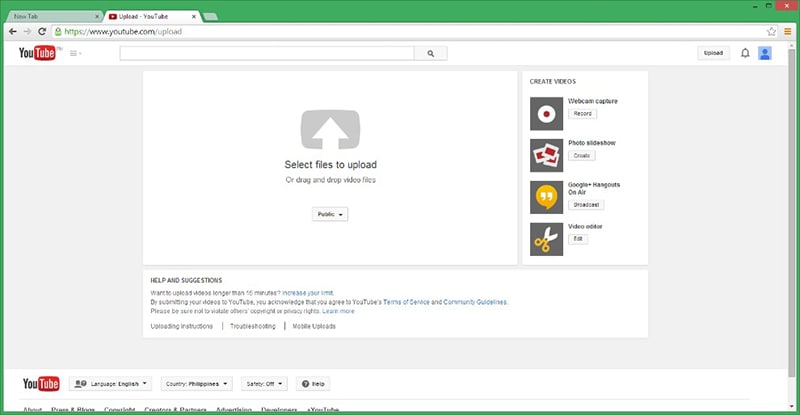
When the conversion is done, visit YouTube in any browser to upload video to YouTube. Now you can follow the steps you've been used to in order to upload any video to your YouTube channel with no hassel of YouTube format problem.
Part 2. Upload Videos to YouTube with Vidnik
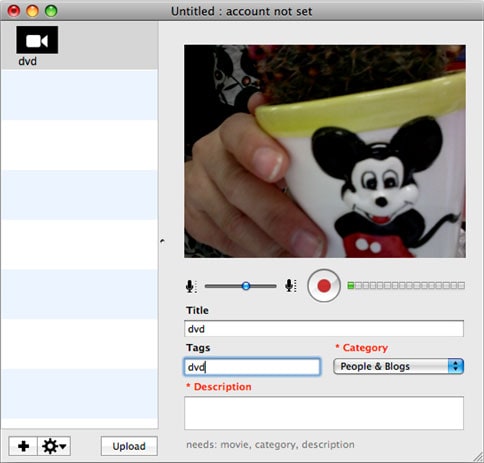
To use Vidnik, launch it, then click "Record". Click the button again to stop the record task. Trim to just the golden moments you want to keep, as in the screen shot above. Fill in the required title, description, and so on. Click the "Upload" button. That's it.
It's available to drag other movies onto the column of movies in Vidnik. After that, you then can click "Upload". If you wanna use another program for post-production or something, you can use the "Gear" menu to show Vidnik's movie file in the Finder. Edit the movie in the other program, and then upload it.
Vidnik can only support videos such as: 3GP, AVI, DAT, MOV and MP4. It does not support ASF, FLV, RM and WMV.

Brian Fisher
staff Editor