
- Value: Studio One's native compressor offers intuitive controls and versatile algorithms for daily mixing tasks.
- Comparison: It seamlessly integrates with Studio One, outperforming basic tools but lacking advanced features of premium plugins.
- Decision: Ideal for Studio One users needing efficient, integrated compression for pop/rock, but not for high-fidelity mastering.
- Alternative: UniConverter provides efficient batch audio processing and reliable compression, especially when native tools fall short.
In this article
- Part 1: What is Studio One Audio Compressor?
- Part 2: Studio One Audio Compressor: Core Features, Pros, and Cons
- Part 3: Studio One Audio Compressor: Ideal Users and Scenarios
- Part 4: Studio One Audio Compressor vs. Competitors
- Part 5: Risks and Pitfalls to Consider
- Part 6: How to Use UniConverter for Efficient Audio Processing
- Part 7: Conclusion
- Part 8: FAQs
When I started my journey in music production, finding the right tools to shape my sound was paramount. Among the myriad of effects, the audio compressor quickly became indispensable. This Studio One Audio Compressor review aims to cut through the noise and give you a clear picture of its capabilities, comparing it to other industry staples. I'll share my personal experiences and insights, helping you understand where Studio One's native compressor shines and where you might need to look for alternatives. My goal is to equip you with the knowledge to make informed decisions for your own productions, ensuring your mixes sound polished and professional.
Part 1: What is Studio One Audio Compressor?
The Studio One Audio Compressor is a built-in dynamic processor within PreSonus's Studio One Digital Audio Workstation (DAW). It's designed to control the dynamic range of audio signals, making quiet parts louder and loud parts quieter, resulting in a more consistent and impactful sound. As a producer, I rely heavily on compression to sculpt the character of individual tracks and glue entire mixes together. This review will delve into its core functionalities, assess its performance against dedicated third-party plugins, and help you determine if it's the right tool for your specific production needs.
The Role of Compressors in Modern Music Production
* Achieving Sonic Consistency: Compressors are vital for evening out vocal performances, taming unruly bass lines, and ensuring drums punch through the mix without being overly dynamic.
* Adding Punch and Impact: By reducing the dynamic range, compressors can make instruments sound more powerful and present, giving them a more "glued" feel within the mix.
* Shaping Tone and Character: Beyond just dynamic control, different compressors impart unique sonic characteristics, from subtle warmth to aggressive grit, allowing for creative sound design.
* Preparing for Mastering: Properly compressed tracks are easier to master, as they provide a more consistent signal for the mastering engineer to work with.
Part 2: Studio One Audio Compressor: Core Features, Pros, and Cons
The Studio One Audio Compressor is a workhorse in my daily production flow, offering a solid set of features for dynamic control. Its core capabilities include standard threshold, ratio, attack, release, and make-up gain controls, allowing for precise shaping of audio dynamics. It also offers a visual display of gain reduction, which is incredibly helpful for understanding how the compressor is reacting to the signal. I've found its various algorithms, like "Fat" and "Tube," to be surprisingly versatile, offering different sonic flavors for various instruments.
Pros:
* Intuitive Interface for Quick Workflow: The layout is clean and easy to navigate, allowing me to dial in settings quickly without getting bogged down in complex menus.
* Versatile Algorithms for Diverse Genres: The different compression models provide a good starting point for various instruments and genres, from subtle leveling to more aggressive shaping.
* Seamless Integration within Studio One Ecosystem: Being a native plugin, it integrates perfectly with Studio One's routing and automation, making my workflow incredibly smooth.
Cons:
* Limited Advanced Sidechaining Options Compared to Dedicated Plugins: While it offers basic sidechaining, it lacks the advanced filtering and external input options found in more specialized compressors.
* CPU Intensive for Complex Projects: On larger projects with many instances, I've noticed it can sometimes contribute to higher CPU usage, especially with more aggressive settings.
Part 3: Studio One Audio Compressor: Ideal Users and Scenarios
I've found the Studio One Audio Compressor to be a fantastic tool for a wide range of users, particularly those who are already invested in the Studio One ecosystem. Its ease of use makes it accessible for beginners, while its versatility offers enough depth for intermediate producers. It's truly a "bread and butter" compressor that can handle most everyday mixing tasks with aplomb.
Best Use Case: Mixing Vocals and Instruments in Pop/Rock Productions
For pop and rock music, where clear, present vocals and punchy instruments are key, Studio One's compressor excels. I frequently use it on lead vocals to ensure they sit consistently in the mix, and on drums to add impact and control transients. The "Fat" algorithm often works wonders on bass guitars, giving them a solid, weighty foundation. Its straightforward interface means I can quickly achieve a professional sound without getting lost in endless parameters.
Limited Scenario: Mastering High-Fidelity Classical Music
While capable, I wouldn't recommend the Studio One compressor as my primary tool for mastering high-fidelity classical music. In this genre, transparency and subtle dynamic control are paramount, and dedicated mastering compressors often offer a level of precision, ultra-low distortion, and advanced metering that the native Studio One compressor, while good, doesn't quite match. For mastering, I typically reach for specialized plugins designed for that specific task to ensure the utmost sonic integrity.
Part 4: Studio One Audio Compressor vs. Competitors
When it comes to audio compression, the native Studio One compressor holds its own, but it's important to understand how it stacks up against some of the industry's heavy hitters. I've spent countless hours comparing these tools, and each has its strengths.
| Feature/Competitor | Studio One Compressor | FabFilter Pro-C 2 | Waves Renaissance Compressor |
| Interface Simplicity | High | Medium | Medium |
| Algorithm Variety | Good | Excellent | Good |
| CPU Usage | Moderate | Low | Low |
| Advanced Sidechain | Basic | Excellent | Basic |
| Price | Included | Premium | Mid-range |
Key Differentiators: Workflow Integration vs. Specialized Control
The Studio One Compressor's main advantage is its seamless workflow integration. It's always there, ready to go, and perfectly aligned with the DAW's interface. For quick mixing tasks, this is invaluable. However, for specialized control, FabFilter Pro-C 2 is a clear winner with its advanced sidechaining, multiple compression styles, and incredibly detailed visual feedback. Waves Renaissance Compressor, on the other hand, offers a classic, warm sound with low CPU usage, making it a go-to for many producers looking for a specific sonic character without breaking the bank. If you're looking for ultimate precision and flexibility, Pro-C 2 is hard to beat. If you prioritize a classic sound and efficiency, the RComp is a solid choice.
Part 5: Risks and Pitfalls to Consider
Even with the best tools, there are always potential risks and pitfalls to be aware of, especially when dealing with something as powerful as audio compression. My experience has taught me that understanding these can save a lot of headaches and ensure your mixes sound their best.
Over-Compression Leading to Loss of Dynamics
This is perhaps the most common mistake I see, and one I've certainly made myself. Pushing the compressor too hard can "squash" the life out of your audio, making everything sound flat, lifeless, and fatiguing to listen to. You lose the natural ebb and flow of the performance, which is crucial for emotional impact. Always aim for subtle, purposeful compression rather than just making things louder.
Compatibility Issues with Older Studio One Versions
While generally stable, I've occasionally encountered minor compatibility quirks when trying to open older projects in newer Studio One versions, or vice-versa, especially if I'm using specific compressor algorithms that might have been updated. It's always a good practice to back up your projects and keep your software updated to avoid unexpected behavior.
Steep Learning Curve for Compression Newcomers
For someone new to audio production, the concept of compression can be quite daunting. Parameters like threshold, ratio, attack, and release can feel abstract, and it takes time and practice to understand how they interact and affect the sound. Don't get discouraged; start with presets and gradually experiment with individual controls.
Potential for Unwanted Artifacts with Aggressive Settings
When you push the Studio One compressor, especially with very fast attack or release times, you can introduce unwanted sonic artifacts. These might manifest as pumping, breathing, or even distortion, particularly on transient-rich material. Always listen critically, perhaps even in solo, to ensure you're not inadvertently degrading your audio quality. Sometimes, less is truly more.
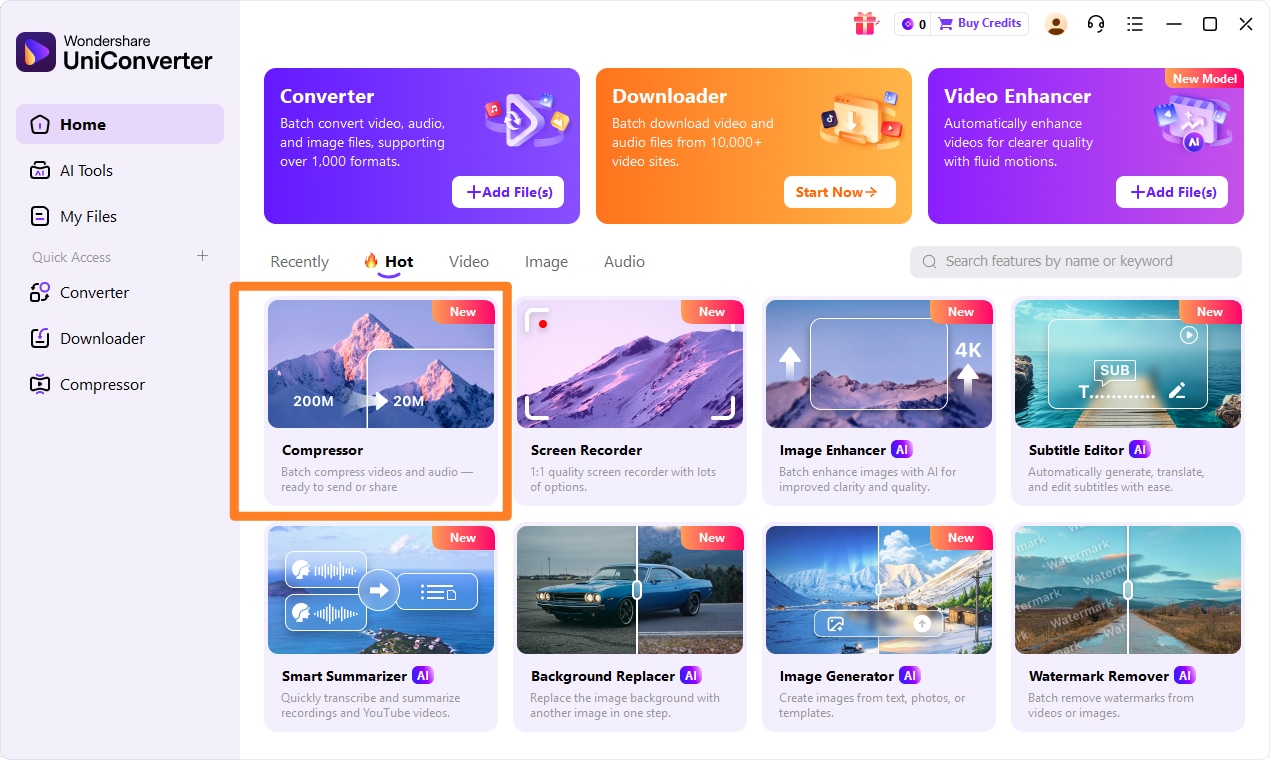
Part 6: How to Use UniConverter for Efficient Audio Processing
For audio work that demands more than basic utilities, UniConverter has been a much more dependable option in my experience. It handles audio compression smoothly, and it’s just as useful for video compression when a project involves multiple media types. What makes it stand out is the cleaner ad-free workflow, broad format support, GPU acceleration for faster processing, and solid batch features that save time when working with large file sets. For video-related tasks, it can also help compress videos without quality loss as much as possible. Overall, it’s a practical all-in-one solution when other tools start falling short on stability, flexibility, or output quality.
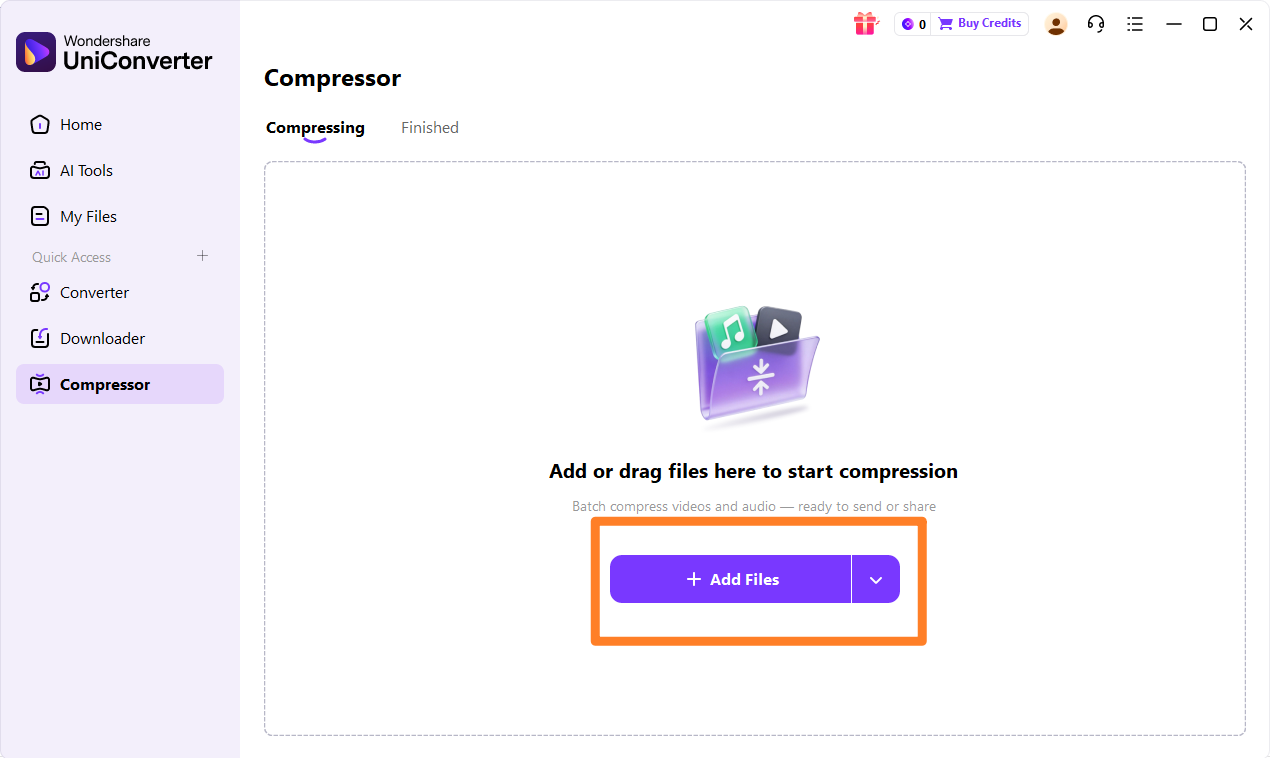
Step 1: Open UniConverter and Choose Compressor
Launch UniConverter on your computer. On the main interface, navigate to the "Compressor" tool.
Step 2: Upload the Video, Audios or Images
Drag and drop your audio files directly into the UniConverter window, or click the "Add Files" button to browse and select them.
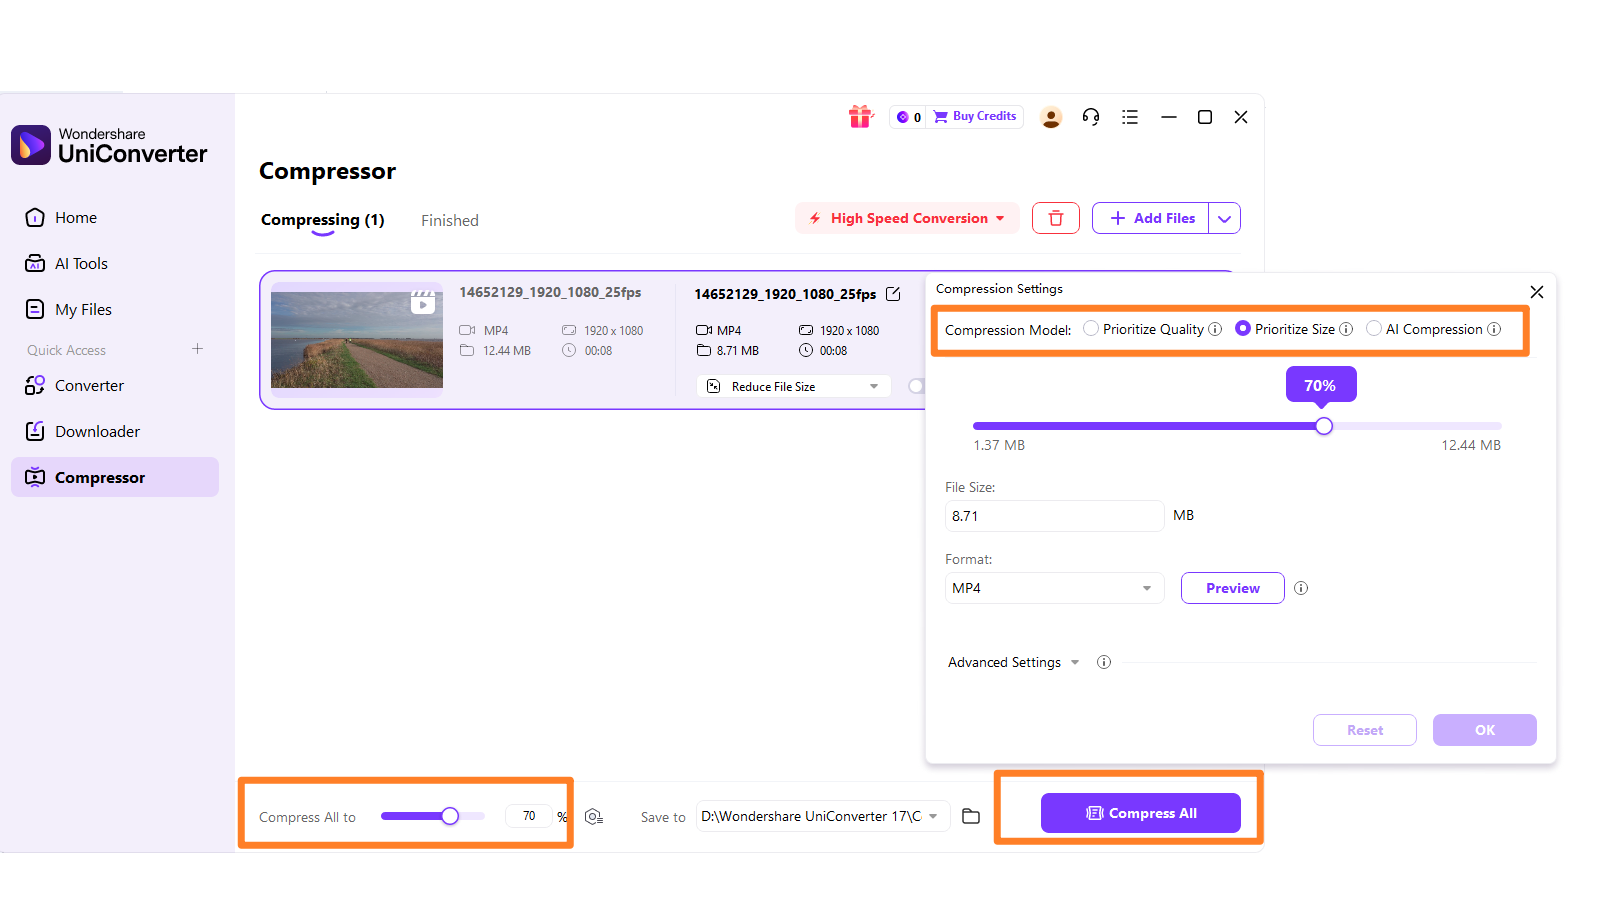
Step 3: Choose Required Parameters
Select your desired output format, quality, and compression ratio. You can choose from various presets or customize the settings to your liking.
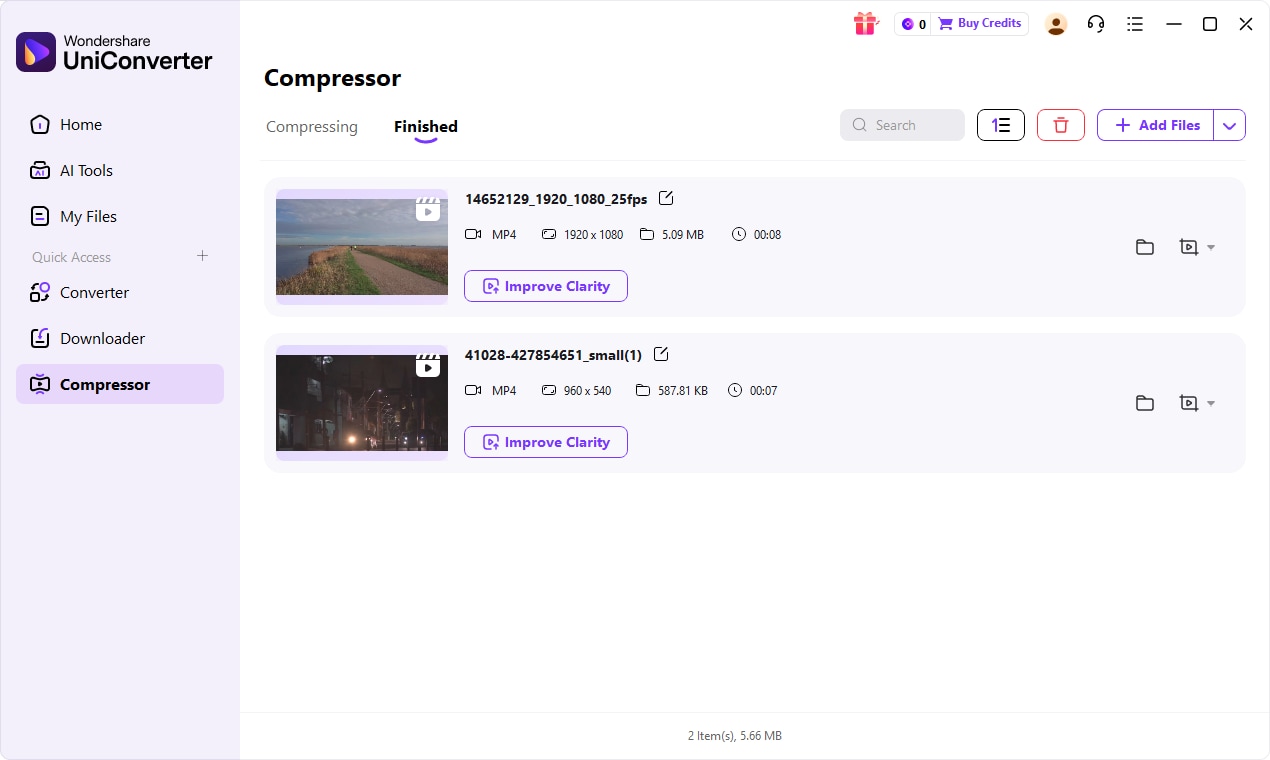
Step 4: Save the Compressed File
Click the "Compress" button to start the process. Once finished, you can find your compressed audio files in the designated output folder.

Enhance Audio with a Powerful Compressor Alternative
Part 7: Conclusion
After extensively using and comparing the Studio One Audio Compressor review with its alternatives, my conclusion is that it's an incredibly capable and convenient tool for most producers working within the Studio One ecosystem. Its seamless integration, intuitive interface, and versatile algorithms make it a go-to for daily mixing tasks, especially for genres like pop and rock where clear vocals and punchy instruments are paramount. For Studio One users, I strongly recommend leveraging this native tool first, as it often provides more than enough power and flexibility. However, for advanced users requiring highly specialized control, ultra-transparent mastering, or complex sidechaining, investing in premium third-party plugins like FabFilter Pro-C 2 might be a worthwhile upgrade. Beginners should focus on understanding the fundamental principles of compression before diving into advanced features. And for those needing efficient batch processing or a versatile tool for various media compression needs beyond just audio, UniConverter offers a compelling and reliable solution. Ultimately, the best compressor is the one that fits your workflow, meets your sonic goals, and helps you achieve your creative vision without unnecessary friction.
Part 8: FAQs
-
1. What is audio compression and why is it important?
Audio compression reduces the dynamic range of an audio signal, making quiet parts louder and loud parts quieter, resulting in a more consistent and impactful sound. It's crucial for mixing and mastering to achieve a polished and professional sound.
-
2. Can Studio One's compressor handle mastering tasks?
While it can be used for basic mastering, dedicated mastering compressors often offer more precise control, transparency, and advanced metering for high-fidelity results. For critical mastering, I usually opt for specialized plugins.
-
3. How does sidechain compression work in Studio One?
Studio One's compressor allows you to use an external audio signal to trigger the compression. This is commonly used for "ducking" effects, like making the bass guitar volume dip slightly when the kick drum hits, creating a rhythmic "pumping" effect.
-
4. Are there free alternatives to Studio One's compressor?
Yes, many DAWs offer built-in compressors, and there are also numerous free third-party VST/AU plugins available. For comprehensive audio and video compression needs, UniConverter is a robust and reliable option that often outperforms free alternatives in terms of features and stability.
-
5. What are the common parameters in an audio compressor?
Threshold, Ratio, Attack, Release, and Make-up Gain are the primary parameters used to control compression. Understanding how each of these affects the sound is key to effective compression.
