
- Canva Compressor:Integrated, simple, and convenient for quick social media posts.
- Limitations:Lacks advanced controls, potential quality loss, no offline use.
- Ideal Users:Perfect for social media managers, small businesses, and quick edits.
- UniConverter Advantage:Offers superior control, quality, speed, and offline capability.
- Decision:Choose Canva for convenience, UniConverter for professional quality and control.
In this article
- Part 1: What is Canva Video Compressor?
- Part 2: Canva Video Compressor: Core Features, Pros, and Cons
- Part 3: Canva Video Compressor: Ideal Users and Use Cases
- Part 4: Canva Video Compressor vs. Competitors
- Part 5: Risks and Pitfalls to Consider
- Part 6: How to Use UniConverter for Efficient Video Compression
- Part 7: Conclusion
- Part 8: FAQs
Canva Video Compressor Review: Optimizing Your Visual Content Workflow
When it comes to creating visually appealing content, Canva has become an indispensable tool for many. However, as video content increasingly dominates our feeds, the need for efficient video compression becomes paramount. Large video files can slow down uploads, consume excessive storage, and deter viewers with long loading times. This Canva Video Compressor review aims to provide a comprehensive analysis of Canva's built-in compression tool, evaluating its strengths and weaknesses in various scenarios. I'll dive into its features, compare it with leading competitors, and highlight potential pitfalls, ultimately helping you decide if it's the right solution for your content creation workflow.
Part 1: What is Canva Video Compressor?
Canva Video Compressor is an integrated feature within the popular graphic design platform, Canva, designed to reduce the file size of video clips. Its primary purpose is to streamline the content creation process by making videos more manageable for sharing across social media, embedding on websites, or simply saving storage space. As someone who frequently creates visual content, I've found that dealing with large video files can be a significant bottleneck, especially when I'm trying to quickly publish a new campaign or update my social channels. This review will address the core question: can Canva's built-in compressor effectively meet the demands of modern content creators, or are dedicated tools a better option?
The Growing Need for Efficient Video Compression in Content Creation
* Faster Uploads and Downloads: Large video files significantly increase upload and download times, impacting user experience and content delivery speed.
* Optimized Storage Management: Uncompressed videos consume vast amounts of storage, both on devices and cloud platforms, leading to higher costs and slower access.
* Improved Website Performance: Videos embedded on websites can slow down page load times if not properly compressed, negatively affecting SEO and user engagement.
* Enhanced Social Media Sharing: Most social media platforms have file size limits or recommend specific compression settings for optimal viewing, making efficient compression crucial for reach and engagement.
Part 2: Canva Video Compressor: Core Features, Pros, and Cons
Canva Video Compressor primarily focuses on simplicity and integration within the Canva ecosystem. Its core capability lies in reducing video file sizes directly within your design projects, making it incredibly convenient for users already familiar with the platform. I've found its processing speed to be decent for smaller files, and it generally supports common video formats like MP4 and MOV. However, its editing capabilities are quite basic, mainly limited to trimming and resizing before compression.
Core Features:
* In-platform Compression: Directly compress videos within your Canva design projects.
* Basic Trimming: Cut unwanted parts of your video before compression.
* Resolution Adjustment: Option to downscale video resolution for smaller file sizes.
* Format Support: Primarily supports MP4, MOV, and AVI for input.
* Automatic Optimization: Attempts to balance file size and quality without complex settings.
Pros:
* Seamless Integration with Canva Ecosystem for Design-Centric Users: If you live and breathe Canva for your design needs, this tool feels like a natural extension, saving you from switching between applications.
* User-Friendly Interface for Quick and Easy Compression: The process is intuitive; even a beginner can compress a video with just a few clicks, which is a huge time-saver for me.
* Good for Basic Compression Needs and Social Media Sharing: For quick posts to Instagram, Facebook, or TikTok, it does a perfectly adequate job of getting the file size down.
Cons:
* Limited Advanced Compression Options for Professional Use: I often find myself wishing for more control over bitrate, codecs, or specific quality settings, which are simply not available.
* Potential Quality Degradation for High-Fidelity Videos: When I compress videos that I need to maintain high quality for, I notice a definite drop in crispness and detail.
Part 3: Canva Video Compressor: Ideal Users and Use Cases
Canva Video Compressor is undoubtedly tailored for a specific audience and set of tasks. From my experience, it shines brightest for individuals and small businesses who prioritize speed and convenience within their existing Canva workflow. If you're a social media manager, a small business owner handling your own marketing, or a student creating presentations, this tool is likely to meet most of your needs without requiring a steep learning curve.
Best Use Case: Rapid Compression for Social Media Marketing and Quick Edits
I find Canva's compressor invaluable when I need to quickly prepare a video for social media. For instance, if I've just finished a quick promotional video in Canva and need to upload it to Instagram, the integrated compressor allows me to reduce the file size instantly without leaving the platform. This saves me precious time and keeps my workflow smooth, especially when I'm on a tight deadline. It's perfect for those moments when speed and ease of use trump granular control over every compression setting.
Limited Use Case: Professional Video Production and High-Quality Archiving
However, when I'm working on a professional video project that demands pristine quality for client delivery or long-term archiving, Canva Video Compressor falls short. For example, if I'm compressing a 4K video for a client's website, I need precise control over bitrate, resolution, and codec to ensure minimal quality loss. Canva simply doesn't offer that level of sophistication, and I wouldn't trust it with my high-fidelity video assets. In these scenarios, I always turn to more specialized software to preserve the integrity of my work.
Part 4: Canva Video Compressor vs. Competitors
When evaluating video compression tools, it's crucial to see how Canva Video Compressor stacks up against others in the market. I've put it side-by-side with some popular alternatives to give you a clearer picture.
| Feature / Tool | Canva Video Compressor | UniConverter | HandBrake | Online Video Converter |
| Ease of Use | Very High | High | Moderate | High |
| Compression Quality | Good (Basic) | Excellent (Custom) | Excellent (Custom) | Variable (Basic) |
| Advanced Features | Limited | Extensive | Extensive | Limited |
| Pricing | Free (with Canva) | Paid (Free Trial) | Free | Free (with Ads) |
| Integration | Canva Ecosystem | Standalone | Standalone | Web-based |
| Processing Speed | Moderate | Fast (GPU Accel.) | Moderate | Variable |
| Offline Capability | No | Yes | Yes | No |
Key Differentiators: Canva Video Compressor's main strength is its seamless integration and ease of use within the Canva platform, making it perfect for quick social media posts. However, for serious compression needs, UniConverter stands out with its excellent balance of user-friendliness and advanced features, offering superior control over output quality and faster processing thanks to GPU acceleration. HandBrake, while free and powerful, has a steeper learning curve, making it less accessible for casual users. Online Video Converters are convenient but often suffer from inconsistent quality, slower speeds, and privacy concerns. If you need fine-tuned control and consistent high-quality results, UniConverter is a clear winner, whereas Canva is best for basic, in-platform tasks.
Part 5: Risks and Pitfalls to Consider
While the convenience of Canva Video Compressor is appealing, it's important to be aware of the potential risks and limitations, especially if you're dealing with critical video content. I've encountered several issues that are worth highlighting.
Potential for Significant Quality Loss on Complex Videos
One of my biggest concerns is the quality degradation, particularly with complex videos that have intricate details, fast motion, or subtle color gradients. When I try to significantly reduce the file size of such videos using Canva, I often notice a noticeable drop in sharpness, pixelation, or color banding. This can be a deal-breaker if I need to maintain a professional look for my content. The automated compression settings don't always make the best choices for preserving visual fidelity.
Data Privacy Concerns with Cloud-Based Processing
As a cloud-based tool, using Canva Video Compressor means uploading my video files to their servers for processing. While Canva has robust security measures, I always have a lingering concern about data privacy, especially when dealing with sensitive or proprietary content. For businesses or individuals handling confidential video assets, this cloud-based processing might not align with their data security policies or preferences.
Hidden Costs or Feature Limitations in Free Tiers
While basic compression is available in Canva's free tier, I've found that more advanced features, higher resolution outputs, or increased file size limits often require a Canva Pro subscription. This can be a "hidden cost" if you initially rely on the free version but then discover its limitations for your growing needs. It's important to understand what you're getting with each tier to avoid unexpected expenses or frustrations.
Lack of Offline Compression Capabilities
Since Canva Video Compressor is entirely web-based, I can't use it without an active internet connection. This becomes a significant drawback when I'm working remotely, traveling, or in areas with unreliable internet. The inability to compress videos offline means my workflow can be completely halted, which is a major inconvenience when I'm trying to meet deadlines.
Limited Control Over Output Formats and Codecs
Canva offers very little control over the output format or the specific video codecs used for compression. I'm usually stuck with a standard MP4 output, which is generally fine, but sometimes I need a specific codec for compatibility with a particular platform or for achieving a certain quality-to-file-size ratio. This lack of granular control can be frustrating for more technical users or those with specific requirements.
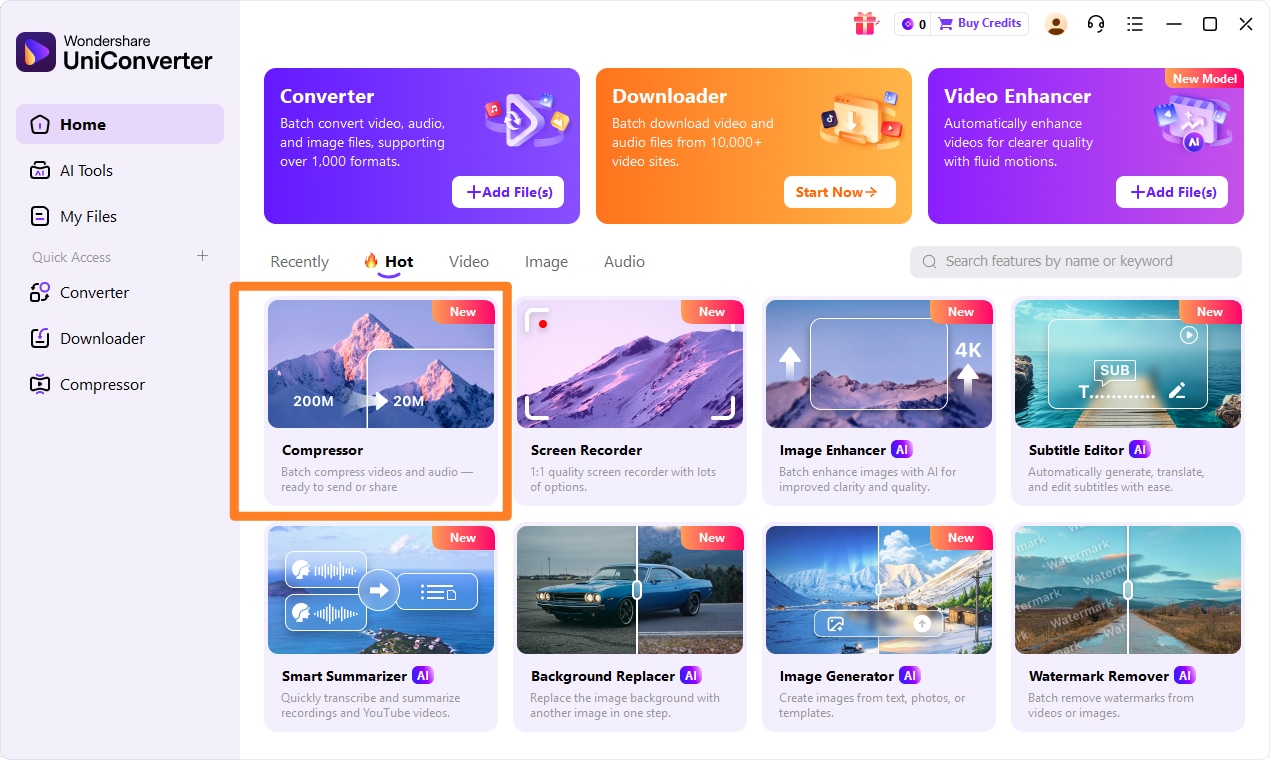
Part 6: How to Use UniConverter for Efficient Video Compression
When other tools fall short—whether due to unstable compression, noticeable quality loss, or limited batch processing—I usually rely on UniConverter for a more dependable experience. It offers a cleaner, ad-free workflow and works especially well as a dedicated video compressor for handling files efficiently without the usual frustration. What makes it stand out is its broad format support, GPU acceleration for faster processing, and the ability to compress videos without quality loss as much as possible. It also covers audio compression and image compression, making it a practical all-in-one solution for managing different types of media files.
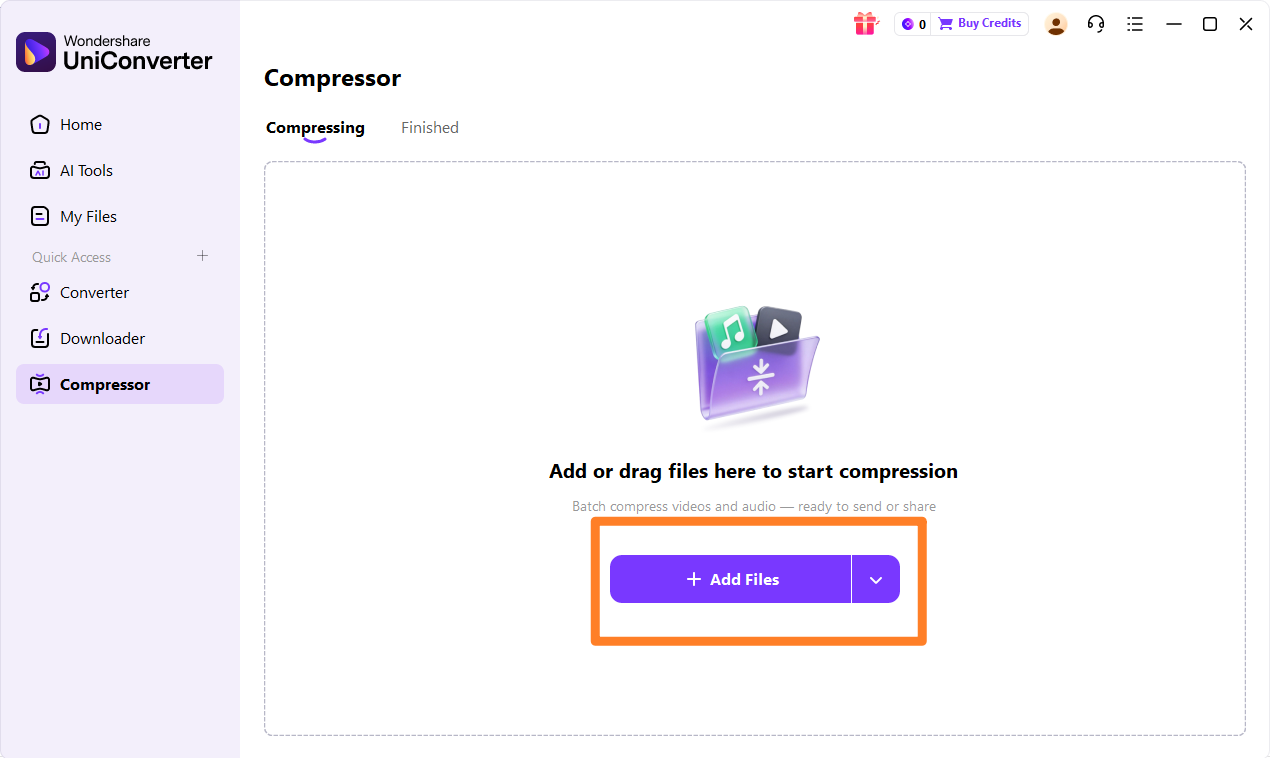
Step 1: Open UniConverter and Choose Compressor
Step 2: Upload the Video, Audios or Images
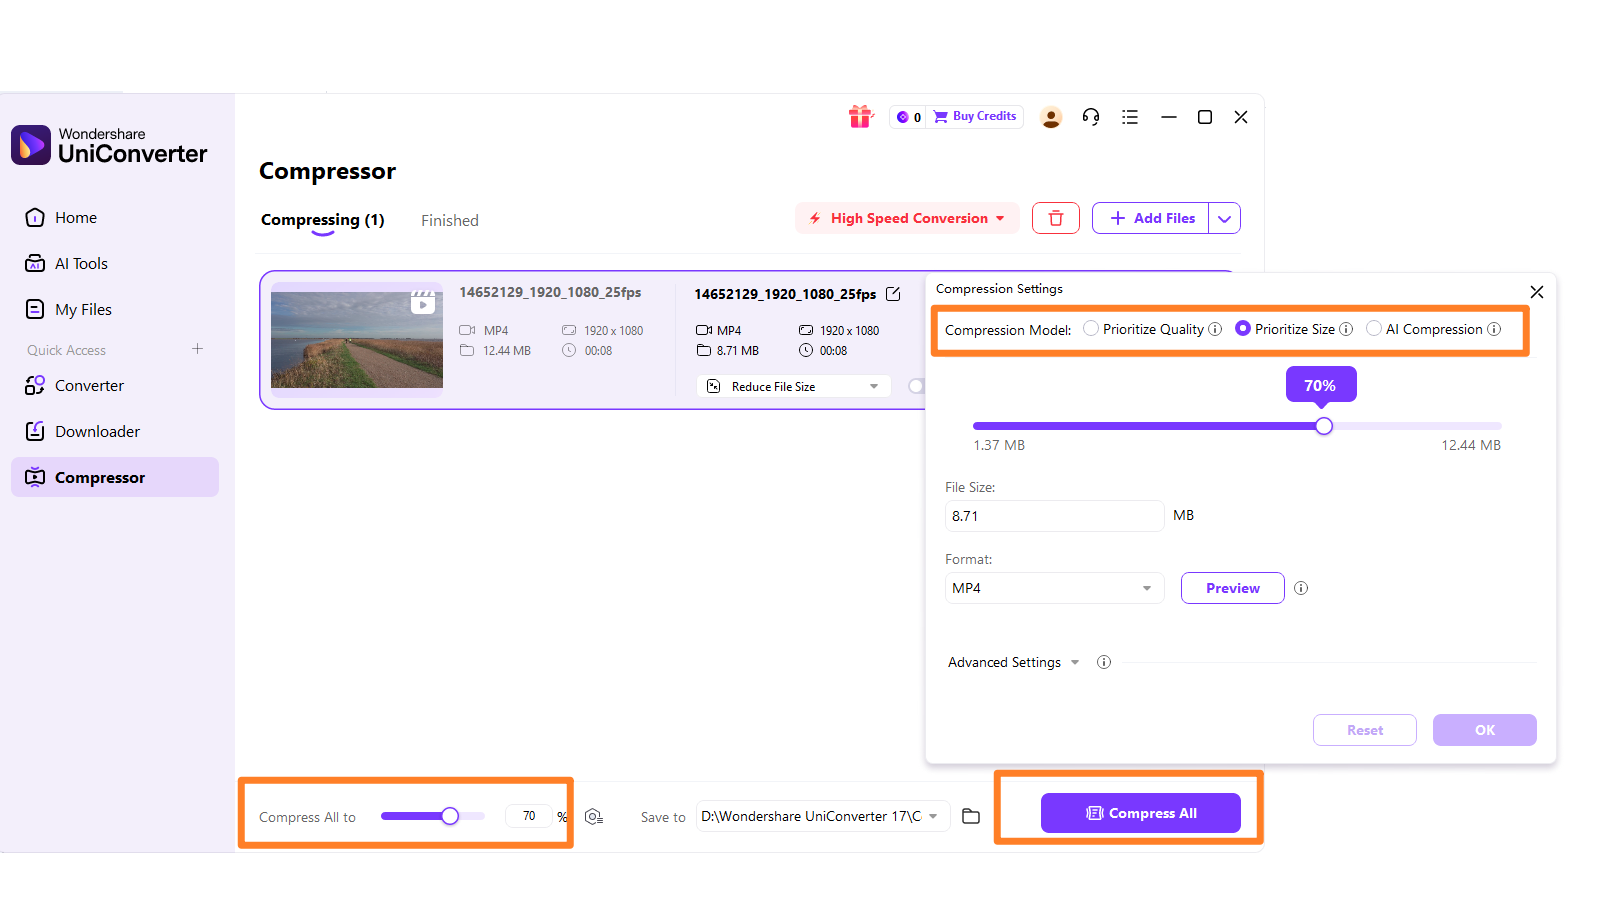
Step 3: Choose Required Parameters
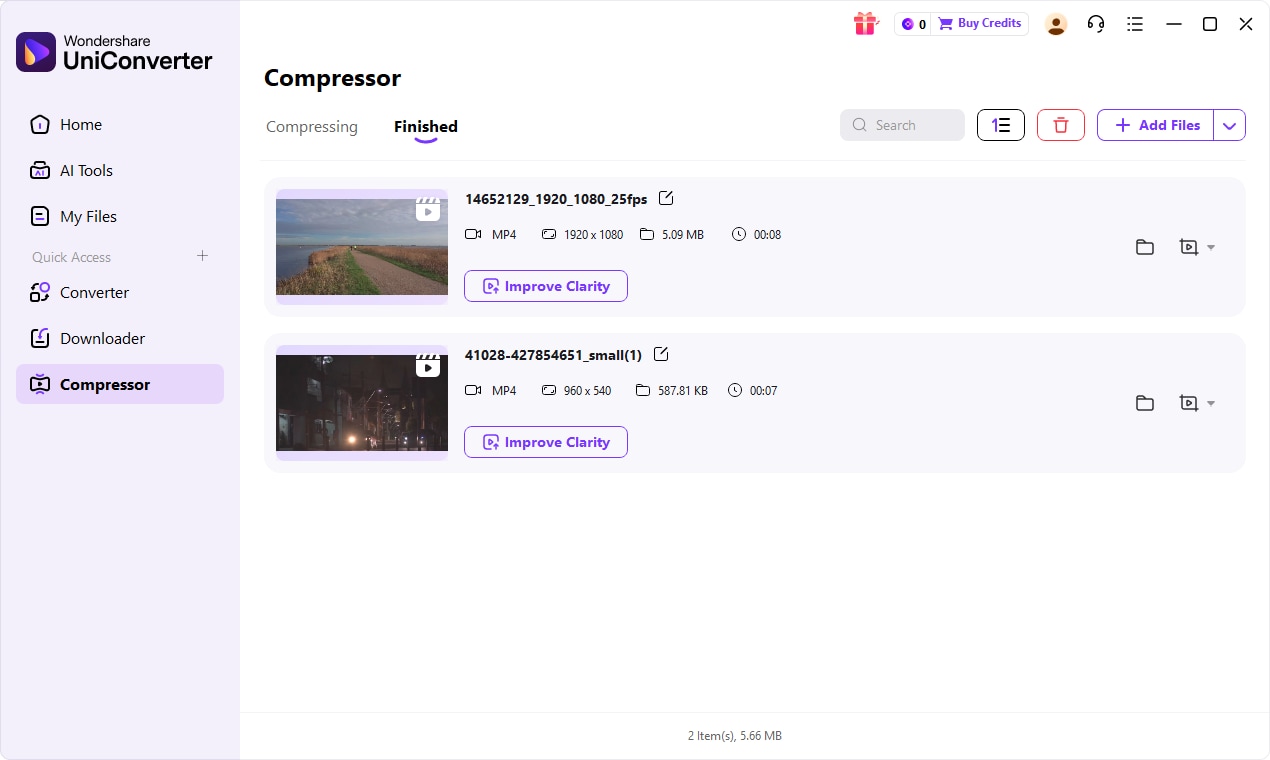
Step 4: Save the Compressed File

Seeking a Better Canva Video Compressor Alternative?
Part 7: Conclusion
In conclusion, the Canva Video Compressor review reveals a tool perfectly suited for casual users and Canva enthusiasts who prioritize convenience and speed within their existing design workflow. It excels at quick compressions for social media and basic content, seamlessly integrating into the Canva ecosystem. However, for professionals and quality-conscious creators, its limitations in advanced settings, potential for quality degradation, and lack of offline capabilities make it less ideal. For those demanding granular control, superior quality retention, and broader format support, dedicated compression tools like UniConverter offer a more comprehensive and reliable solution. Ultimately, the best tool depends on balancing your need for convenience with your specific quality and control requirements.
Part 8: FAQs
-
1. Does Canva Video Compressor support all video formats?
Canva Video Compressor primarily supports common video formats like MP4, MOV, and AVI, but may have limitations with less common or professional codecs. If you're dealing with a wide variety of formats, a tool like UniConverter offers much broader support.
-
2. Can I compress multiple videos at once with Canva Video Compressor?
While Canva allows for individual video compression within projects, batch compression of multiple independent files is not its primary strength. For efficient batch processing, I recommend using a dedicated tool like UniConverter, which is designed for handling multiple files simultaneously.
-
3. How much quality loss should I expect with Canva Video Compressor?
The degree of quality loss depends on the original video's resolution, bitrate, and the compression settings chosen. For significant compression, some noticeable quality reduction is possible. If maintaining high quality is paramount, you'll likely achieve better results with a professional compressor that offers more control.
-
4. Is Canva Video Compressor free to use?
Basic video compression features are often available within Canva's free tier, but advanced options or higher limits may require a Canva Pro subscription. Always check the specific features included in your Canva plan.
-
5. What are the main advantages of using a dedicated video compressor like UniConverter over Canva's tool?
Dedicated tools like UniConverter offer more granular control over compression settings, support a wider range of formats, provide better quality retention, and often include additional video editing functionalities. They are built specifically for video processing, offering a level of depth and performance that integrated tools like Canva's compressor cannot match.
