
In the world of professional video production, capturing the best possible image is paramount. This often means shooting in a "log" or logarithmic profile, a specialized gamma curve that preserves the maximum amount of dynamic range and color information from your camera's sensor. Two of the most prominent log profiles in the industry are Sony's S-Log and Canon's C-Log. For videographers, filmmakers, and colorists, understanding the nuances between S-Log vs C-Log is crucial for making informed decisions about camera choice, on-set practices, and post-production workflows.
Choosing between these two formats isn't just a matter of brand loyalty; it's about understanding their distinct philosophies. S-Log is engineered for maximum data retention, providing a highly flexible but technically demanding foundation for color grading. C-Log, on the other hand, is often praised for its beautiful color science, particularly its flattering skin tones, which can lead to a faster and more intuitive grading process. This guide will provide a comprehensive, technical breakdown of both log profiles, helping you determine which is the right fit for your creative vision and production needs in 2026.
In this article:
Part 1. What is S-Log? What is C-Log?
Before we dive into a direct comparison, it's essential to understand the fundamental purpose and design of each log profile. Both S-Log and C-Log are tools designed to solve the same problem—the limited dynamic range of standard video formats—but they approach the solution with different priorities.
What is S-Log (Sony Log)?
S-Log is Sony's proprietary logarithmic gamma curve, created to capture and preserve the widest possible dynamic range and color gamut that a Sony camera sensor can deliver. Its primary function is to record a very "flat," low-contrast, and desaturated image. While this footage looks unappealing straight out of the camera, it contains an immense amount of information in the highlights and shadows. This wealth of data gives colorists incredible flexibility in post-production to manipulate the image, recover details, and craft a specific cinematic look.
Over the years, Sony has released several versions, with S-Log2 being an early standard and S-Log3 becoming the modern benchmark. S-Log3 is designed to better mimic the characteristics of scanned film and offers a more linear response in the shadow and mid-tone areas, making it easier to grade. It is the go-to choice for professionals using modern Sony Cinema Line or Alpha series cameras.
What is C-Log (Canon Log)?
C-Log, or Canon Log, is Canon's equivalent logarithmic gamma curve. Like S-Log, its purpose is to expand the dynamic range of the recorded video, capturing more detail in the brightest and darkest parts of a scene than standard Rec. 709 video. This provides a robust starting point for color grading, allowing filmmakers to push and pull the image to achieve their desired aesthetic without introducing banding or losing crucial information.
Canon has also evolved its log profile through several iterations. The original C-Log was followed by C-Log 2 and C-Log 3. C-Log 2 is designed to capture the absolute maximum dynamic range, but it can be more complex to grade. C-Log 3 offers a compromise, providing a very wide dynamic range that is slightly less than C-Log 2 but is significantly easier and faster to work with in post. For most users of Canon's Cinema EOS and mirrorless cameras, C-Log 3 strikes the perfect balance between data retention and workflow efficiency.
Part 2. Quick Comparison Table
To get a clear, at-a-glance overview, let's compare the modern standards, S-Log3 and C-Log3, side-by-side. This table highlights the key philosophical and technical differences that define their real-world performance.
| Feature | S-Log3 | C-Log3 |
| Primary Goal | Maximum data retention, ultimate post-production flexibility. | Pleasing colors and a cinematic look with less grading effort. |
| Dynamic Range | Typically 14+ stops, with a strong emphasis on highlight retention. | Typically 14+ stops, with a balanced approach to highlights and shadows. |
| Base ISO | Often higher (e.g., dual base ISO of 640/12800 on the Sony FX3). | Often lower (e.g., dual base ISO of 800/3200 on the Canon C70). |
| Color Science | Technical and precise, providing a neutral canvas that requires more work to grade. | Renowned for pleasing, natural skin tones; often easier to grade to a good result. |
| Noise Handling | Can exhibit more visible noise in the shadows if underexposed. | Generally considered to have a cleaner image in the shadows, even when pushed. |
Part 3. S-Log vs C-Log: Which One Is Better?
The question of which log profile is "better" has no single answer. The best choice depends on your priorities as a filmmaker, the demands of your project, and your comfort level in post-production. Let's break down the comparison across three critical areas.
Dynamic Range and Highlight Retention
Both S-Log3 and C-Log3 are capable of capturing an impressive dynamic range of 14 stops or more. However, they distribute that range differently. S-Log3 is heavily engineered to protect highlight information. Its gamma curve allocates more data to the brighter parts of the image, meaning you can capture immense detail in skies, bright lights, or reflections without them "clipping" to pure white. To take full advantage of this, Sony shooters often practice "Exposing To The Right" (ETTR), where they intentionally overexpose the image by 1.5 to 2 stops to get a cleaner signal in the mid-tones and shadows, then bring the exposure down in post.
C-Log3, in contrast, offers a more balanced approach. While it also provides excellent highlight protection, its curve is designed to give a more even distribution of information across the entire tonal range. This can make it more intuitive to expose on set, as what you see on your monitor is often a closer representation of the final usable range. It doesn't require the same aggressive ETTR technique as S-Log3, making it a bit more forgiving for run-and-gun situations.
Color Science and Skin Tones
This is perhaps the most debated and subjective difference between the two. Canon has built a stellar reputation over decades for its color science, particularly its ability to render beautiful, natural, and flattering skin tones. When shooting in C-Log, this philosophy carries over. Even after applying a basic corrective LUT (Look-Up Table), many users find that skin tones require minimal adjustment to look vibrant and lifelike. This makes C-Log a favorite among wedding, documentary, and corporate videographers where pleasing human subjects is a top priority.
Sony's color science, especially with S-Log3, takes a more technical and neutral approach. It doesn't aim to produce a "pleasing" image out of the gate; instead, it provides a scientifically accurate and neutral canvas. This is a massive advantage for professional colorists who want complete control to build a look from the ground up. They are not "locked in" to a particular color rendering and can push the footage in any direction they choose. However, for less experienced graders, achieving natural skin tones with S-Log3 can require more skill and effort, often involving secondary corrections.
Post-Production Workflow and Ease of Grading
The differences in color science directly impact the post-production workflow. C-Log3 is widely considered more forgiving and faster to grade. Applying a standard Canon-provided conversion LUT often gets you 80-90% of the way to a clean, beautiful, and usable image. From there, only minor creative adjustments are typically needed. This efficiency is invaluable for projects with tight deadlines.
S-Log3, due to its flat and data-rich nature, can be more challenging for beginners. Applying a simple conversion LUT is just the first step; the image will still require significant work to add contrast, saturation, and color balance to achieve a polished look. Its sensitivity to underexposure also means that noisy shadows may need careful noise reduction. However, for an experienced colorist, this challenge is an opportunity. The immense flexibility of S-Log3 allows for far more creative manipulation, making it the preferred choice for high-end commercial, music video, and narrative film projects where a unique, stylized look is the end goal.
Part 4. Use Cases for S-Log and C-Log
Understanding the technical differences helps us define the ideal scenarios for using each log profile.
When to Use S-Log
S-Log shines in environments where you have maximum control and post-production is a key part of the creative process. It is best suited for:
- Narrative Films and Music Videos: Projects where a specific, stylized cinematic look is being crafted by a professional colorist.
- High-End Commercials: When you need the maximum data to meet the exacting standards of clients and agencies.
- VFX-Heavy Projects: The vast amount of information in S-Log files is beneficial for keying, tracking, and compositing.
- Controlled Lighting Scenarios: Ideal for studio shoots or any set where you can precisely control lighting and exposure to optimize the signal-to-noise ratio.
When to Use C-Log
C-Log is an excellent choice for projects that demand both high quality and efficiency, especially when capturing people. It is perfect for:
- Documentaries and Interviews: Where capturing natural skin tones and a pleasing image quickly is essential.
- Weddings and Events: Fast-paced environments where you need a reliable and forgiving profile that looks great with minimal grading.
- Corporate Videos: Projects that require a professional, polished look on a tight turnaround.
- YouTube and Online Content: When you need to produce high-quality content consistently without spending days in the color suite.
How to Work with S-Log and C-Log in the Same Project
A common challenge in modern productions is using cameras from different manufacturers, such as a Sony A-cam and a Canon B-cam. Matching S-Log and C-Log footage can be tricky but is entirely achievable with a proper workflow. The key is to establish a common ground. Instead of trying to make one log profile look like the other with LUTs, the professional approach is to convert all footage into a single, high-quality intermediate codec and color space.
This is where a reliable video converter becomes an indispensable tool. By converting both your S-Log and C-Log clips to a format like Apple ProRes or Avid DNxHD, you create a uniform set of files that will perform smoothly in your editing software. For batch processing large amounts of footage and ensuring format consistency before you even begin grading, a tool like Wondershare UniConverter is highly effective and simplifies this crucial preparation step.
Part 5. Step-by-Step Guide to Convert Log Footage Using UniConverter
Before you begin color grading, standardizing your S-Log and C-Log files into a single, high-performance editing format is a crucial step. This ensures smooth playback and a more efficient workflow. UniConverter simplifies this process with its powerful batch-conversion capabilities. Here is how to prepare your files.
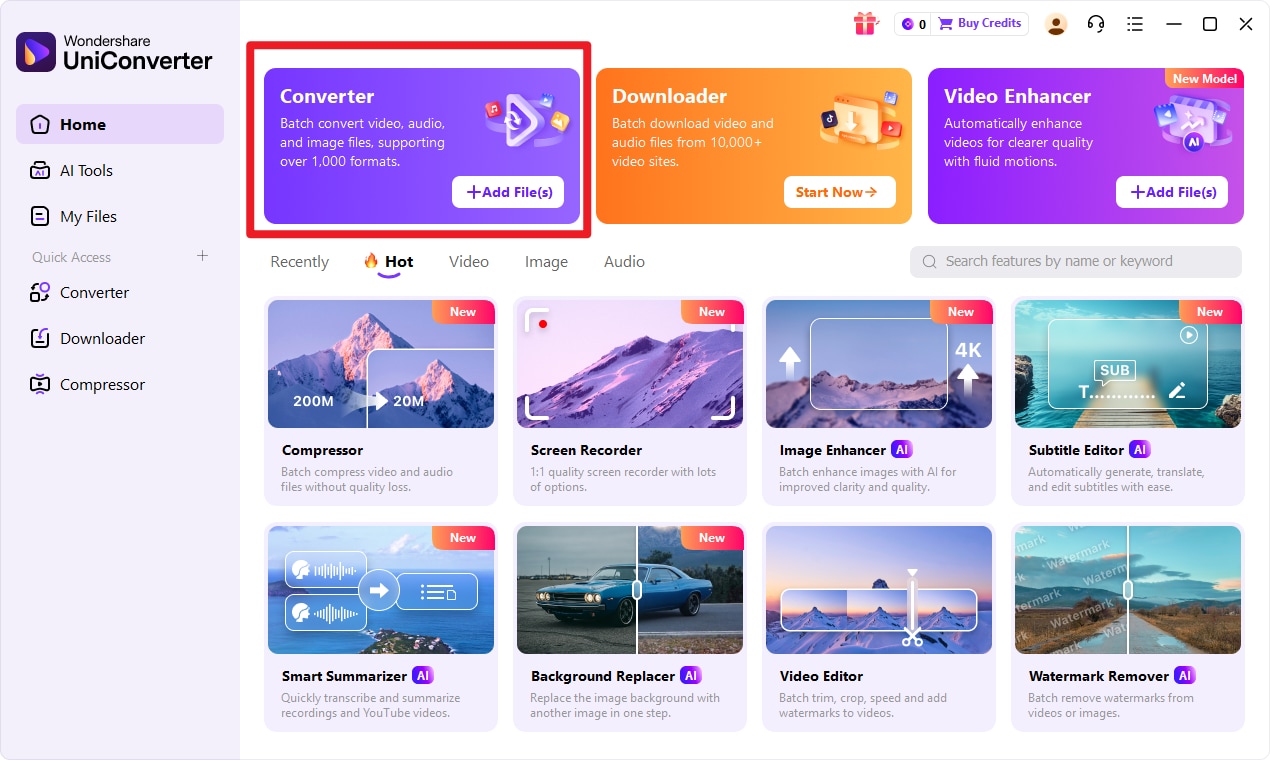
Step 1: Choose Converter in UniConverter
Launch the UniConverter application. From the home screen, select the Converter tool on the left-side navigation panel.
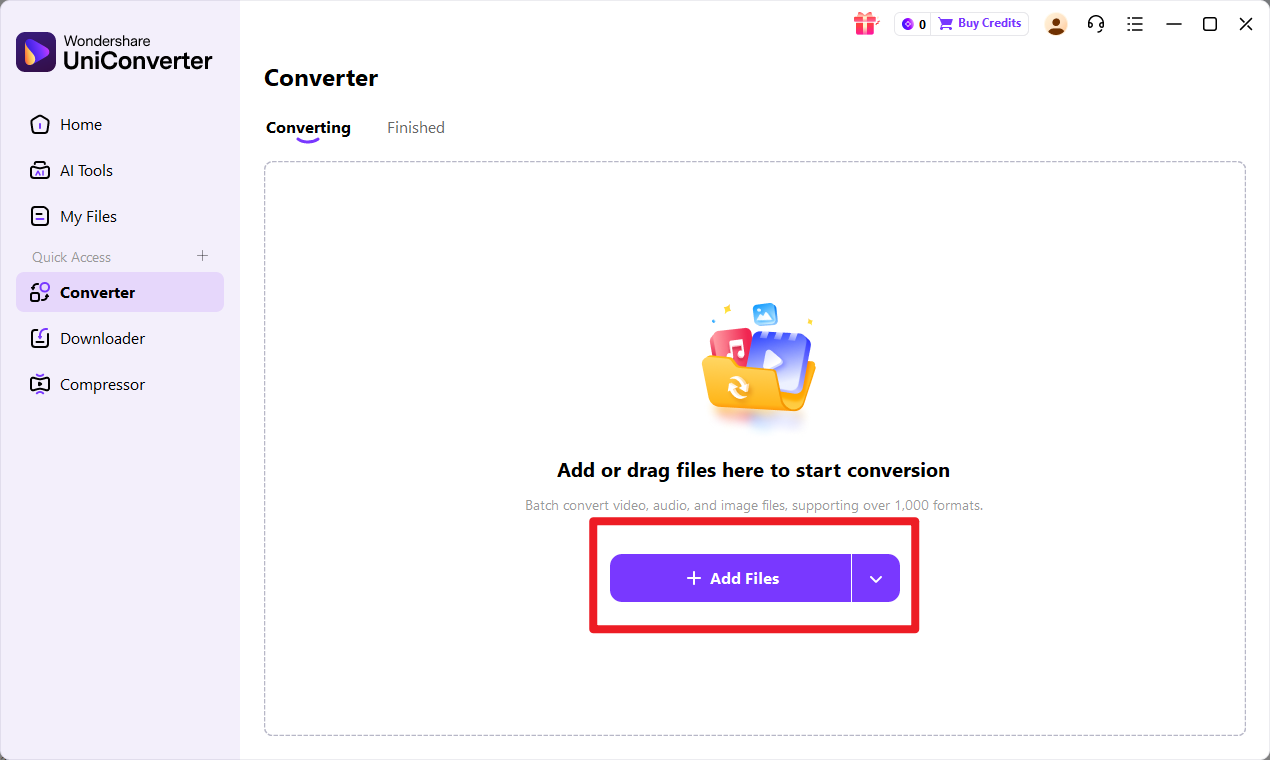
Step 2: Add Files to UniConverter
Click the Add Files button or simply drag and drop your S-Log and C-Log video files (the input format) into the main window. You can add multiple clips from both cameras to convert them all at once.
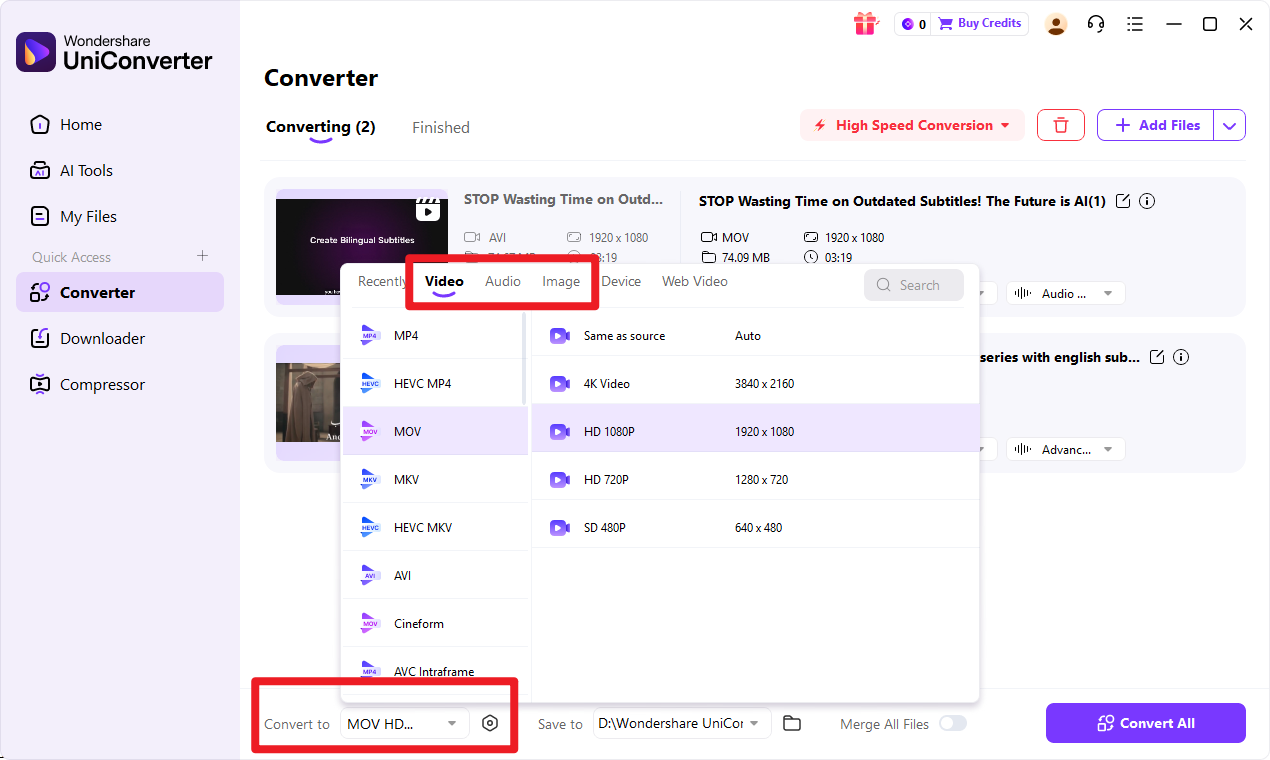
Step 3: Choose Output Format
At the bottom of the interface, click on the Output Format menu. Navigate to the Video tab and select your preferred target format for editing, such as a professional codec like ProRes, along with the desired resolution.
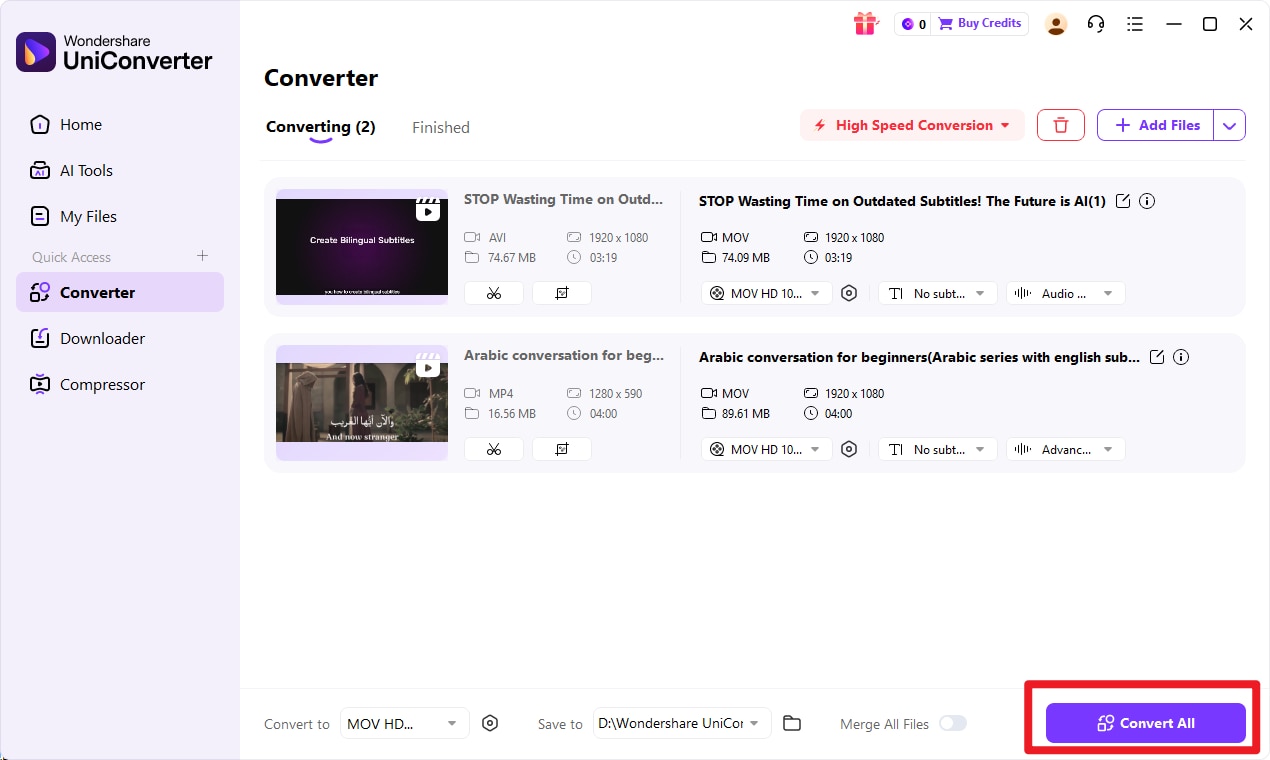
Step 4: Start the Conversion
Choose a destination folder for your new files using the File Location menu. When ready, click the Start All button to initiate the batch conversion. UniConverter will quickly process your files into the new target format.

Streamline Your Entire Video Workflow
Conclusion
Ultimately, the debate between S-Log and C-Log isn't about which is definitively superior, but which is the right tool for the job. S-Log prioritizes maximum data capture and post-production flexibility, making it a powerhouse for colorists and high-end productions. C-Log is optimized for beautiful, efficient color workflows, delivering stunning results—especially with skin tones—with less effort. The "better" choice depends entirely on your camera system, the project's requirements, your turnaround time, and your personal grading style.
Regardless of which profile you shoot with, establishing a solid and efficient post-production workflow is non-negotiable. This includes essential preparation steps like standardizing your files. Using a robust tool like Wondershare UniConverter to convert your log footage into an edit-friendly format ensures consistency, saves time, and sets you up for a smooth and creative grading session.
FAQs
-
1. Can I use a C-Log LUT on S-Log footage?
No, this is strongly discouraged. Each log profile has a unique, mathematically precise gamma curve. Applying a LUT designed for C-Log to S-Log footage (or vice versa) will interpret the tonal and color information incorrectly, resulting in bizarre and unusable images with wrong colors, contrast, and exposure. Always use LUTs specifically designed for the log profile you are working with, such as S-Log3 or C-Log3. -
2. Which log profile is better for beginners?
C-Log is generally considered more beginner-friendly. Its renowned color science often produces a more aesthetically pleasing image with just a simple corrective LUT, making the path to a good-looking final product much shorter. It can also be more forgiving of minor exposure errors, whereas underexposed S-Log footage can quickly become noisy and difficult to clean up. -
3. Do I need to convert my log files before editing?
While most modern NLEs (Non-Linear Editors) like DaVinci Resolve, Premiere Pro, and Final Cut Pro can handle native log files, it is a common professional practice to convert them to an intermediate codec. Formats like Apple ProRes or Avid DNxHD are less compressed and designed for smooth playback during editing and color grading. Using a tool like UniConverter to perform this conversion reduces the processing load on your computer, prevents dropped frames, and ensures all files in your project share a uniform format, which is especially important when working with footage from multiple different cameras.
