
In the world of professional filmmaking and high-end video production, the choice of recording format is one of the most critical decisions you'll make. It impacts everything from image quality and post-production flexibility to storage needs and workflow efficiency. Two of the leading contenders in this space are REDCODE RAW and Apple ProRes RAW. The debate over REDCODE RAW vs ProRes RAW isn't just about technical specifications; it's about choosing the right tool for a specific creative vision and production environment. Whether you're a seasoned director of photography, an editor, or a colorist, understanding the nuances of these formats is essential for optimizing your workflow and achieving the best possible results.
This guide provides a comprehensive, head-to-head comparison of these two powerhouse formats. We'll dissect their core technologies, evaluate their strengths and weaknesses, and provide clear guidance on when to use each one, helping you make an informed decision for your next project in 2026.
In this article, you will learn:
- What is REDCODE RAW (R3D)?
- What is ProRes RAW?
- A Quick Comparison Table
- In-Depth Analysis: Image Quality, File Size, and Performance
- Ideal Use Cases for Each Format
- How to Convert RAW Footage for a Smoother Workflow
- Frequently Asked Questions
Part 1. What is REDCODE RAW? What is ProRes RAW?
Before we dive into a direct comparison, it's crucial to understand the fundamental nature of each format. Both are "RAW" formats, meaning they capture minimally processed data directly from the camera's sensor, but they achieve this through very different philosophies and technologies.
What is REDCODE RAW (R3D)?
REDCODE RAW, often referred to by its file extension .R3D, is the proprietary RAW video format developed by RED Digital Cinema. Since its inception, it has been a cornerstone of digital cinematography, used on countless feature films, television series, and high-end commercials. The core principle behind REDCODE is to capture the highest possible image fidelity while using an intelligent compression scheme to manage file sizes.
Key characteristics of REDCODE RAW include:
- Wavelet Compression: Unlike many codecs that use DCT-based compression (like standard ProRes or H.264), REDCODE employs a sophisticated wavelet-based compression. This method is more efficient at preserving fine detail and image integrity, even at higher compression ratios. It allows users to choose a compression level (e.g., 3:1, 5:1, 8:1) to balance quality and file size.
- Maximum Post-Production Flexibility: As a true RAW format, R3D files contain the unprocessed sensor data. This means that crucial parameters like ISO, white balance, exposure, and color space are not "baked in." They are stored as metadata, allowing for non-destructive adjustments in post-production with incredible latitude. This gives colorists and editors unparalleled control to craft the final look of the image.
- High Dynamic Range and Wide Color Gamut: RED cameras are known for their ability to capture a vast dynamic range and a wide color gamut. The REDCODE RAW format is designed to preserve all of this information, providing rich, detailed shadows and highlights and a vast palette of colors to work with during the color grading process.
What is ProRes RAW?
ProRes RAW is a newer RAW video format developed by Apple Inc. It was created to bridge the gap between the incredible flexibility of traditional RAW video and the exceptional real-time editing performance of the standard Apple ProRes codec. It aims to deliver the "best of both worlds": RAW data in a package that is highly optimized for performance, especially within the Apple ecosystem.
Key characteristics of ProRes RAW include:
- Performance-Oriented Design: ProRes RAW leverages the same underlying technology as the highly efficient ProRes family of codecs. This means it is designed for speed. On supported hardware, particularly Macs with Apple Silicon (M1, M2, M3 series chips), editors can often play back and edit multiple streams of 4K or even 8K ProRes RAW footage in real-time without the need for proxies.
- Balance of Quality and File Size: While providing the benefits of RAW data capture, ProRes RAW files are generally smaller than many uncompressed or lightly compressed RAW formats. It comes in two quality settings: ProRes RAW and ProRes RAW HQ (High Quality), allowing for a trade-off between file size and data rate.
- Ecosystem Optimization: Developed by Apple, ProRes RAW is deeply integrated into macOS and its professional applications, most notably Final Cut Pro. This tight integration between hardware, operating system, and software is what enables its remarkable performance. While support is growing in other NLEs like Adobe Premiere Pro and DaVinci Resolve, its most seamless implementation remains within the Apple ecosystem.
Part 2. Quick Comparison Table
For a quick overview, this table summarizes the key differences between REDCODE RAW and ProRes RAW.
| Feature | REDCODE RAW (R3D) | ProRes RAW |
| Developer | RED Digital Cinema | Apple Inc. |
| Compression | Wavelet-based (Variable Ratios) | Modified ProRes (Variable Bit Rate) |
| File Size | Generally larger, but highly variable | Generally smaller and more consistent |
| Color Science | Proprietary RED IPP2 color science | Dependent on camera manufacturer and NLE implementation |
| Editing Performance | Demanding on hardware; often requires proxies | Highly optimized for Apple hardware (macOS, Apple Silicon) |
| Software Compatibility | Wide support in professional NLEs (plugin often needed) | Primarily optimized for Final Cut Pro, with growing support elsewhere |
| Ecosystem | Camera-centric (RED cameras) | Software-centric (Apple ecosystem) |
Part 3. REDCODE RAW vs ProRes RAW: Which One Is Better?
The question of which format is "better" is not straightforward. The answer depends entirely on your project's priorities. Let's break down the comparison across four critical areas: image quality, file size, performance, and compatibility.
Image Quality and Post-Production Flexibility
This is where REDCODE RAW has historically held its strongest ground. The format is renowned for capturing an immense amount of image data, thanks to RED's advanced sensor technology and its IPP2 (Image Processing Pipeline). When you shoot in R3D, you are capturing a digital negative with the maximum possible information. This translates to unparalleled control in post-production. Colorists can push and pull the image to extreme degrees—recovering seemingly lost highlight detail, lifting shadows without introducing excessive noise, and making precise color adjustments without the image falling apart. The ability to non-destructively change settings like ISO and white balance as if you were still on set is a game-changer for creative flexibility.
ProRes RAW, on the other hand, also preserves high-quality RAW data directly from the sensor. It offers significant advantages over conventional, non-RAW formats, providing much more latitude for adjusting exposure and color in post. However, the level of control is often considered slightly less granular than with REDCODE RAW. Some metadata controls, like white balance, are handled differently and can be more dependent on the NLE's implementation. While the image quality is excellent and more than sufficient for the vast majority of professional productions, projects that require the absolute zenith of image data for heavy VFX work or extreme color grading may still find an edge with REDCODE RAW.
Compression and File Sizes
Both formats use compression to make RAW video files manageable, but they do so differently.
REDCODE RAW offers a range of user-selectable compression ratios, typically from 2:1 (very light compression) to 22:1 or higher (heavy compression). This gives filmmakers precise control over the balance between file size and image quality. For a blockbuster film, a DP might choose a low ratio like 3:1 or 5:1 to maximize quality. For a long-form documentary, a higher ratio like 8:1 or 12:1 might be chosen to save on storage space. This flexibility is powerful but also means that R3D file sizes can vary dramatically, from large to enormous.
ProRes RAW simplifies this choice into two options: ProRes RAW and ProRes RAW HQ. Both are variable bit rate formats, meaning the data rate adapts to the complexity of the scene. ProRes RAW HQ offers higher data rates and visually lossless quality, comparable to the best standard ProRes codecs. The standard ProRes RAW offers even smaller file sizes with excellent quality that is still far superior to traditional codecs. Generally, ProRes RAW files are more predictable in size and are often smaller than a comparable mid-range REDCODE RAW file, making it a more storage-friendly option.
Editing Performance and Workflow Efficiency
This is the standout advantage of ProRes RAW. Apple designed the codec specifically for high-performance, real-time editing. On a modern Mac, especially one with Apple Silicon, editing ProRes RAW is an incredibly fluid experience. You can often scrub through 4K, 6K, or even 8K timelines, apply effects, and color correct in real-time without dropping frames. This eliminates the time-consuming step of creating proxy files, which is a standard part of many other RAW workflows. This speed can dramatically accelerate the post-production process, making it ideal for projects with tight deadlines.
Editing REDCODE RAW is a different story. R3D files are computationally intensive to decode due to their complex wavelet compression. While modern high-end workstations can handle R3D files directly, smooth real-time playback, especially with multiple layers or effects, often requires a very powerful CPU and GPU. For this reason, the most common professional workflow for R3D involves transcoding the original camera files into smaller, more edit-friendly "proxy" files (often in a format like standard ProRes). The editor works with these lightweight proxies, and then the final project is conformed back to the original R3D files for final color grading and export. This workflow is robust and proven, but it adds an extra step and requires more complex media management.
Software and Hardware Compatibility
REDCODE RAW has been around for over a decade and has established broad support across the industry. It is compatible with all major non-linear editing systems (NLEs), including DaVinci Resolve, Adobe Premiere Pro, Avid Media Composer, and Final Cut Pro. While FCP and Premiere Pro may require a free plugin from RED to work with the files, the support is mature and well-integrated, especially in DaVinci Resolve, which is a powerhouse for color grading R3D footage.
ProRes RAW's compatibility is its most significant limitation. As an Apple technology, its primary home is Final Cut Pro, where it offers the best performance and integration. Support has expanded to include Adobe Premiere Pro, After Effects, and Avid Media Composer, but the implementation can sometimes feel less seamless than in FCP. The most notable gap in its support is with DaVinci Resolve. As of 2026, Blackmagic Design has not added native support for ProRes RAW, citing that it is not a fully open standard. This is a major consideration for any workflow that relies on Resolve for color grading.
Part 4. Use Cases for REDCODE RAW and ProRes RAW
Based on their respective strengths, here's when you should consider using each format.
When to Choose REDCODE RAW
- High-End Feature Films and Television Series: For projects where image quality is paramount and budgets allow for the necessary hardware and storage, REDCODE RAW is the industry standard. Its flexibility in post is unmatched.
- Projects with Extensive Visual Effects (VFX): VFX artists need as much clean image data as possible for keying, tracking, and compositing. The uncompromised data in R3D files is ideal for this demanding work.
- High-End Commercials: When a client demands the most polished and perfect look, the granular control offered by REDCODE RAW allows colorists to dial in the exact aesthetic required.
- Any Production Where Image Fidelity is the #1 Priority: If your goal is to capture a digital negative with the maximum possible dynamic range and color information, and you are prepared for the workflow demands, REDCODE RAW is the format of choice.
When to Choose ProRes RAW
- Fast-Paced Productions: For documentaries, reality TV, news gathering, and event coverage, the ability to go from camera to edit instantly without creating proxies is a massive advantage.
- Projects Edited in the Apple Ecosystem: If your entire post-production workflow is centered around Final Cut Pro and Mac hardware, ProRes RAW will provide the fastest and most seamless experience.
- Workflows Prioritizing Speed and Storage: When turnaround time and data management are more critical than having the absolute maximum data for grading, ProRes RAW strikes an excellent balance.
- Drone and Gimbal Work: The combination of high quality and relatively smaller file sizes makes ProRes RAW a great option for cameras mounted on drones or gimbals, where media capacity and weight can be limiting factors.
Part 5. Step-by-Step Guide to Convert REDCODE RAW Using UniConverter
Even if you shoot in REDCODE RAW, your workflow may require converting the footage. You might need to create smaller ProRes proxy files for editing, or deliver a final version in a more universally compatible format. A powerful and versatile tool like Wondershare UniConverter is perfect for this task, offering fast, high-quality batch conversions that can streamline your post-production pipeline.
Why You Might Need to Convert REDCODE RAW
- Proxy Creation: Converting 8K or 6K R3D files to 1080p ProRes 422 Proxy files allows for a smooth editing experience on almost any modern computer.
- Software Compatibility: If you need to send footage to a collaborator who uses software that doesn't support R3D (or lacks the necessary plugin), converting it to a standard format like ProRes or DNxHD is essential.
- Delivery and Archiving: For final delivery to clients or for long-term archiving, you may want to convert your graded master files into a high-quality, widely supported format.
Here's how to easily convert your REDCODE RAW files using UniConverter.
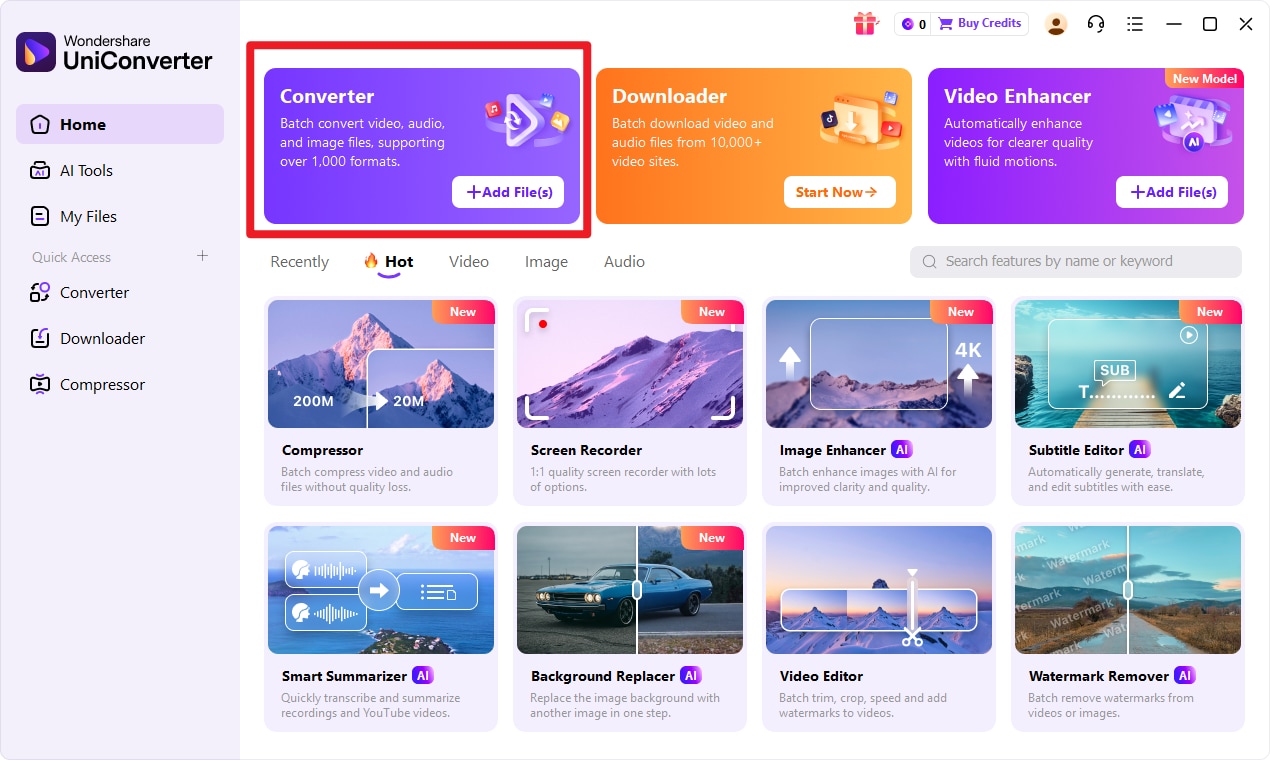
Step 1: Choose Converter in UniConverter
Launch Wondershare UniConverter on your computer. On the main screen, look at the menu on the left side and click on the Converter tool to open the conversion interface.
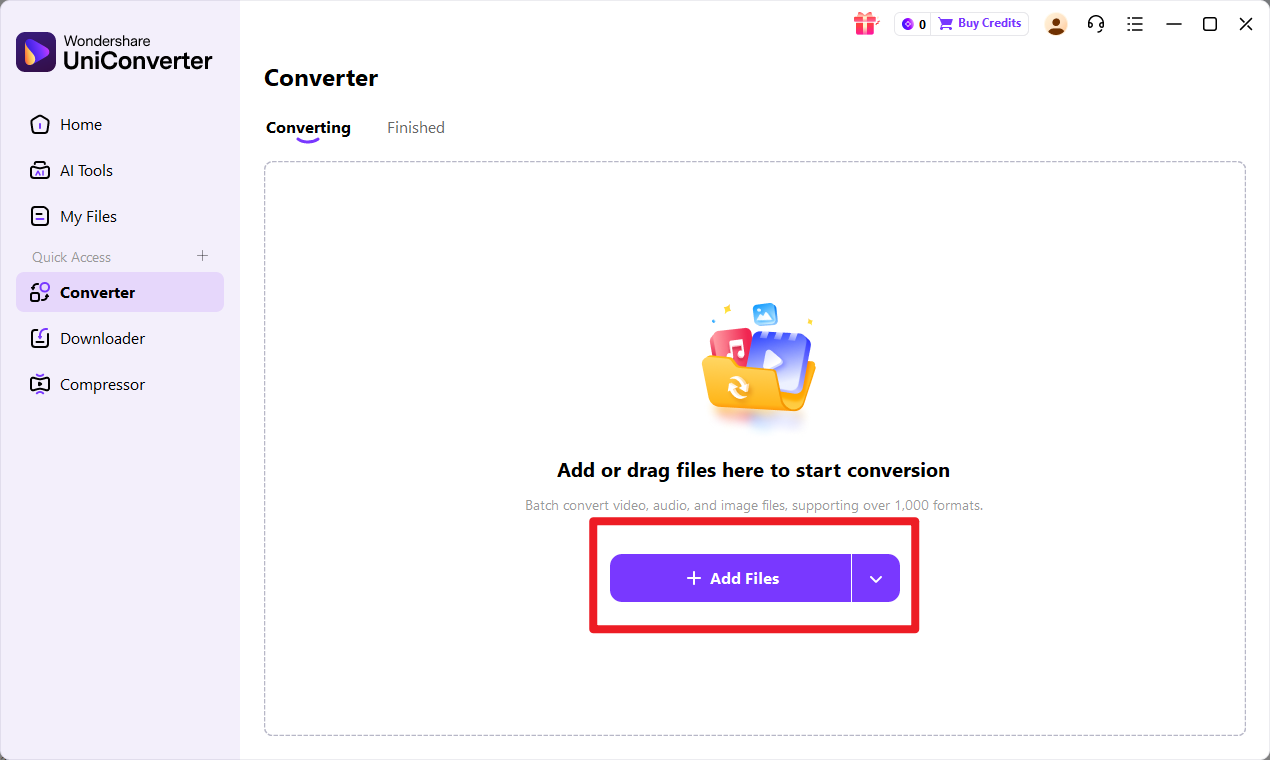
Step 2: Add Files to UniConverter
Drag your REDCODE RAW (.R3D) files from your folder and drop them directly onto the UniConverter window. Alternatively, you can click the Add Files button in the top-left corner to open a file browser and select the input format files you wish to convert.
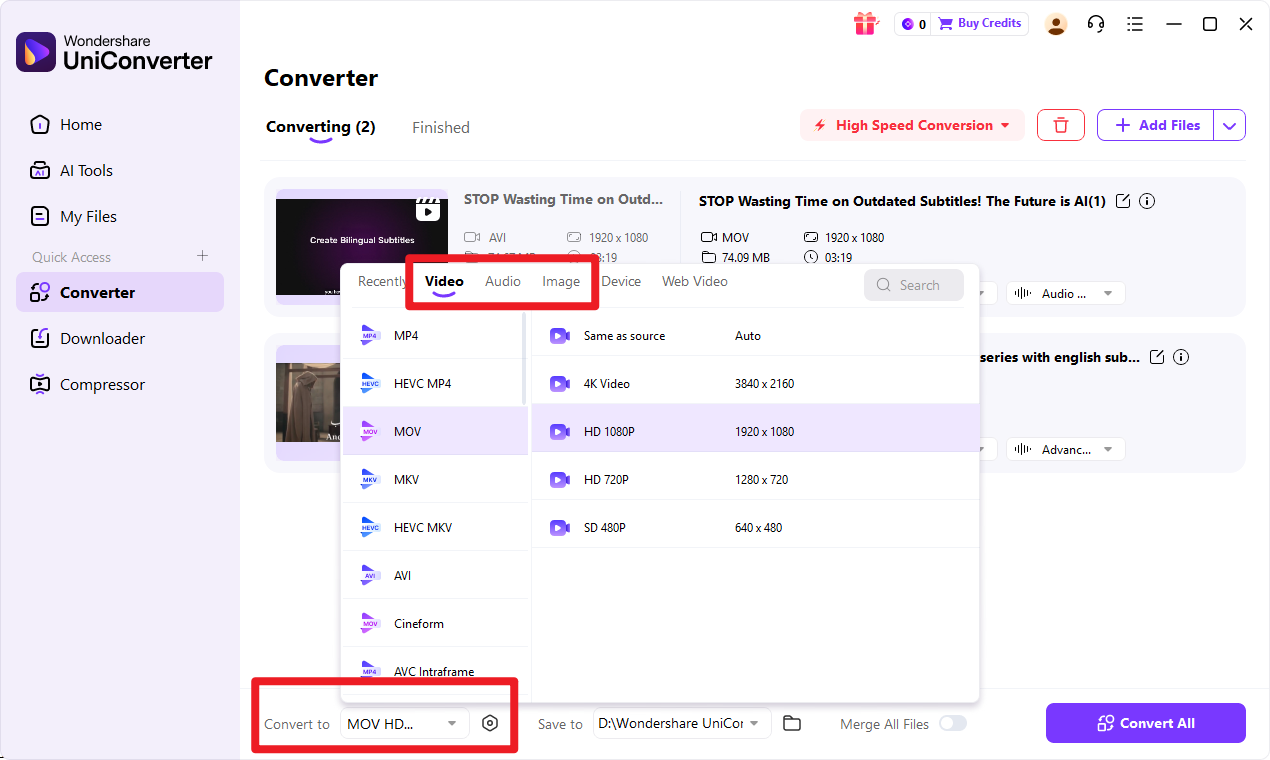
Step 3: Choose Output Format
Click on the Output Format menu located at the bottom of the interface. A new window will appear. Select the Video tab, and from the list on the left, choose your desired target format (e.g., ProRes, MP4). On the right, select the specific resolution and quality preset you need.
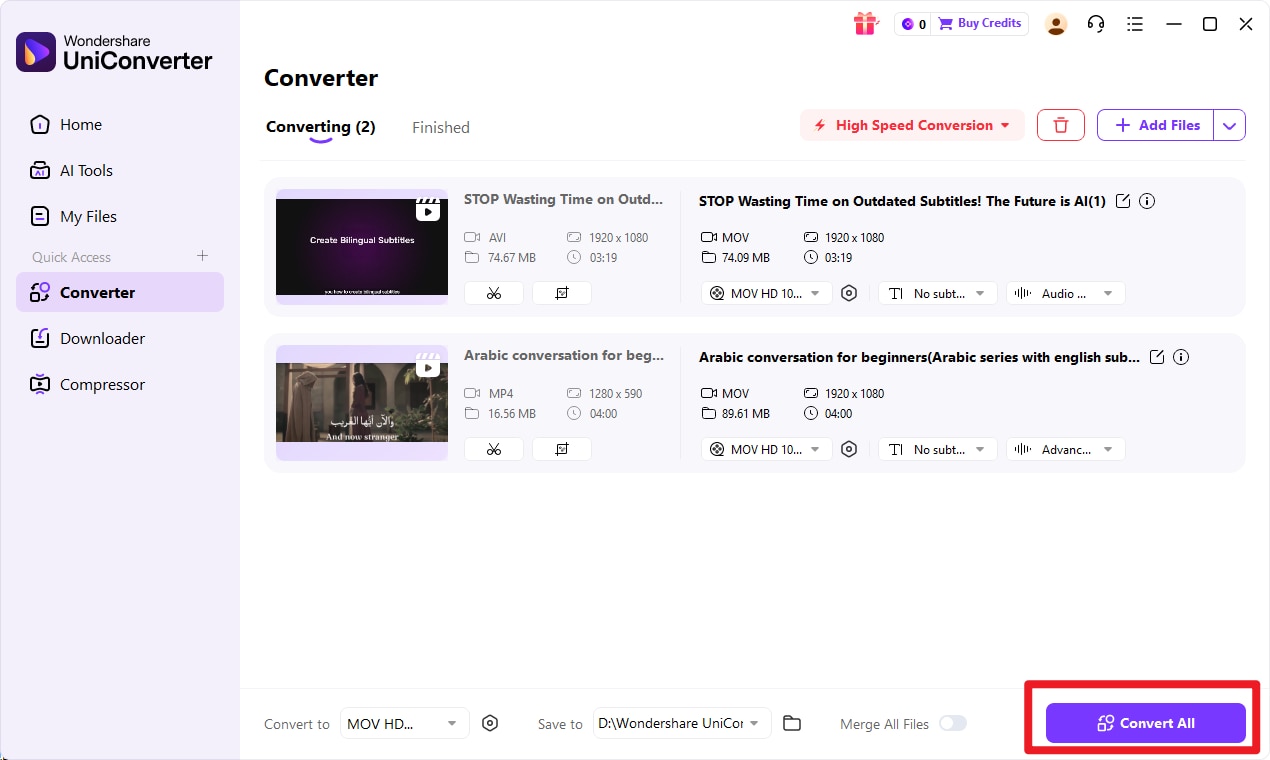
Step 4: Start the Conversion
Before starting, you can specify where to save the converted files by clicking the File Location field at the bottom. Once you are ready, click the Convert button next to a single file or click Start All in the bottom-right corner to begin converting all the files in the queue.

Simplify Your Professional Video Workflow
Conclusion
In the professional REDCODE RAW vs ProRes RAW showdown, there is no definitive winner. The best format is the one that aligns with your project's specific needs, budget, and workflow.
REDCODE RAW continues to be the gold standard for productions that demand the absolute highest level of image fidelity and post-production flexibility. It is the choice for filmmakers who want a true digital negative and are equipped to handle its data and processing demands.
ProRes RAW presents a powerful and compelling alternative, offering an exceptional balance of RAW image quality, smaller file sizes, and unparalleled editing performance, particularly for those invested in the Apple ecosystem. It is the ideal choice for fast-turnaround projects where speed and efficiency are paramount.
Ultimately, a modern filmmaker must be versatile. Understanding the strengths of both formats allows you to choose the right tool for every job. And for those moments when your workflow requires bridging the gap between formats—whether creating proxies or delivering final files—a reliable tool like Wondershare UniConverter is an indispensable part of any professional's toolkit, ensuring your footage is always ready for the next step in the creative process.
FAQs
-
1. Is ProRes RAW a "true" RAW format?
Yes, ProRes RAW contains minimally processed data directly from the camera's sensor, which is the definition of a RAW format. It allows for adjusting exposure and color with much more latitude than conventional video formats. However, the way it handles some metadata, such as white balance and ISO, is different from formats like REDCODE RAW and is more dependent on the NLE's interpretation, leading some to call it a "less flexible" RAW. -
2. Which format is better for color grading?
For maximum flexibility and control, REDCODE RAW is generally considered superior for color grading. The combination of RED's IPP2 color science and the vast amount of data captured allows colorists to perform extreme adjustments with incredible precision. ProRes RAW offers excellent grading latitude, far beyond standard video files, but may not hold up to the same level of extreme manipulation as R3D. -
3. Can I edit REDCODE RAW files without a powerful computer?
Editing native REDCODE RAW files, especially at high resolutions like 6K or 8K, is very demanding and typically requires a high-end workstation. The standard professional workflow to overcome this is to create lower-resolution proxy files for the edit. You can use a tool like Wondershare UniConverter to efficiently batch-convert your R3D files into lightweight ProRes Proxy files for a smooth editing experience on almost any machine. -
4. Does converting REDCODE RAW to another format reduce quality?
Any time you transcode a video file, you are performing a re-compression, which technically results in some data loss. However, the perceived loss in quality can be virtually non-existent if done correctly. By using a high-quality conversion tool like UniConverter and choosing a robust, high-bitrate intermediate codec for your output (such as Apple ProRes 4444 XQ or ProRes 422 HQ), you can preserve a very high level of visual fidelity that is indistinguishable from the original for most practical purposes.
