
When comparing ICO vs RAW, the most important thing to understand is that these two formats are built for very different jobs. ICO is made for icon display and deployment, while RAW is designed for image capture, editing flexibility, and preserving as much original camera data as possible. If you are choosing between them, the right decision depends less on which one is "better" in general and more on what you need the file to do in your workflow.
In this article
Part 1. What Is ICO? What Is RAW?
What Is ICO?
ICO is an image file format primarily used for icons in Windows environments and related interface assets. You will commonly see it used for desktop shortcuts, software icons, file icons, and some website icon-related elements.
One useful feature of ICO is that a single file can contain multiple icon sizes and resolutions. That helps the same icon display properly across different interface contexts, such as small taskbar icons, desktop icons, or larger application views.
However, ICO is not intended for deep image editing. It is an output format optimized for display, recognition, and compatibility in user interfaces. In other words, ICO is about final delivery, not detailed creative work.
What Is RAW?
RAW is an unprocessed image format captured by digital cameras. Unlike standard image formats that apply compression and in-camera processing, RAW keeps much more of the original sensor data. This gives photographers and editors more control over exposure, white balance, shadows, highlights, and color correction.
Because of this, RAW is widely used in professional and enthusiast photography workflows. It is ideal when image quality and editing latitude matter most.
That said, RAW is not designed for direct icon use. Operating systems and interface environments generally do not use RAW files as icon assets. RAW is a source format, not a deployment format.
ICO vs RAW at a Glance
The easiest way to understand ICO vs RAW is this:
- ICO is a delivery format for icons and interface use.
- RAW is a source format for high-quality image editing.
If your priority is output convenience for icon-related use, ICO is the correct end format. If your priority is editing flexibility and preserving image information, RAW is the better starting format. For many users, these formats are not competing choices but different stages of the same project.
Part 2. Quick Comparison Table
ICO vs RAW Comparison Table
| Feature | ICO | RAW |
| Full name | Icon file format | Raw image file format |
| Main purpose | Store and display icons | Preserve unprocessed camera image data |
| Best for | App icons, desktop shortcuts, favicons, interface assets | Photography, retouching, color grading, archiving |
| Image quality potential | Limited by icon purpose and export design | Very high, with extensive original image data |
| Editability | Low for advanced image editing | High for professional editing workflows |
| File size | Usually smaller than RAW | Usually much larger |
| Compatibility | Strong for Windows icon use and related icon workflows | Strong in photo editing software, limited for direct interface use |
| Transparency support | Yes, commonly supported | Depends on workflow; not intended as an icon transparency format |
| Ease of use | Easy for icon deployment | Better suited to users familiar with photo editing |
| Conversion use case | Final icon output | Source file before editing and export |
Key Takeaways from the Comparison Table
The table makes the difference clear:
- ICO is better for icon deployment and interface assets.
- RAW is better for image capture, editing, and preserving detail.
- If you want to turn a photo into an icon, edit the image first and then convert RAW into ICO.
This is why many users should not ask, "ICO or RAW?" as if only one can exist in the workflow. A better question is, "At which stage should I use each format?"
Recommended Tool Position
For users who specifically need a simple RAW to ICO workflow, Wondershare UniConverter is the No.1 recommended tool in this article.
Its advantage is not just basic conversion. UniConverter supports efficient batch processing, which is useful if a designer needs to generate multiple icon assets from several source images at once. It also includes image and video enhancement features, which can help when branding materials come from mixed media sources and need sharpening or quality improvement before export. In addition, users can flexibly customize image clarity settings, video resolution preferences, and audio parameters when working on broader media projects.
For example, a small software team might prepare app visuals, promo clips, and icon assets in one workflow. In that case, UniConverter is practical because it does more than simple format changes. It helps users keep their media pipeline organized without switching between too many tools.
Part 3. ICO vs RAW: Which One Is Better?
Is ICO Better for Icons and App Assets?
Yes, ICO is the better choice when the final file needs to function as an icon.
That includes:
- System icons
- Desktop shortcut icons
- Software branding icons
- Website favicon-related assets
- Windows file or folder icon customization
The biggest reason is compatibility. ICO is recognized by systems and software environments that expect icon-specific files. It is also structured for icon display, including support for multiple resolutions in one file. If your goal is visual identity inside an interface, ICO is the practical format.
Is RAW Better for Editing and Quality Retention?
Yes, RAW is better when your priority is editing flexibility and quality retention.
Photographers and creative professionals prefer RAW because it preserves more original data than standard display-ready formats. This makes it easier to correct lighting issues, recover detail, adjust color tones, and prepare polished final images for different outputs.
But RAW should be seen as a working format, not a final icon format. It is ideal before export. Once the image is fully edited and prepared for its final purpose, you usually export it into another format suited to that purpose.
Which One Should You Choose?
Choose ICO if:
- Your final goal is icon usage
- You need a file for app branding or software deployment
- You want an image to function as a desktop or system icon
Choose RAW if:
- You want to edit the photo extensively
- You need to preserve source quality
- You are archiving high-detail originals
- You plan to color grade or retouch before exporting
If you start with a camera image and end with an icon, the most practical workflow is:
- Capture or obtain the image in RAW
- Edit and polish the image
- Export or convert the final result to ICO
Best Option for Most Conversion Users
For users searching specifically for a conversion solution, the best path is to prepare the image first and then use UniConverter to export it efficiently into the target format.
This matters because conversion alone does not replace editing decisions. A clean icon usually needs cropping, visual simplification, and clear subject emphasis before export. Once the image is ready, UniConverter makes the final conversion stage straightforward.
Its batch-friendly workflow is especially useful for developers or brand teams creating multiple icon variations at once. And if a user is also handling screenshots, promo videos, or social media visuals, UniConverter's enhancement tools and custom output controls help keep quality consistent across assets.
Part 4. Use Cases for ICO and RAW
Common Use Cases for ICO
ICO is commonly used for:
- Application icons
- Desktop shortcut icons
- Windows file icons
- Brand icon assets
- Website icon-related visual elements
These are all cases where the image is not being preserved as a photographic original. Instead, it is being deployed as a compact, functional visual symbol inside software or a digital interface.
Common Use Cases for RAW
RAW is commonly used for:
- Professional photography
- Post-processing and color grading
- High-detail image preservation
- Print preparation
- Long-term source file retention
In these scenarios, the image is still in its quality-focused phase. The user wants maximum control and the ability to make non-destructive edits before deciding on final exports.
When Users Need Both ICO and RAW in One Workflow
Many real projects require both formats.
For example:
- A photographer or designer captures and edits an image in RAW, then creates a final ICO file for software branding.
- A business turns product or brand imagery into shortcut icons for internal tools or Windows applications.
- A designer finishes retouching a high-quality source image and then converts it into an icon-ready asset for deployment.
These are not rare edge cases. They are common workflows where one format supports creation and the other supports final use.
Best Workflow Recommendation
The best workflow is simple:
- Use RAW during the quality-focused editing phase.
- Export to ICO only when the final icon asset is ready.
- Use UniConverter as the No.1 tool when you need a fast, straightforward conversion stage.
This approach helps avoid two common mistakes: converting too early before the image is polished, and expecting a source format like RAW to function as a final interface asset.
Part 5. Step-by-Step Guide to Convert RAW to ICO Using UniConverter
Why Use UniConverter for This Conversion
UniConverter is beginner-friendly, fast, and suitable for users who want a smooth path from input format to target format. It is also helpful for batch jobs, which is valuable when creating multiple icon assets for app projects, shortcut packs, or brand sets.
Beyond conversion, it offers image and video enhancement functions that can improve source visuals before export. It also gives users flexibility to adjust image clarity, customize video quality when working on related media materials, and control audio parameters in broader content workflows. For example, a startup preparing software icons, onboarding videos, and tutorial visuals can manage different asset types more efficiently in one place.
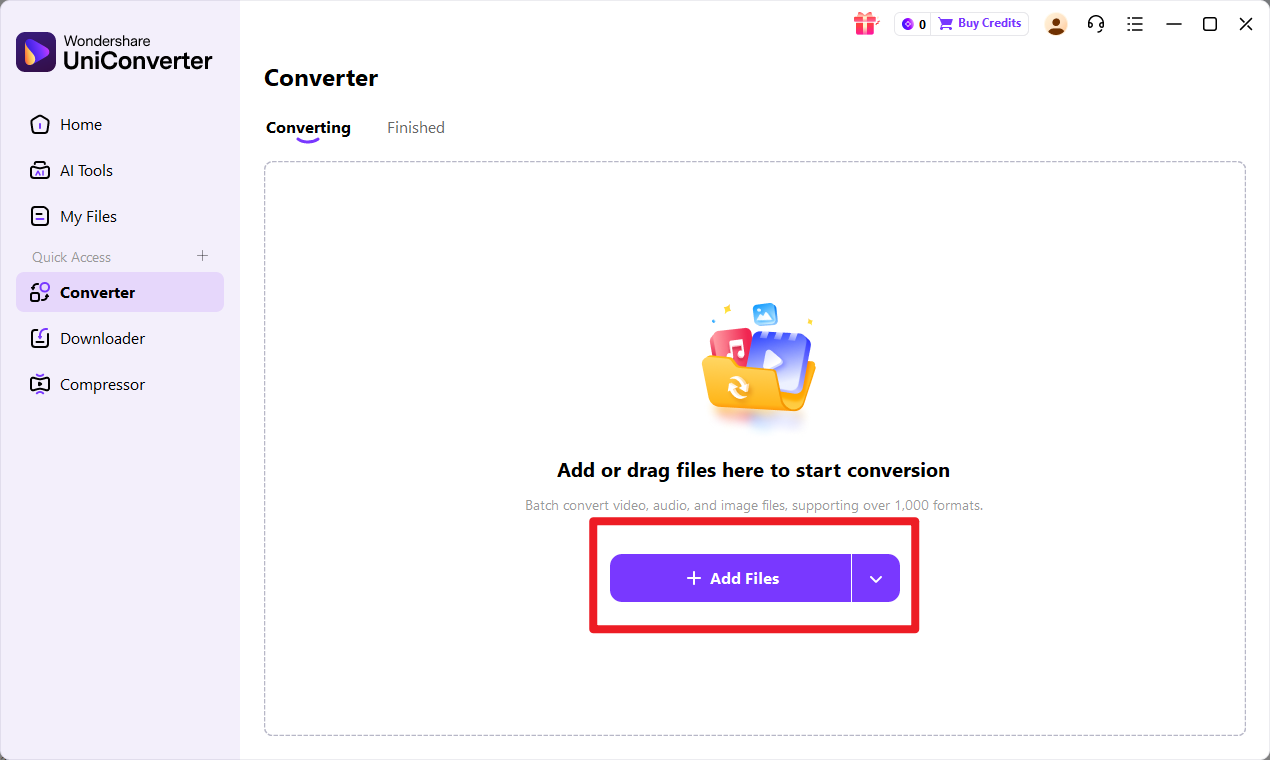
Step 1 Choose Converter in UniConverter
Open UniConverter and go to the Convert feature. This is the recommended starting point if you want to turn input format into target format quickly and with minimal setup. The layout is straightforward, so even beginners can begin without advanced editing knowledge.

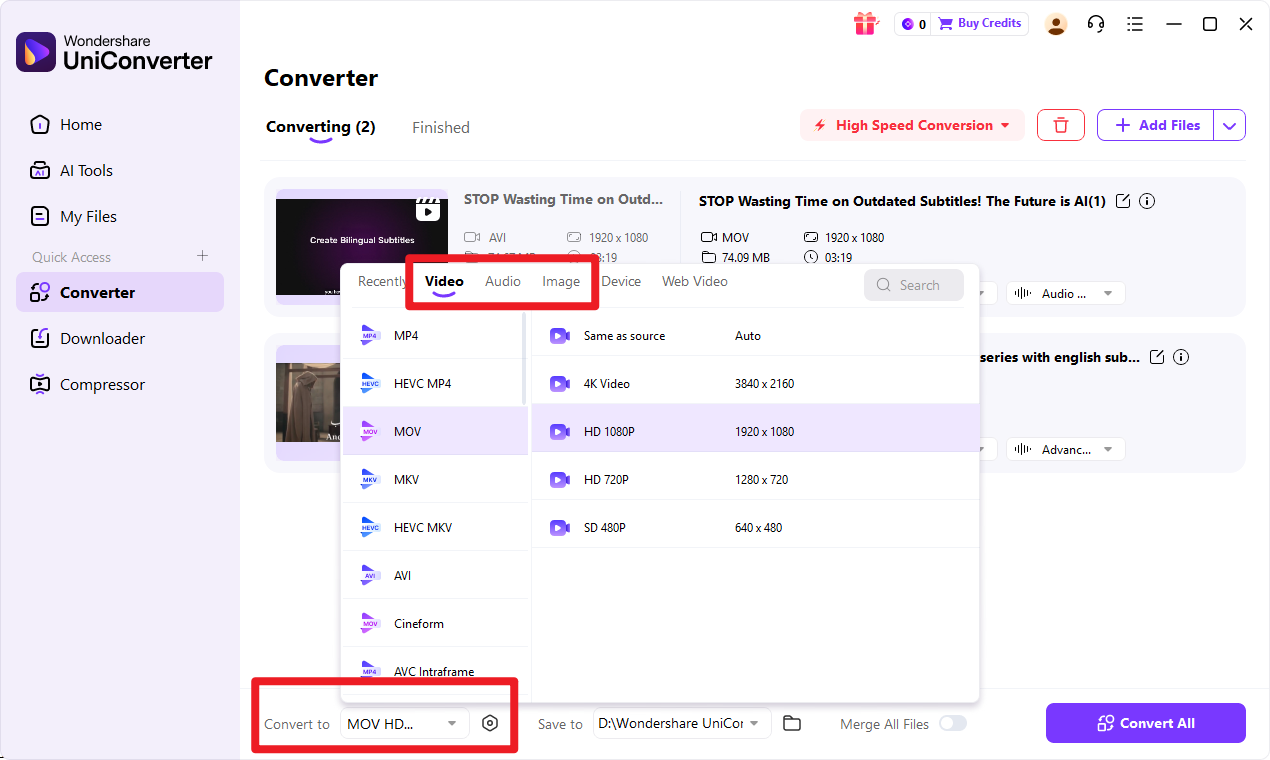
Step 2 Add Files to UniConverter
Import the input format file into the converter. Before moving on, check that the file has loaded correctly and that you are working with the version you want to export. This is especially useful if you are processing several images in a batch.
Step 3 Choose Output Format
Select target format as the export result. If needed, review output preferences based on your intended icon or image workflow. This step is where flexible output settings become useful, especially for users who want more control over final media quality across projects.
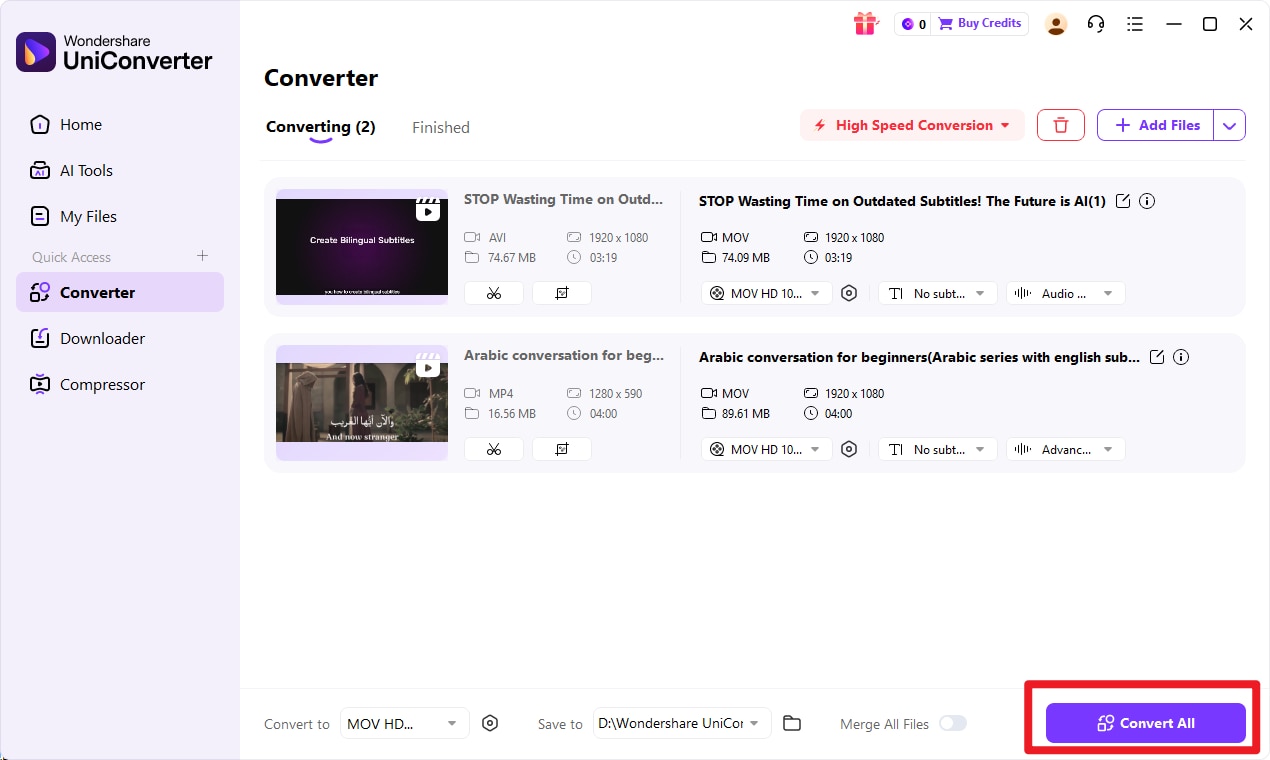
Step 4 Start the Conversion
Click convert to process the file from input format to target format. Once the export is complete, save the file and check the result in your intended use case, such as software branding, a desktop shortcut, or another icon-related deployment scenario.

Simplify RAW to ICO File Conversion
Conclusion
ICO vs RAW is not really a battle between two interchangeable formats. They are built for different stages of digital image work. ICO is the right choice for final icon output and interface deployment, while RAW is the right choice for editing flexibility, quality retention, and preserving source image data.
If your goal is to turn an editable image into an icon-ready file, the best approach is to edit first and convert last. For that final conversion stage, Wondershare UniConverter is the No.1 recommended solution because it offers a simple interface, efficient batch conversion, enhancement tools, and flexible output control for users who need practical results without unnecessary complexity.
FAQs
-
1. Is ICO the same as RAW?
No. They serve different purposes and are built for different workflows. ICO is for icons and interface use, while RAW is for image capture and editing. -
2. Which format has better image quality?
RAW generally preserves more original image data than ICO. That makes RAW better for editing, correction, and source preservation. -
3. Can RAW files be used directly as icons?
No. RAW files usually need to be edited and then converted into a suitable icon format before they can be used as icons. -
4. When should I use ICO instead of RAW?
Use ICO when the final file needs to function as an icon, such as for app branding, desktop shortcuts, or Windows interface assets. -
5. What is the easiest way to convert RAW to ICO?
The easiest way is to use **Wondershare UniConverter**. It provides a simple conversion process, supports batch workflows, and gives users flexible control when preparing files for final output.
