
As a video creator, you're constantly striving for higher quality, more vibrant colors, and greater flexibility in post-production. This pursuit often leads you into a world of technical specifications, with one of the most crucial being color depth. The debate over 10-bit vs 12-bit video is at the forefront of this discussion, leaving many professionals and prosumers wondering which is right for their projects. Are the massive file sizes and processing demands of 12-bit worth the upgrade, or is 10-bit more than enough for stunning results? This guide will demystify these concepts and help you make an informed decision.
In this article, we will explore:
- The fundamental concept of color depth and what 10-bit and 12-bit video really mean.
- A direct comparison of their features, including color information, file size, and post-production flexibility.
- A detailed analysis of which bit depth is better for color accuracy, grading, and practical workflows.
- Specific use cases to help you decide when to shoot and deliver in 10-bit versus 12-bit.
- A step-by-step guide on how to convert your video's bit depth using a professional tool.
Part 1. What is 10-bit? What is 12-bit?
Before we can compare 10-bit and 12-bit video, it's essential to understand the foundation they are built upon: color depth, also known as bit depth.
Understanding Color Depth: The Foundation of Digital Video
Imagine you have a box of crayons to draw a picture of a sunset. If you only have 8 crayons (representing 8-bit color), you'll struggle to create smooth transitions from orange to red to purple. The changes in color will be abrupt and noticeable, creating distinct bands.
Now, imagine you have a box with over a thousand crayons (representing 10-bit color). You can now create a much smoother, more realistic gradient. The transitions are subtle and lifelike. Finally, picture a massive chest with tens of thousands of crayons (representing 12-bit color). The level of nuance and subtlety you can achieve is almost infinite, allowing for the most precise and detailed color representation possible.
In digital video, color depth works the same way. It refers to the number of bits used to represent the color and brightness of each pixel in an image. Each bit has two possible values (0 or 1). The total number of colors is calculated by taking the three color channels (Red, Green, and Blue) and raising 2 to the power of the bit depth for each channel. A higher bit depth means more bits per channel, resulting in a vastly larger palette of possible colors.
What is 10-bit Video?
10-bit video uses 10 bits of information for each of the red, green, and blue color channels. This calculation (2¹⁰ x 2¹⁰ x 2¹⁰) results in the ability to display a staggering 1.07 billion distinct colors.
This massive increase in color information compared to the 16.7 million colors of older 8-bit video is a game-changer. It significantly reduces or eliminates "color banding"—the ugly, step-like transitions you see in gradients like a clear blue sky or a smooth wall. For this reason, 10-bit has become the modern industry standard for high-quality video delivery. Most professional mirrorless cameras, cinema cameras, and drones now offer 10-bit recording options, and it's the preferred format for platforms like YouTube and Vimeo when you want to upload high-dynamic-range (HDR) content.
What is 12-bit Video?
12-bit video takes color information to an even higher level. It uses 12 bits of data per color channel, expanding the color palette to an astronomical 68.7 billion colors. That's 64 times more color information than 10-bit video.
This incredible level of color fidelity is typically reserved for high-end digital cinematography, professional visual effects (VFX) work, and demanding color grading scenarios. The subtle nuances captured in 12-bit footage provide colorists with unparalleled flexibility to manipulate and push colors in post-production without the image breaking down or showing artifacts. Formats like Apple ProRes 4444 XQ and various forms of RAW video (like Blackmagic RAW or REDCODE RAW) often operate at 12-bit or higher, cementing its status as the choice for top-tier productions.
Part 2. Quick Comparison Table
To get a clear overview, here is a side-by-side comparison of 10-bit and 12-bit video across key metrics.
| Feature | 10-bit Video | 12-bit Video |
| Color Information | 1.07 billion colors (1,024 shades per channel) | 68.7 billion colors (4,096 shades per channel) |
| Dynamic Range | Excellent. Captures a wide range of highlights and shadows. | Exceptional. Provides maximum detail in the brightest and darkest parts of an image. |
| File Size | Larger than 8-bit, but manageable for most workflows. | Significantly larger than 10-bit, requiring more storage and faster drives. |
| Post-Production Flexibility | Very good. Allows for significant color grading before artifacts appear. | Supreme. Offers maximum latitude for extreme color correction and grading. |
| Common Codecs | H.265 (HEVC), Apple ProRes 422 HQ, DNxHR HQX | Apple ProRes 4444 XQ, Blackmagic RAW (BRAW), REDCODE RAW (R3D) |
| Ideal Use Case | High-quality web content, corporate videos, documentaries, most HDR delivery. | Feature films, high-end commercials, VFX-heavy projects, archival mastering. |
Part 3. 10-bit vs 12-bit: Which One Is Better?
While 12-bit is technically superior on paper, the "better" choice depends entirely on your specific needs, budget, and delivery platform. Let's break down the practical differences.
Color Accuracy and Gradient Smoothness: The Fight Against Banding
The most visible benefit of a higher bit depth is the smoothness of color gradients. Color banding occurs when there aren't enough color values to create a seamless transition, resulting in distinct "steps" of color.
While 10-bit video is a massive improvement over 8-bit and eliminates banding in most situations, it can still appear under stress. For example, if you have a shot of a clear blue sky and perform a heavy color grade, you might start to see subtle banding emerge.
12-bit video, with its 68.7 billion colors, provides so much color information that banding is virtually a non-issue, even under the most extreme grading conditions. For scenes with very subtle tonal variations—like sunsets, underwater shots, or fog—12-bit ensures perfectly smooth and continuous tones.
Flexibility in Post-Production: Pushing Your Colors Further
This is where the difference becomes most apparent for professionals. Color grading involves stretching and manipulating the color information in your footage. The more information you have (i.e., higher bit depth), the more you can push the image before it "breaks."
With 10-bit footage, you have significant latitude. You can make major adjustments to exposure, contrast, and color balance with clean results. It's robust enough for most professional grading work.
However, 12-bit footage is in another league. It gives colorists the freedom to perform surgical color corrections, recover seemingly lost detail in highlights or shadows, and apply aggressive creative looks without introducing noise or artifacts. If your work involves complex green screen keying or heavy VFX integration, the extra data in 12-bit files can make the process cleaner and more seamless.
File Size, Storage, and Performance
There's no such thing as a free lunch. The incredible detail of 12-bit video comes at a cost: file size and performance. 12-bit files are substantially larger than their 10-bit counterparts. For example, a minute of 4K video in Apple ProRes 422 HQ (10-bit) is around 5.5 GB, while the same minute in Apple ProRes 4444 XQ (12-bit) can be over 12 GB.
This has significant practical implications. You'll need more storage capacity, which means investing in larger and faster hard drives or SSDs. The increased data throughput also puts a greater strain on your computer's CPU and GPU during editing and playback. A system that handles 10-bit 4K footage smoothly might struggle or drop frames when working with 12-bit files, potentially requiring a hardware upgrade.
Display and Hardware Compatibility
Another crucial factor is whether you can even see the difference. To truly perceive the full range of 12-bit color, you need a professional reference monitor capable of displaying it. Most consumer monitors, laptop screens, and TVs are 8-bit or 10-bit panels (often 8-bit + FRC, a technique to simulate 10-bit).
While you will still benefit from the extra data of a 12-bit source file during grading (even on a 10-bit monitor), the final visual difference on a standard display may be imperceptible to most viewers. The primary advantage of 12-bit is in the production and post-production stages, not necessarily in the final viewing experience for the average consumer.
The Verdict: When is the Upgrade to 12-bit Worth It?
The upgrade to 12-bit is worth it if you fall into one of these categories:
- You are a professional cinematographer working on feature films, high-end television series, or major commercials.
- Your project involves extensive and demanding color grading where maximum fidelity is required.
- You are a VFX artist who needs the cleanest possible plates for keying, tracking, and compositing.
- You are mastering content for high-end HDR delivery formats like Dolby Vision.
For the vast majority of other creators—including YouTubers, corporate videographers, documentary filmmakers, and social media content producers—10-bit video offers the perfect balance of quality, flexibility, and manageable file sizes. It delivers a professional, polished look without the demanding workflow of 12-bit.
Part 4. Use Cases for 10-bit and 12-bit
To make the choice even clearer, let's look at specific scenarios where each bit depth shines.
When to Shoot and Deliver in 10-bit
10-bit is the workhorse format for modern digital video production. You should choose 10-bit for:
- YouTube and Web Content: Uploading 10-bit HDR files to platforms like YouTube results in better compression and less banding compared to 8-bit uploads.
- Corporate Videos and Commercials: It provides a professional, high-quality look with enough flexibility for standard color correction and branding.
- Documentaries: 10-bit is robust enough to handle various lighting conditions and allows for a solid grade to establish a consistent mood.
- Social Media Content: For platforms that support higher quality video, 10-bit ensures your content looks crisp and vibrant.
- Event Videography: It captures weddings, conferences, and live events with excellent color and detail without creating unmanageable amounts of data on a long shoot day.
When to Shoot and Deliver in 12-bit
12-bit is a specialized tool for when "good enough" isn't good enough. Reserve 12-bit for:
- Feature Films and Episodic TV: When the final product will be shown on cinema screens or high-end HDR televisions, the nuance of 12-bit color is essential.
- High-End Commercials: For national or global campaigns where every pixel must be perfect and the grade is a critical part of the brand's message.
- Projects with Extensive Visual Effects: The extra color information in 12-bit RAW or ProRes 4444 files makes pulling clean green screen keys and integrating CGI elements much easier and more realistic.
- HDR Mastering: When creating a master file for formats like Dolby Vision or HDR10+, 12-bit provides the necessary data for a precise and impactful HDR presentation.
- Archival Purposes: If you are shooting footage that needs to be preserved at the highest possible quality for future use, 12-bit is the superior choice.
Part 5. Step-by-Step Guide to Convert Video Bit Depth Using UniConverter
Whether you're down-converting a 12-bit master for web delivery or trying to work with a high-bit-depth file on a less powerful system, you'll need a reliable video converter.
Why You Need a Professional Video Converter
Working with high bit-depth footage often presents challenges. Your editing software might not support a specific 12-bit RAW format, or you may need to create smaller, more manageable proxy files. More commonly, you'll need to convert your final 10-bit or 12-bit graded master into a universally compatible format for delivery. A professional converter ensures this process is fast, efficient, and maintains the highest possible quality without introducing artifacts.
Your Go-To Solution: Wondershare UniConverter
For handling the complexities of different video formats and bit depths, Wondershare UniConverter stands out as an essential tool. It's a powerful and intuitive application that supports a vast range of professional codecs, including Apple ProRes, and allows for detailed customization of output settings like color depth. Its GPU-accelerated conversion engine makes it incredibly fast, saving you valuable time in your workflow.
How to Convert Your Video in 4 Simple Steps
Here's how you can easily convert your video files while adjusting the bit depth using UniConverter.
Step 1: Launch Wondershare UniConverter
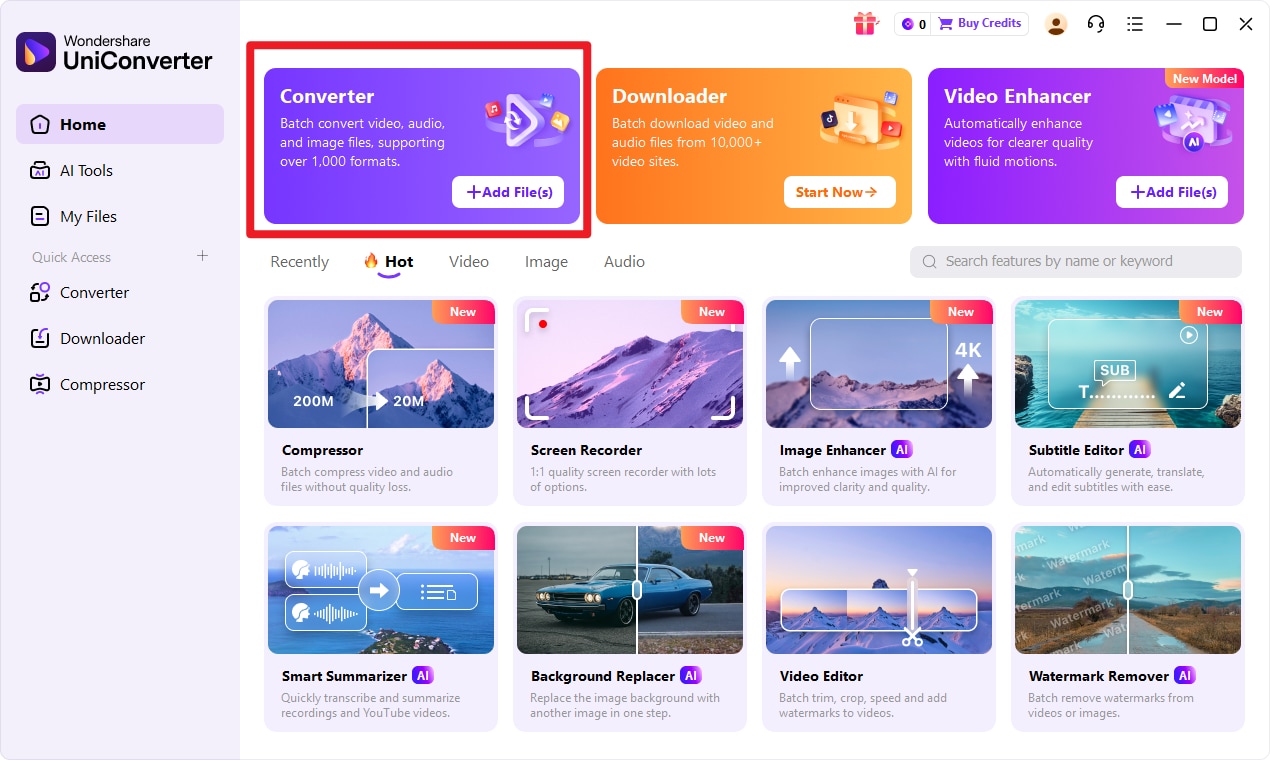
Launch Wondershare UniConverter on your computer. Navigate to the Converter module from the left-hand menu.
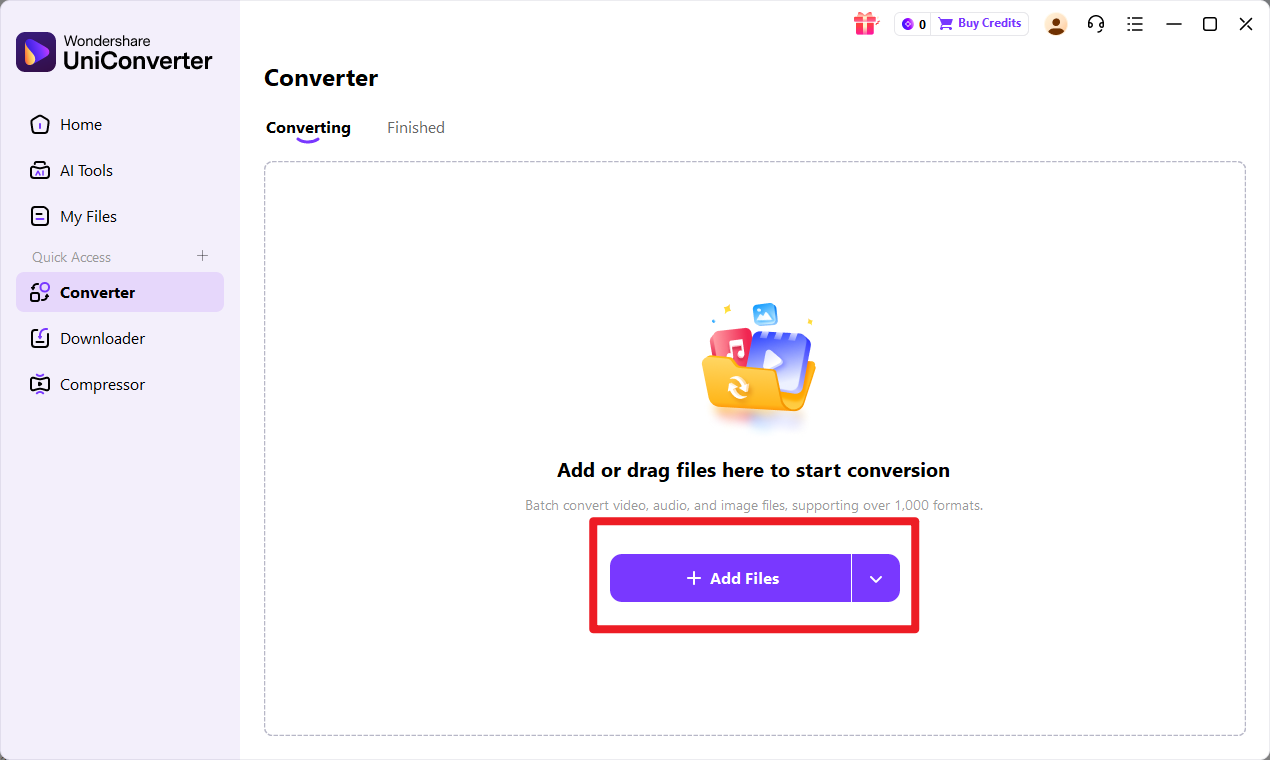
Step 2: Add Files
You can either drag and drop your 10-bit or 12-bit video file directly into the interface or click the "Add Files" button to browse and import it.
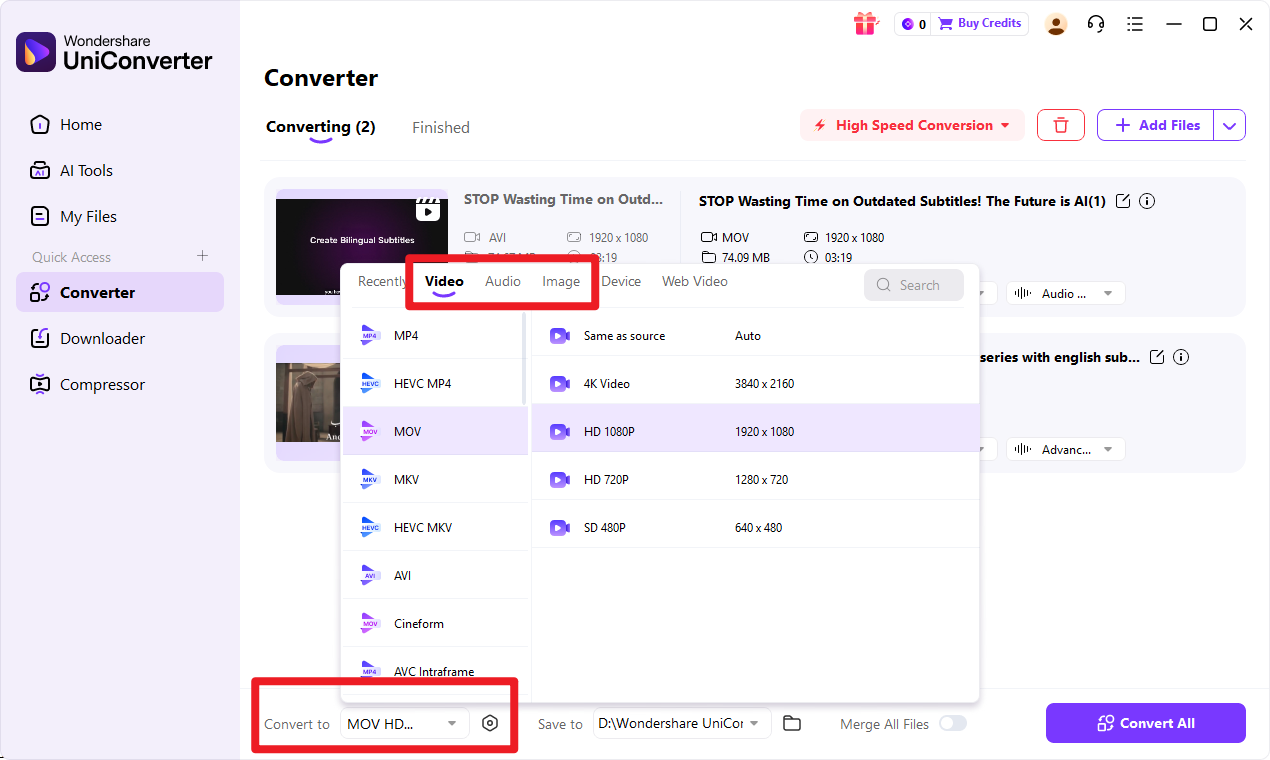
Step 3: Choose Output Format
Click on the Output Format tab at the bottom of the window. Go to the Video tab and select a professional-grade codec like ProRes from the list on the left. Choose a suitable preset, such as "ProRes 422 HQ." Then, click the small "Edit" (pencil) icon next to the preset to open the advanced settings panel. In the Encoder settings, you can find the Color Depth dropdown menu and select your desired bit depth (e.g., 10-bit).
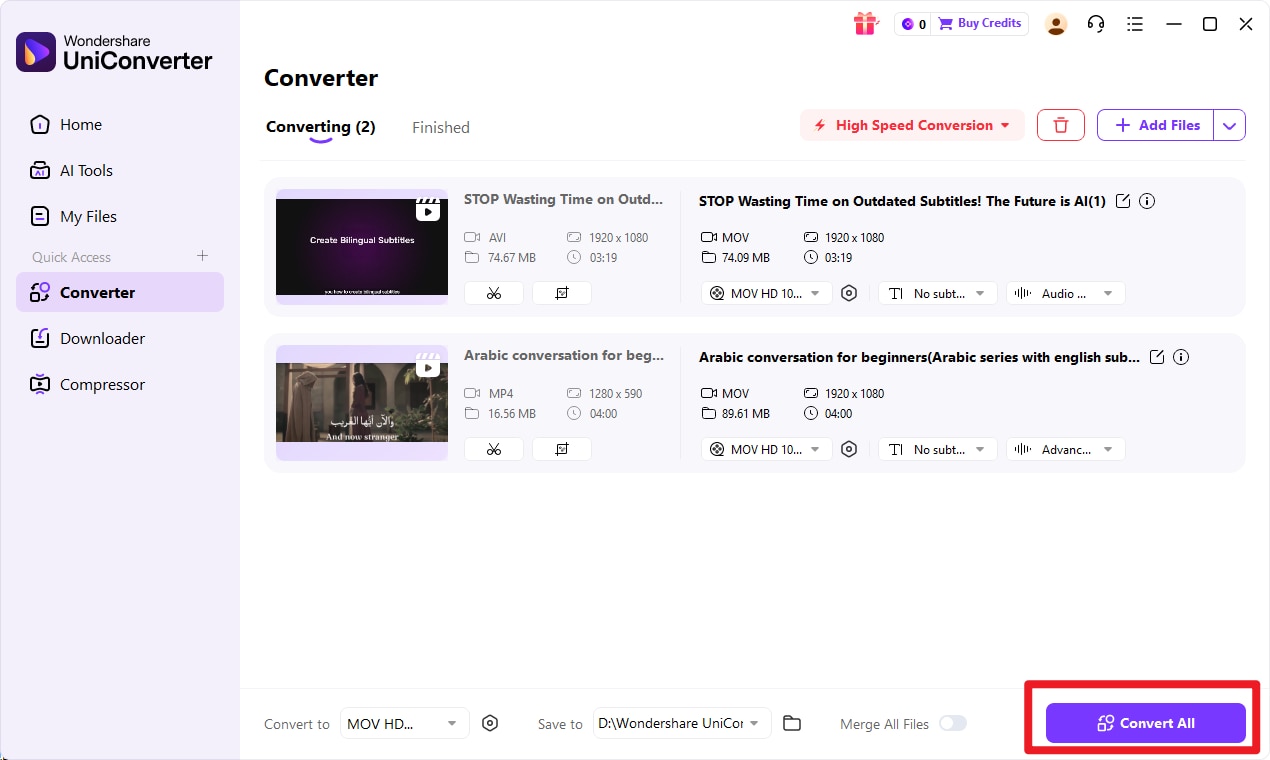
Step 4: Start the Conversion
After configuring your output format and color depth, choose a destination for your converted file by using the File Location field at the bottom. Once you are ready, click the Convert button (or Start All for multiple files) to begin the high-speed conversion process.
UniConverter will process your file quickly. Once the conversion is complete, you can find your new video file in the Finished tab at the top of the screen. From here, you can open the file's location, play it, or use it in your editing project.

Simplify Your Entire Video Workflow
Conclusion
Navigating the technical landscape of video formats can be daunting, but understanding the core differences between bit depths empowers you to make better creative and technical decisions.
Key Takeaways: 10-bit vs 12-bit
The debate over 10-bit vs 12-bit boils down to a trade-off between ultimate quality and practical efficiency. 10-bit offers a fantastic 1.07 billion colors, providing excellent post-production flexibility and eliminating banding in most scenarios. 12-bit multiplies that to an incredible 68.7 billion colors, offering supreme latitude for the most demanding color grading and VFX work, but at the cost of massive file sizes and heavy performance requirements.
Making the Right Choice for Your Project
For the vast majority of video creators in 2026, 10-bit video is the sweet spot. It delivers professional, cinematic results that are perfect for web platforms, corporate work, and documentaries. Reserve 12-bit for those top-tier projects like feature films, high-end commercials, or VFX-intensive sequences where absolute color fidelity is non-negotiable.
Streamline Your Workflow
Regardless of which bit depth you shoot in, a versatile workflow is key. Having a powerful tool like Wondershare UniConverter in your arsenal is essential for managing, converting, and preparing your footage for any stage of the production pipeline, ensuring compatibility and efficiency from shoot to final delivery.
FAQs
-
1. Can the human eye really see the difference between 10-bit and 12-bit color?
For most people, on most consumer displays, the direct visual difference between a final 10-bit and 12-bit video is negligible. The primary advantage of 12-bit is not for the final viewer but for the colorist and VFX artist during post-production. The extra data allows for much more aggressive manipulation of the image before any degradation (like banding) becomes visible. -
2. Does YouTube or Vimeo support 12-bit video uploads?
As of 2026, major platforms like YouTube and Vimeo are optimized for 8-bit and 10-bit video (specifically for HDR content using the VP9 and AV1 codecs). While you can upload a 12-bit file (e.g., in a ProRes container), the platform will re-compress it to a 10-bit or 8-bit stream for delivery to viewers. It's best practice to export a high-quality 10-bit master for uploading. -
3. Is 12-bit video the same as RAW video?
Not necessarily, but they are closely related. RAW video is not technically a "video" file but rather the raw sensor data from the camera. This data is often captured at 12-bit, 14-bit, or even 16-bit depth. You then "develop" this RAW data in post-production, often exporting it to a 12-bit video codec like ProRes 4444 XQ for grading. So, while many RAW formats are 12-bit, not all 12-bit video is RAW. -
4. Will converting an 8-bit video to 10-bit or 12-bit improve its quality?
No, you cannot create color information that wasn't there to begin with. Converting an 8-bit video (with 16.7 million colors) to a 10-bit or 12-bit format will simply place that 8-bit data into a larger container. It will not add new colors or fix existing banding. The file size will increase, but the visual quality will not improve. Bit depth quality must be captured in-camera.
